Well, I finally found a project for the roll of fabric that has been sitting in the corner of the sewing room for about five years. I rescued the bolt because it was going to get tossed, but it was never going to be my favorite print and/or color combo.
This vintage reproduction pattern struck my fancy as soon as I saw it, but it uses a massive amount of fabric. Or, at least, the ruffled version does, and that one looked much more interesting to me . . . but isn't that the way it always goes.
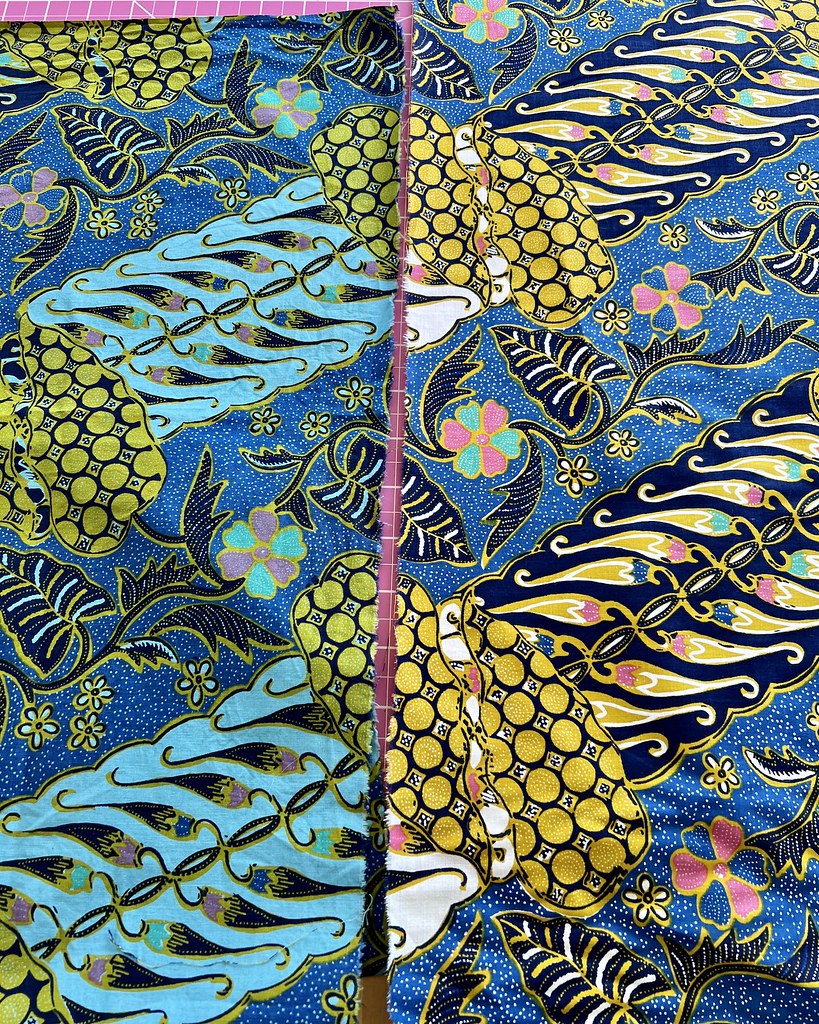
So I pulled out the bin with all of my fabric dye and decided to see how over-dying would work with this extremely colorful textile . . . because I had plenty of it to work with.
There are a lot of colors to contend with, but I thought that a green would work, both for the blue background and the yellow (which I definitely wanted to tone down). Unfortunately, I only had a small amount of dark green dye left and I had seven yards of fabric to cover which was going to need a fair amount of water, and therefore, a significant amount of dye.
I didn't really want to purchase any more dye, so I ended up adding some blue to the mix. The color of the water was lovely, but the white sections of the fabric turned out looking very turquoise, which was NOT the color of the water. I happen to love turquoise, so I'm not mad about it, but it goes to show that you never can tell what will happen with dyes!
And, most importantly, what I ended up with is a fabric that I like infinitely more than the original. So I am going to call this a success.
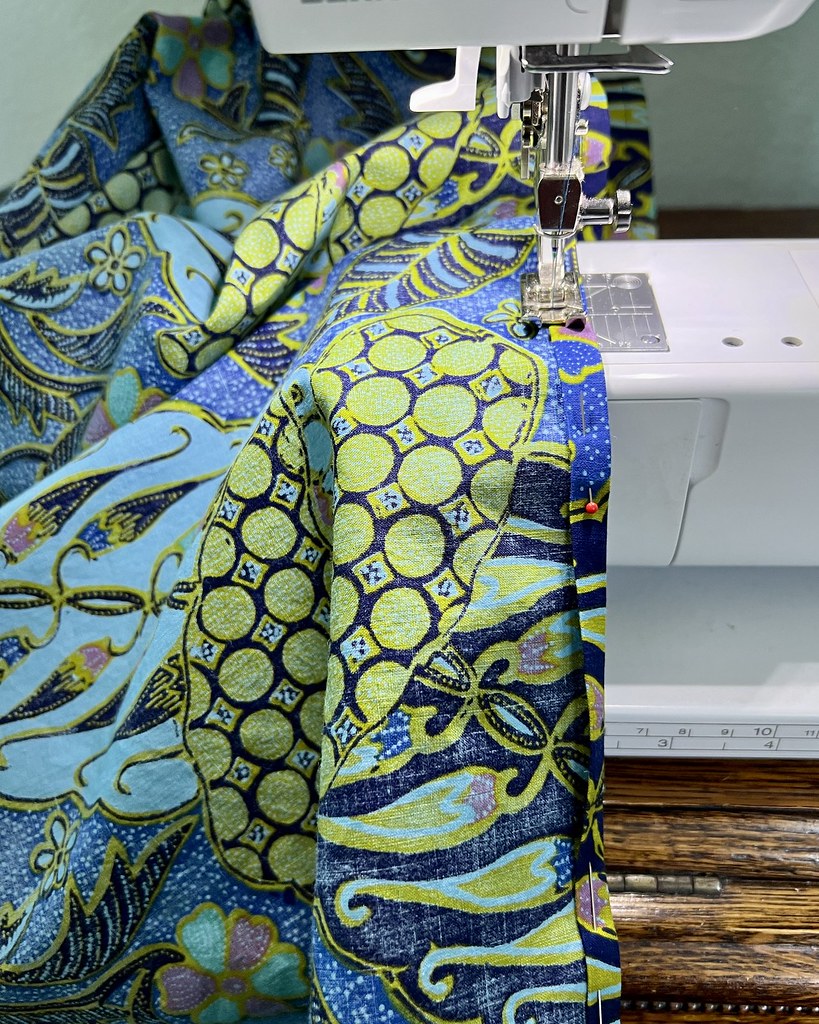
There is a whole lot of top-stitching involved with this dress design and I didn't have any thread that was an exact match to any of the colors, but in keeping with using only what was on hand, I found something that worked well enough.
And honestly, there is so much going on with this print, I don't think it's obvious at all - especially once the elastic scrunches everything up.
The pattern calls for bias tape to use as a casing for the elastic bits at the neckline and armholes, but I don't like the premade poly-cotton stuff, so I made my own.
It takes a bit of extra work, but it's absolutely worth the effort, in my opinion.
After even more top-stitching, I was ready for that elastic.
And it now looks like I have created a rather unattractive muu-muu. Oops. This is not what I was going for . . .
But this is one of those patterns that does not give any sort of indication how the final garment will look until almost all of the sewing is complete, so I figured that I might as well keep going.
One eternity later, I finished and gathered the ruffle and attached it to the muu-muu.
And since I can't leave raw edges alone, I went ahead and finished them all with seam binding. I even had the perfect blue for my project.
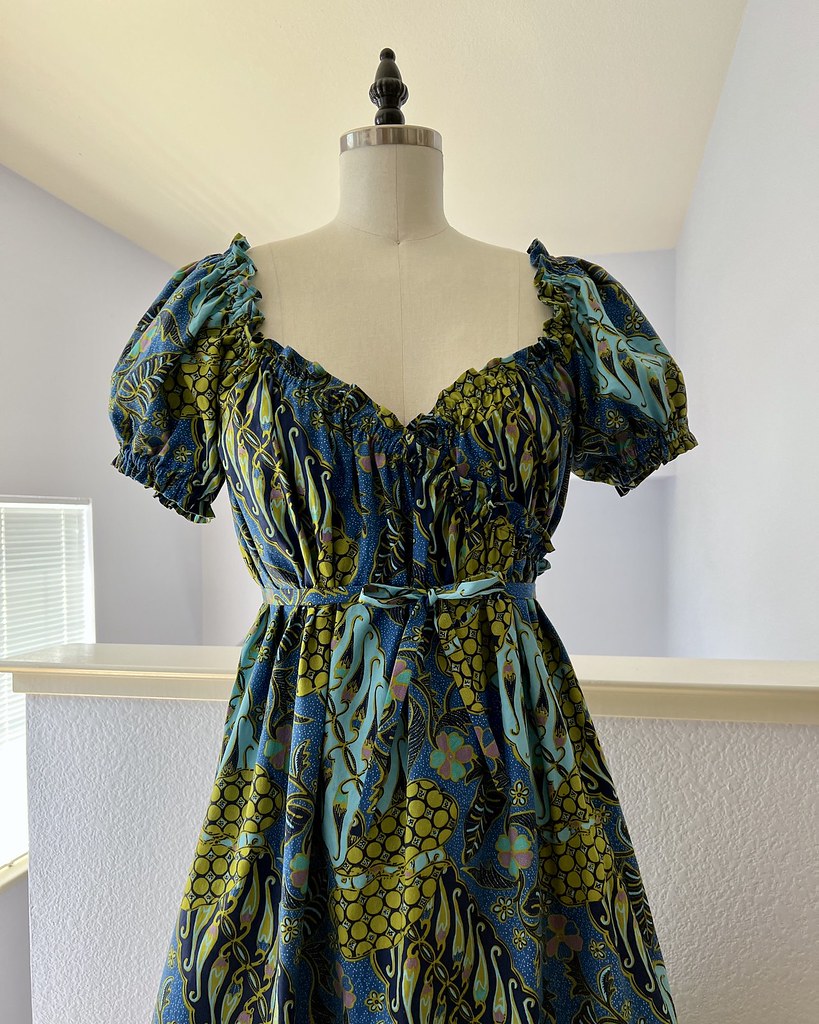
At which point, I am beginning to have some hope for this project.
It is still hovering right around muu-muu territory, but the additional length added with the ruffle has improved things considerably.
The final step was to add the fabric ties which allow for some shaping.
Interestingly enough, one of the first steps is to finish the side seam opening that one of those ties feeds through, but the placement of that opening did not work for me.
When I tried the dress on, that opening placed one end of the wrap along the hem significantly lower than the rest of the dress. I was slightly puzzled by this, but decided that I would simply raise that opening by an inch or two.
Having now worn the dress, the hemline does not want to sit entirely straight. It's not a huge problem, but something that does bother me slightly. I wonder if it has something to do with the large overlap. Most wraps do not provide as much coverage as this one does, and I like that, but I have a feeling that it may be a part of the problem.
Still, it is a perfectly serviceable dress; it's never going to be my favorite item in the closet, but it is super easy to wear and this project has proved that I can handle a fair amount of top-stitching. So that's a bonus!


This is absolutely beautiful!
ReplyDelete