It probably comes as no surprise that I am adding more polka dots to my wardrobe to anyone.
A chance encounter with a recent Etsy search reminded me that I had purchased this Wearing History pattern when Lauren first released it. Well, I finally got around to printing it out and taping it together. And let's be honest, one of the reasons I never started working on this pattern was the fact that I abhor these tiled patterns - but I was too intrigued by the sleeves to let that stop me. So I spent the time taping all of those pieces of paper together even though I would much rather be sewing.
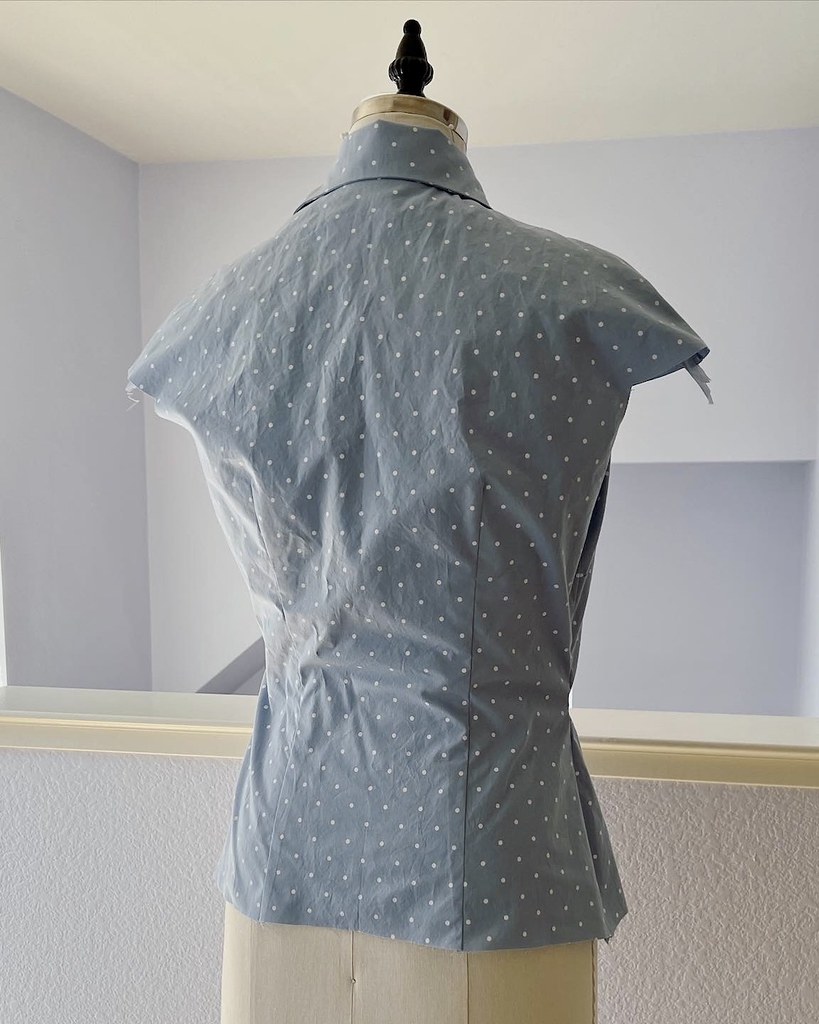
I recently spotted (ha! see what I did there?) this cotton poplin at JoAnns and it hitched a ride home with me. Now, the color and the polka dots are perfect, however, the fabric had a slightly strange smell. I was hoping that a quick wash would take care of that issue . . . and it did. What I did not realize was just how wrinkly this textile would be. And all of those creases show in a rather obvious way. But I wasn't about to let that stop me, either.
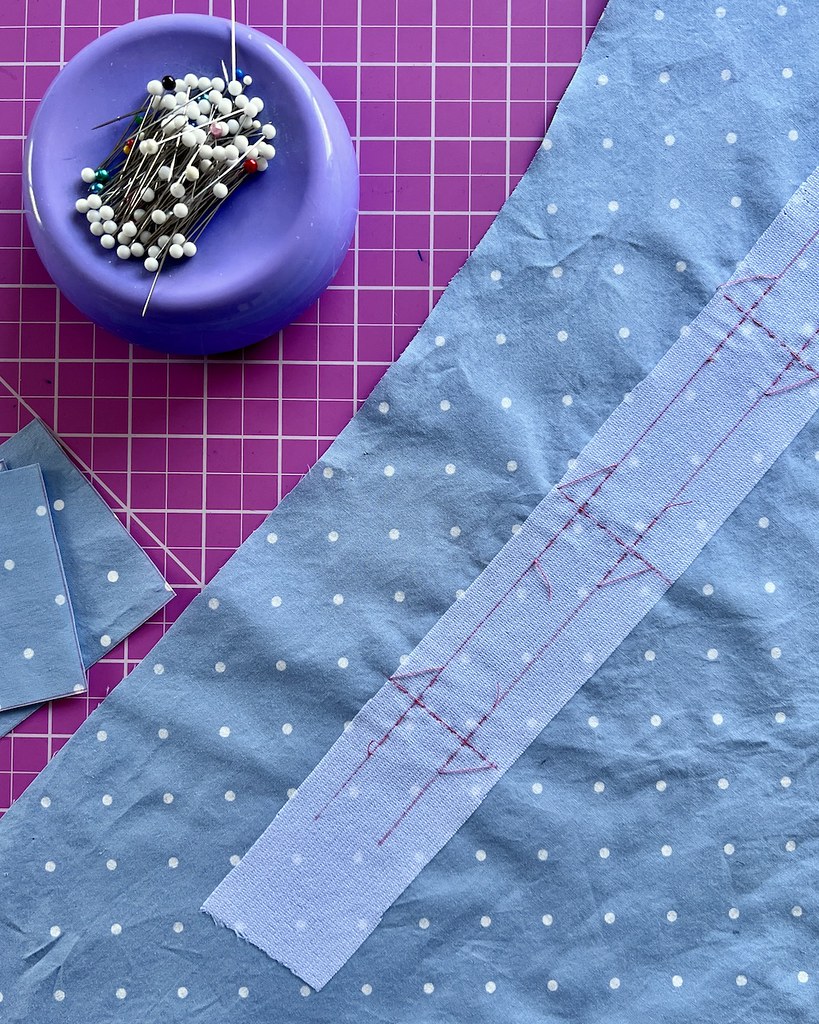
This particular pattern gives the option of a standard buttonhole, or bound buttonholes. I, of course, went for the bound version.
Because, why not!
I applied a strip of fusible interfacing before starting the buttonhole process. And it did not go well. I managed to peel off the interfacing and reapply, but for some reason, this cotton did not like the fusible interfacing.
Interior seam were finished with seam binding, as usual.
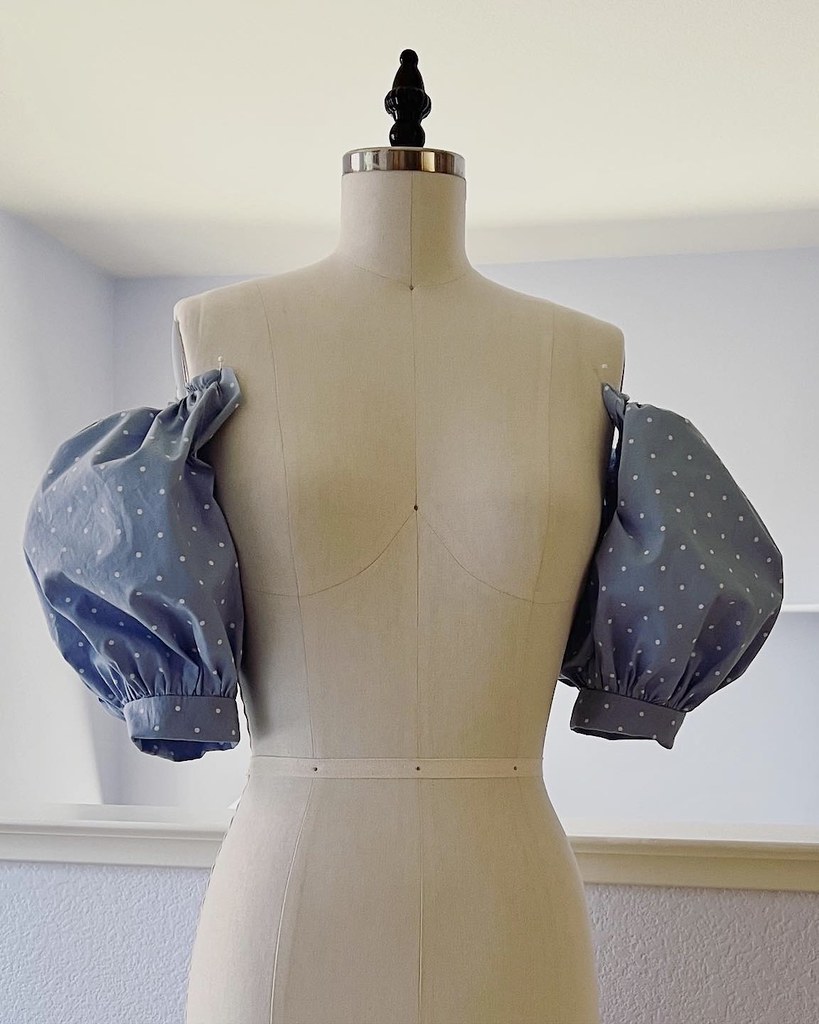
One of my favorite design features on this blouse is the puffed sleeve. I was not entirely sure how I would feel about the dropped shoulder, but I was willing to give it a try!
Those wrinkles were driving me crazy at this point, but the shirting was going to do what it was going to do.
And it was time for those sleeves!
The poplin weave was slightly more aggravating to hand stitch than a quilting cotton, but it wasn't as terrible as I expected it to be.
And those beautiful puffs are certainly worth a few wrinkles!
The drop sleeve requires that the corners get clipped before inserting the sleeves. I like to use this technique to ensure that the raw edges don't tear past the point.
And it begins to look like a blouse!
I often use a scrap of fabric to create a window for the buttonholes on the facing, but I decided to go with the slash and turn under technique for a change.
It worked pretty well, although I think I prefer a more clean finish with the extra scrap of fabric.
I quick bit of hand stitching, and the lower edges were hemmed.
And for this fabric, I decided that covered buttons were the way to go.
My favorite type of covered button mold is the kind with the serrated edge that snaps closed.
The type that gets pushed into place have popped apart on me in the past at inopportune moments, so I try to avoid those.
And to close the lower portion of the front opening that sits below the waistline, I applied two snaps.
And, of course, those buttons had to be stitched into place.
The pattern also includes a tie at the neckline, and I liked the design feature, so I added one as a closure. Turning that fabric tube inside out, however, was not fun. The printed dots created an odd textured effect on the thin tube of fabric, but I am hoping that will improve after the garment is washed. And since it is only hand stitched into place, if I end up hating the ties, they can alway come off.
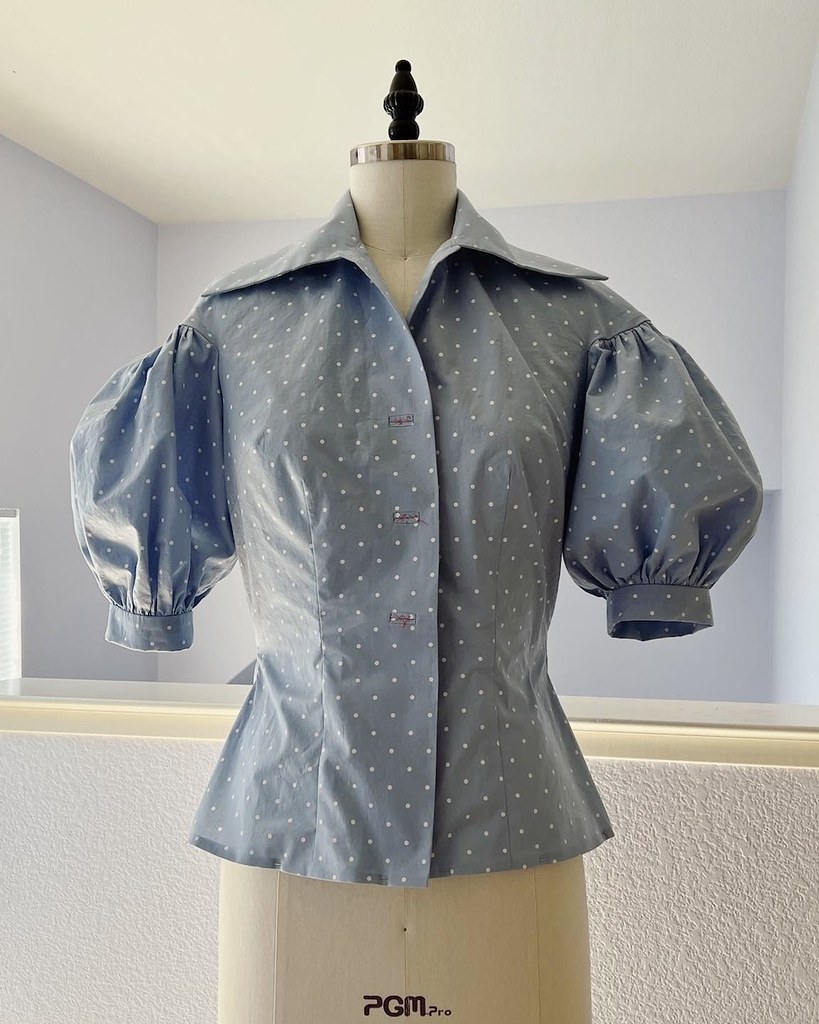
But despite all of the wrinkles, I am pretty pleased with how this blouse turned out. And yes, I love those sleeves as much as I expected that I would!


J'adore !!!! :)
ReplyDeleteSo pretty! How do you like wearing the dropped-puff sleeve combo? I adore the bound button holes but would have to do a muslin of the pattern to determine placement on the body and so I am usually too lazy and make regular button holes. However, you are and inspiration with regards to techniques.Abbey
ReplyDelete