I was recently approached by Organic Cotton Plus about creating a blog post using their products. After perusing the website to see what was available, I decided that a skirt made out of their cotton twill would be a great addition to my wardrobe. The question was, what kind of skirt? My first though was a tea length circle skirt, but somewhere along the way, I decided to step a little bit out of my comfort zone.
It may have something to do with all of those historical sewing YouTube videos that I have been watching, but for whatever reason, I suddenly needed a Victorian walking skirt in my life. After digging around in my pattern stash, I finally came across Butterick 3418. This is pattern I was thinking of, however, the design was not exactly as I had remembered . . . but it was certainly a place to start.
Looking at the illustrations and technical drawings, I surmised that by using the flat front panel from Views A&B, plus the side and back panels of the gathered waist panels from Views C&D, I would have enough extra fabric to create a number of pleats towards the back of the skirt. And that's really what I wanted - that fanned out shape at the back of a Victorian walking skirt. I found a few more historically accurate patterns and extrapolated what would work with my 3 yards of fabric. After a few rough calculations, I decided that adding an extra 1/2" to the waist of each side and back skirt piece would allow for six pleats measuring approximately 1". I could always use slightly more or less intake for each pleat if the measurements were slight off.
I wasn't going for historical accuracy, exactly, and I decided that a zipper would work just fine instead of a snap placket.
I "drafted" my own waistband since the pattern included wasn't quite as wide as I wanted, and added a few pieces of boning to one half of the waistband to ensure it would not fold or crumple during wear.
Two hook & bars were used to close the skirt waistband. And while I inserted them on the interior side of the seam allowance at first (never managed to make that mistake before - whoops), I also added ribbons for hanging at the waist.
Probably the biggest decision was the length of this skirt. While I am no expert, my understanding is that these skirts were made for ease of walking. In other words, they were not meant to drag on the floor, but exactly how far above the ground was acceptable?
This particular pattern is really, really long. It also has a bit of a train, which doesn't show on the illustrations?! Maybe they are expecting a bustle to be worn? I am not entirely clear on that. Or perhaps this pattern is not meant to be a walking skirt, but a full length skirt with a slight train. I tried on a couple of longer length skirts in my closet to extrapolate just how long I wanted this one to be when finished.
I ended up removing 6 3/4" in length from the back pattern piece and 3" from the front. I am not super tall, but I am not short either, so this pattern definitely has some extra length! And after a bit of research, I decided to face the hemline. I didn't have much leftover fabric to spare, so mine is only 3" wide, but it still manages to keep the hemline flared out more than it would be without.
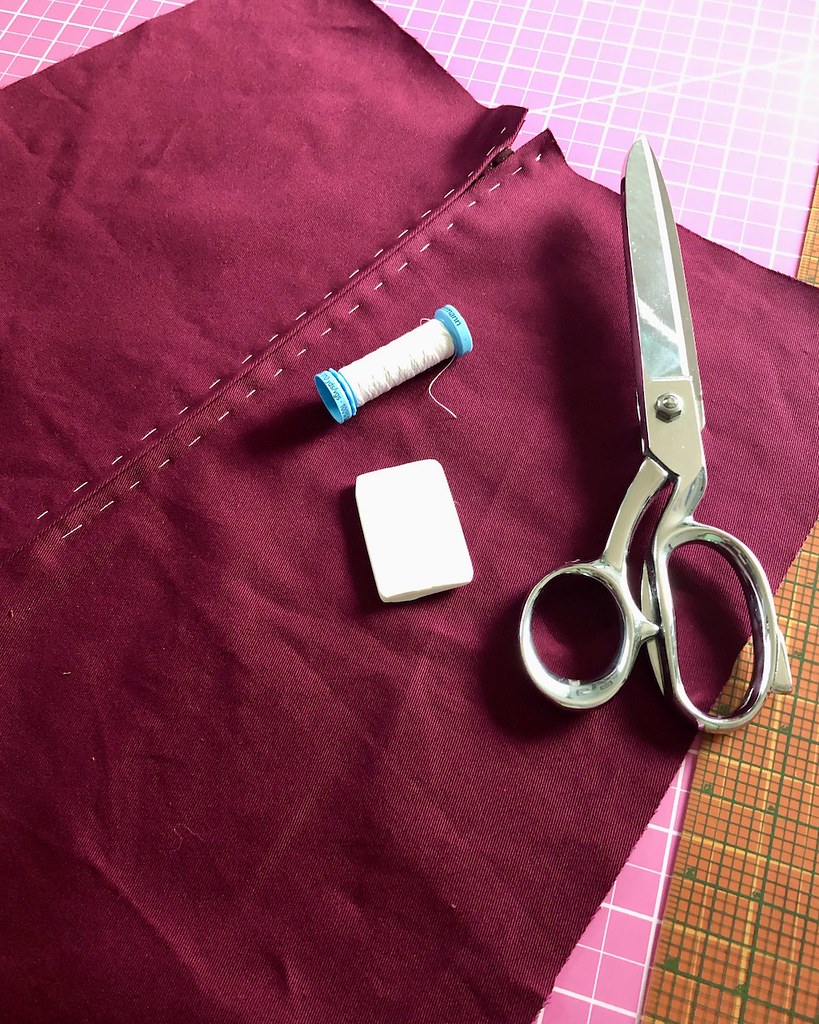
I used some leftover black twill as underling for the facing.
I then used those pieces to cut identical pieces out of my fashion fabric.
Make sure to keep track of which end is which if you make curved facing pieces in this manner - these pieces start to look alike once they are cut out! I know from past experience that it can be very challenging to figure out what goes where if you skip this step.
I have used this method of facing knee length skirts in the past to help create more flare in the hem. In this instance, I think it not only helps the hemline to flare, but also to keep legs from getting tangled in all of that fabric as you walk.
The facing also finishes the raw hem edge.
From what I can tell, this is not historically accuarate; the hem should be folded, then the facing folded as well, placed together, and hand stitched. Well, this twill is on the heavy side and not the easiest thing to hand stitch, so I decided to skip that technique!
Overall, I am very pleased with how this skirt turned out. My dress form still has not learned how to suck in at the waistline, so the waistband cannot be hooked, but you can still get an idea of the finished look. This is taking me back to my high school days when ankle length skirts were my jam! Thank you, Organic Cotton Plus, for the trip down memory lane.


Lovely!
ReplyDeleteLaura Mae,
ReplyDeleteAnother classic garment - and you did high school on your terms (of course you did!).
The color, the simple lines, and your "smaller than" your dress form's waist line, are all commendable.
Organic Cotton Plus is now on my radar. You are an influencer.
(I'm in the "stash dash" phase - recently visited Prairie Point Quilt and Fabric Shop in Lenexa, Kansas - WOW! Glad to see a real fabric store.)
Happy holidays to you and your crew!
Sign me,
On wheels