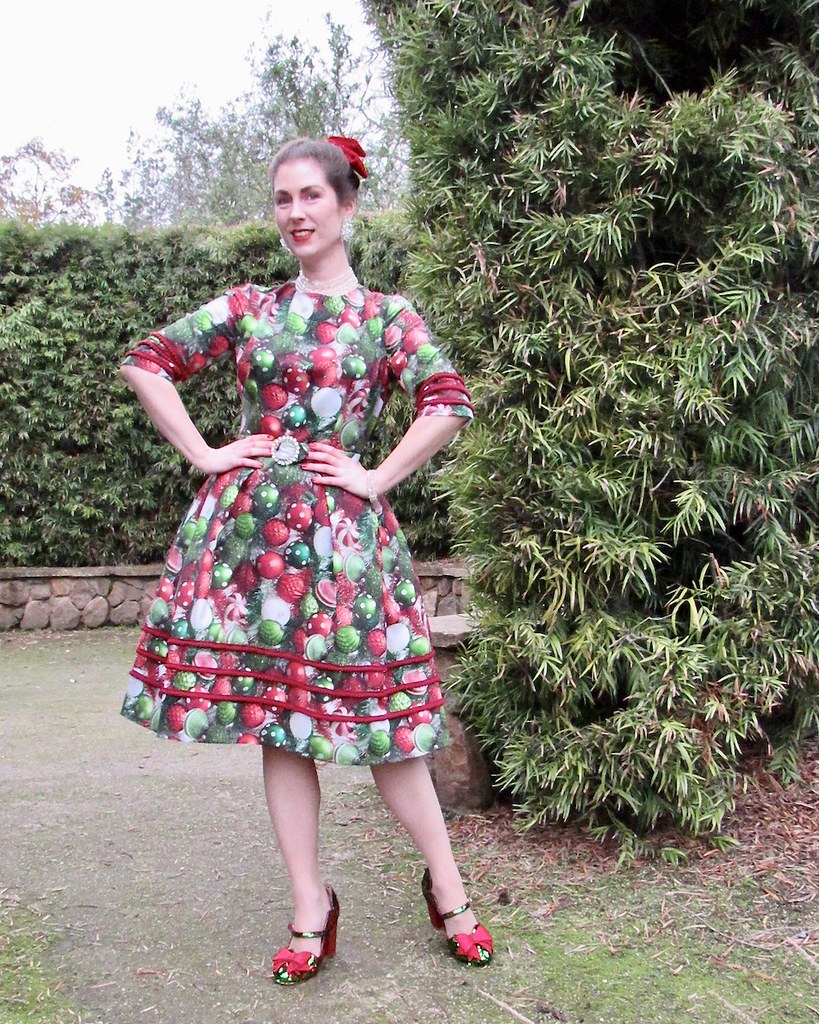
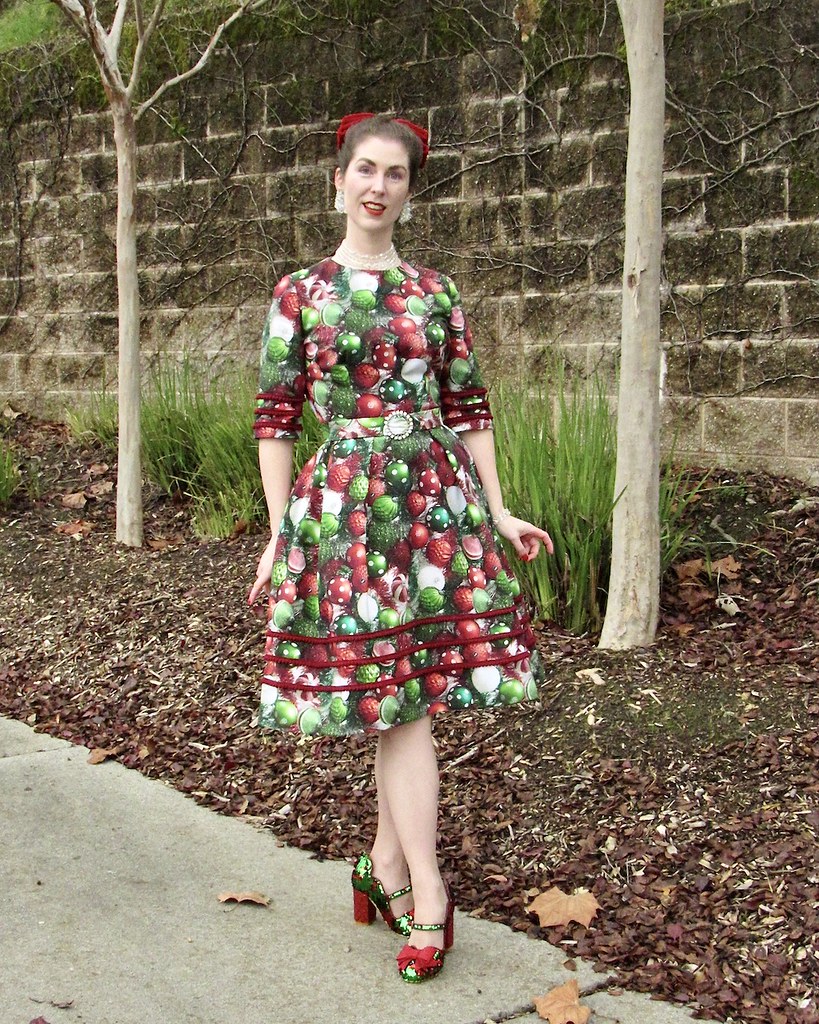
For this year's Christmas themed dress, I decided to use this fabulously over the top and perhaps slightly obnoxious quilting cotton. I cannot recall if I found this two or three years ago, but from the moment I laid eyes on it, I knew that I needed a dress made from the fabric, and it needed to be further embellished because clearly the explosion of printed ornaments and tinsel garlands was not enough. But I wasn't entirely sure how to go about that. Last year I ran out of time to make a second dress for the holiday season with the fabric, but I was content to add my snowman printed frock to the collection. This year, I was determined to get around to making the dress.

Vogue 4203 is one of my favorite dress patterns, so that was a great place to start, but I knew that I wanted more of a crew neck with this particular print. Using Simplicity 9447 as a starting point, I cut a tighter neckline. This alteration was not perfect, and there is slightly more fabric through the upper chest than needed, but since the print is so busy, I don't think it will take away from the finished dress.
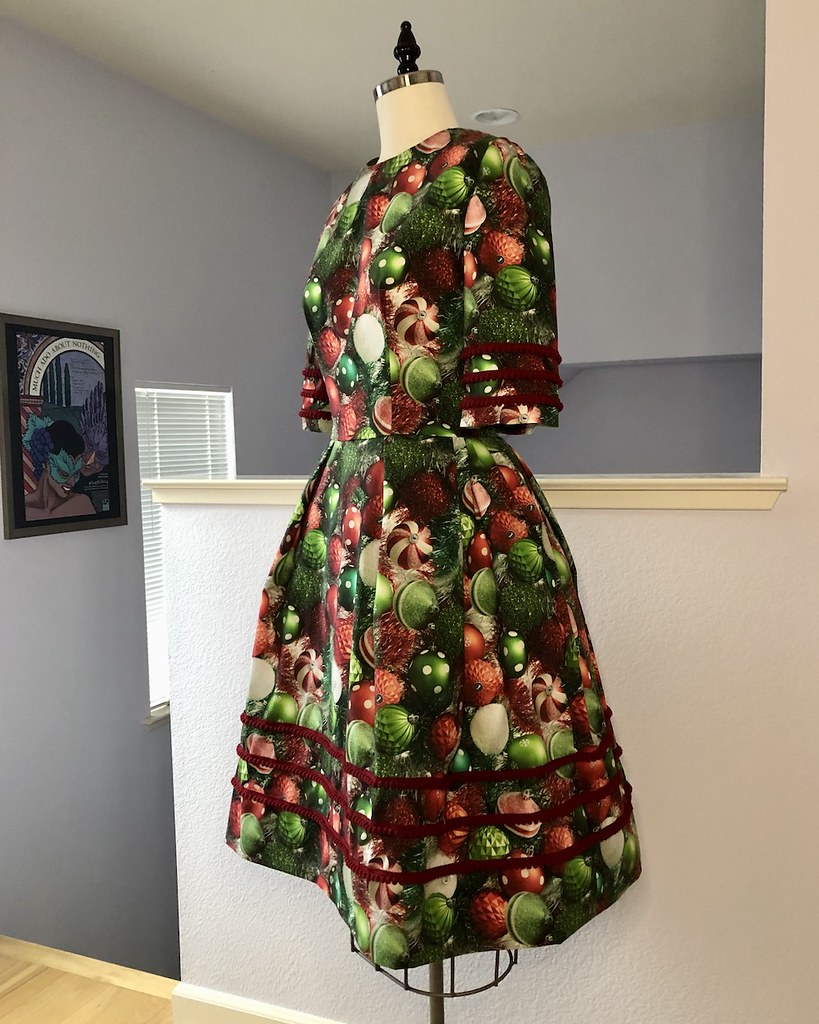
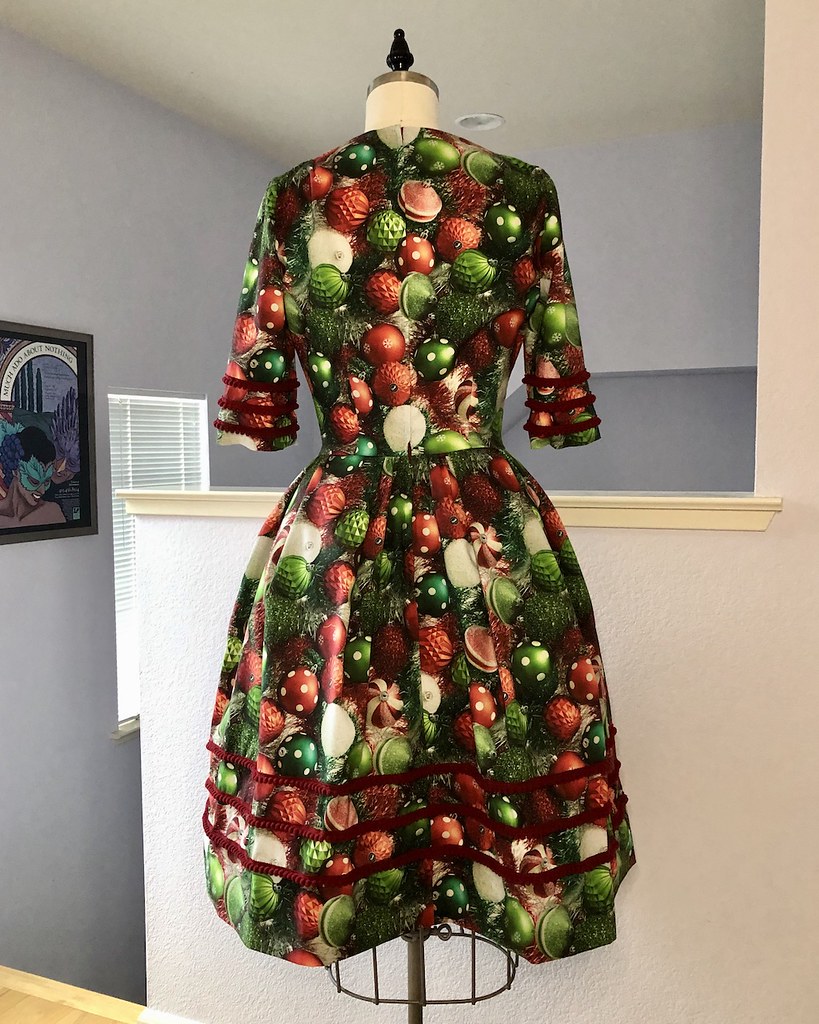
One of my favorite parts of this vintage pattern is the fabulously full skirt that balloons out from the waistband. The hemline is straight, which means adding trim is much easier than with a curved hem. Included in the instructions is an aid to help the hips stand out, which is what that extra strip of fabric does. This time around I used an un-interfaced piece of cotton, but it still manages to do the job nicely. And, of course, I will also be wearing a petticoat underneath to further exaggerate the silhouette.
The next item of business was to find an appropriate trim for the Christmas tree I was creating.
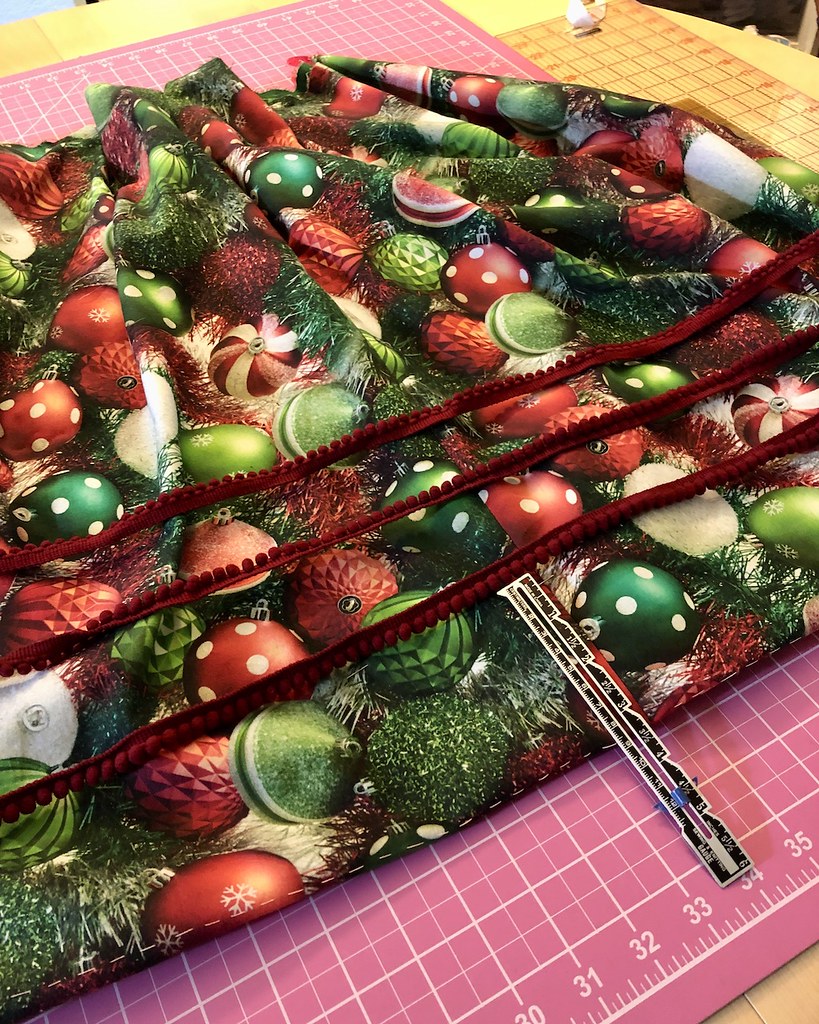
I originally intended to use a medium sized ball fringe, however, the red color that I found was too bright for this print. What I finally found was a smaller sized ball fringe that came in a much wider variety of colors.
Of course, I didn't anticipate the issue of attaching the trim to the fabric. I have worked with larger ball fringe in the past, and since the pom poms hang off of the trim, a standard machine foot works just fine. For this stuff, however, it was necessary to get creative. A zipper foot worked okay, although it was a bit of a fight to keep things from going off the rails. I suppose I could have hand stitched things, but in this instance, the thought of having thread snag on all of those bumpy bits was too much for me.
I did, however, hand baste placement lines to make sure the fringe was attached in as straight a line as could be managed.
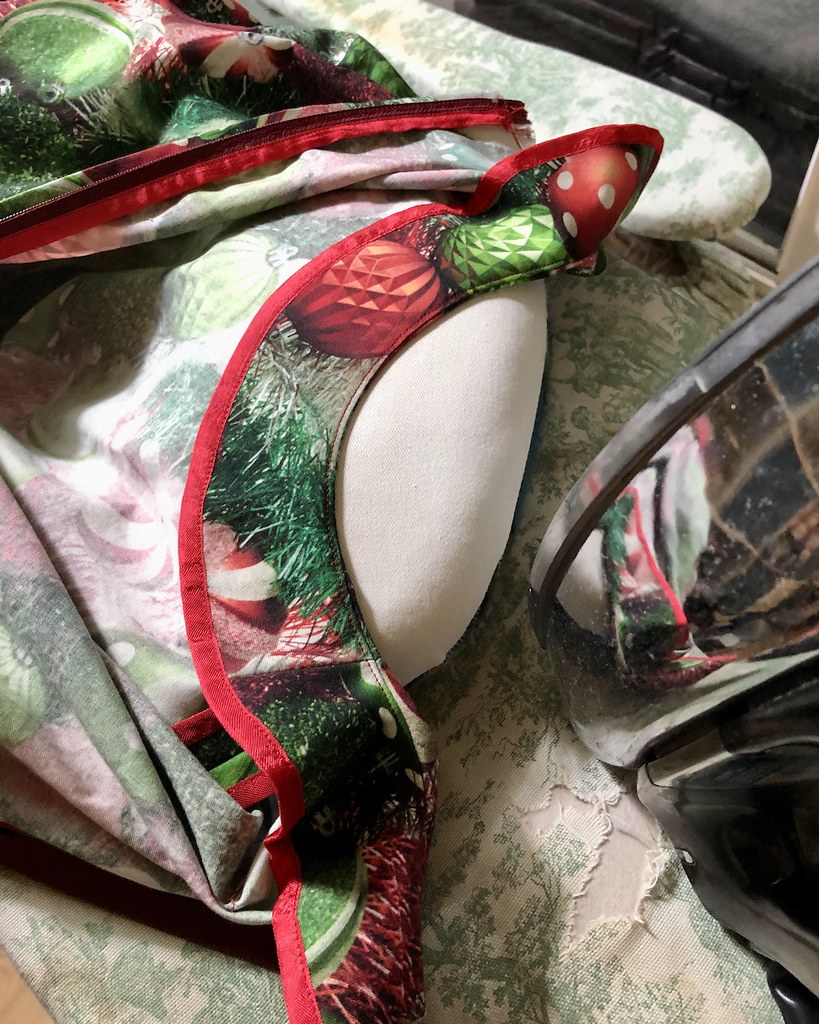
I had a bit of unpicking to do with the project. I knew that I wanted to add the ball fringe to the sleeves as well as the skirt, but for some reason I forgot that step while sewing late one evening, which is why you see the seam binding in place prior to the seam being closed. I don't like to finish edges until the seam is stitched, but sometimes mistakes are made.
The other issue that I encountered was what to do with all of that bulk along the seam lines. Because there really was no way to avoid having the bumpy bits interfere with the seam line.
I attempted to sew right over the bulk, but it was never going to look great, and once again, the seam ripper was called into service.
In the end, I found that it was easy enough to clip the pom poms right off of the trim without anything else unraveling. So any offending bumps were simply removed from the seam allowance before stitching the seam closed.
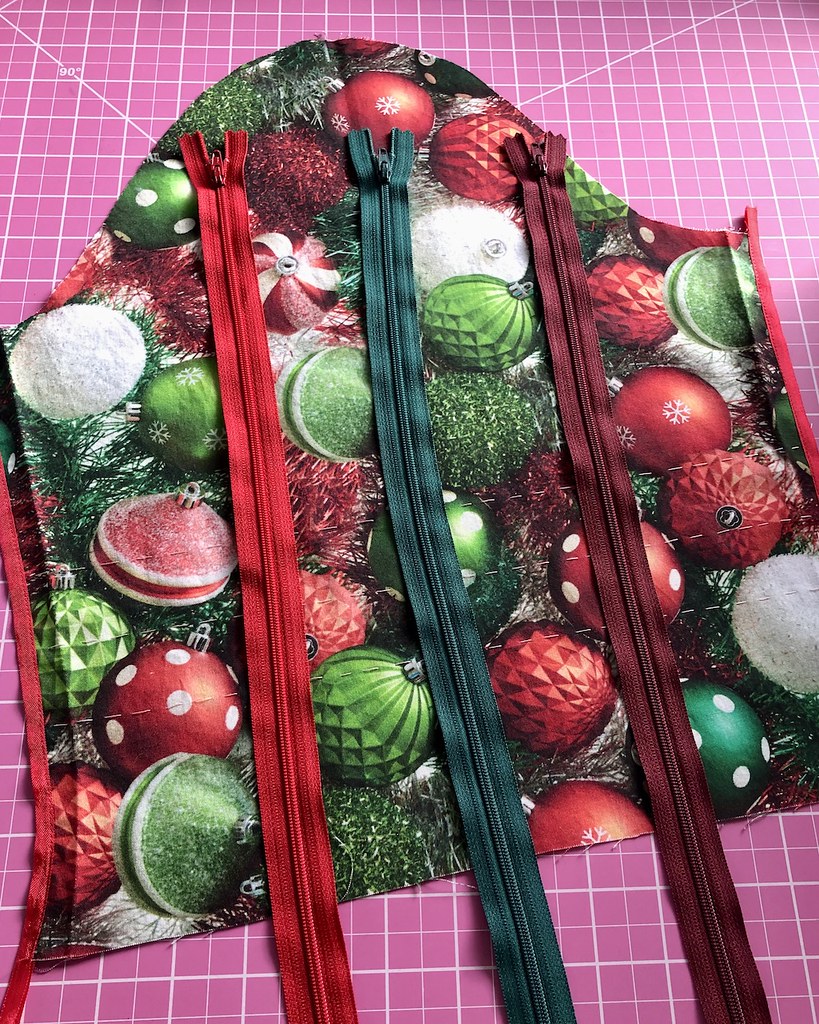
And once again, my stash of zips has not let me down. In the end, I went with the maroon color since it blended in with the print the best.
When I was messing around with the neckline on this pattern, I knew that it was potentially going to give me a bit of grief. And I cannot be sure whether it was that, or if my stay-stitching did not do its job, but for whatever reason, the neckline began stretching out while I was constructing the bodice. Maybe the extra weight from the trim on the sleeves was also responsible while I was wrangling the set in sleeves?
Well, I decided the best way to handle the situation was to sew the facing on immediately. Obviously the center back zipper still needed to be installed, so I left a few inches unstitched, but getting the front curve to stop stretching was my priority, and the facing did the job better than any stay stitching ever could.
The hems were stitched by hand, which was a little bit awkward with the lumpy trim, but even that was not enough to keep me from enjoying the process. I love hand stitching hemlines!!
At which point the dress looked like so.
Totally over the top, and pretty darn cute, if I do say so myself. But I still had a belt to make for the finishing touch.
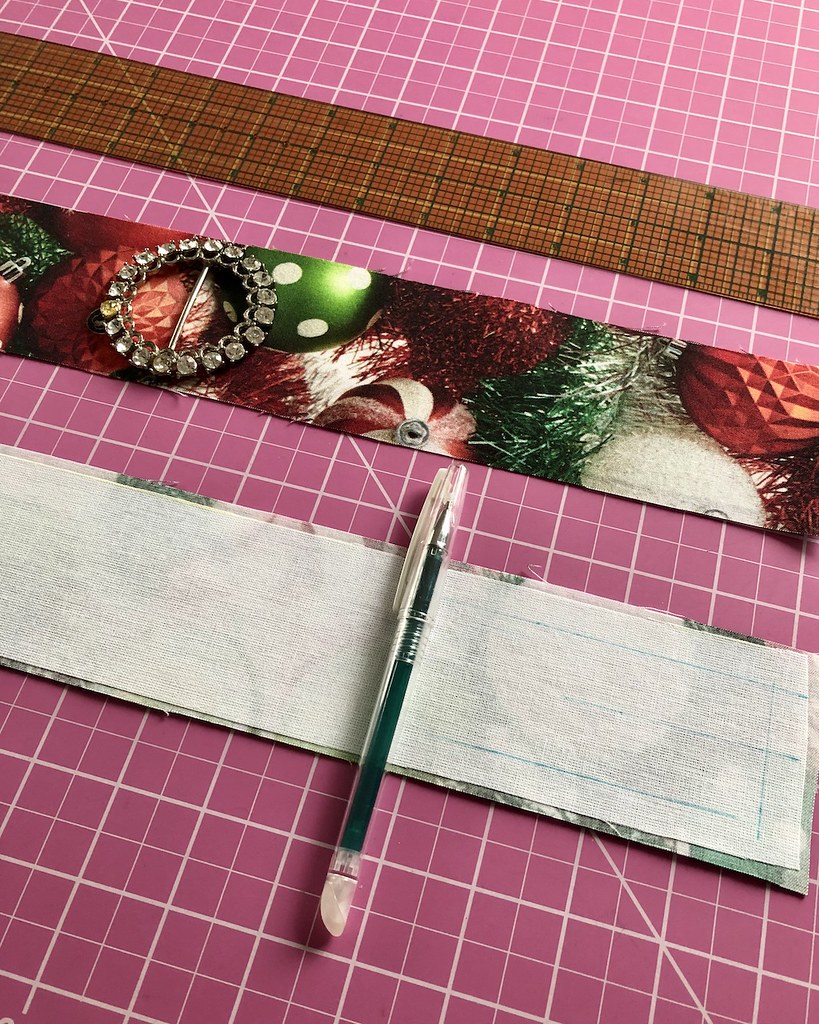
And I just so happened to have a very appropriate and sparkly belt buckle that I found at an estate sale. At some point, one of the rhinestones must have fallen off, and someone used what looks like hot glue to put it back in place. The glue has yellowed, but I think that the flaw will be lost in all of the craziness that surrounds it.
And here is where I made another sewing mistake late at night. I calculated the width for the belt, but somehow forgot to double it so I could fold the rectangle in half to create the belt. I've never done that before. But thankfully I realized the problem before stitching anything, so I just cut a duplicate belt piece.
I love the extra sparkle from the belt buckle, and I have plans to wear some blinding crystal jewelry to further deck the halls.
And that is the story of this year's Christmas frock.
Because why should Christmas trees be the only ones getting dressed up for the season?!
If they keep making such cute holiday prints, I am going to keep making these silly dresses. Because they are too much fun! And yes, I pattern matched the back bodice, because even ridiculous prints deserve attention to detail.

