Wednesday, July 31, 2019
A Tapestry of Blue
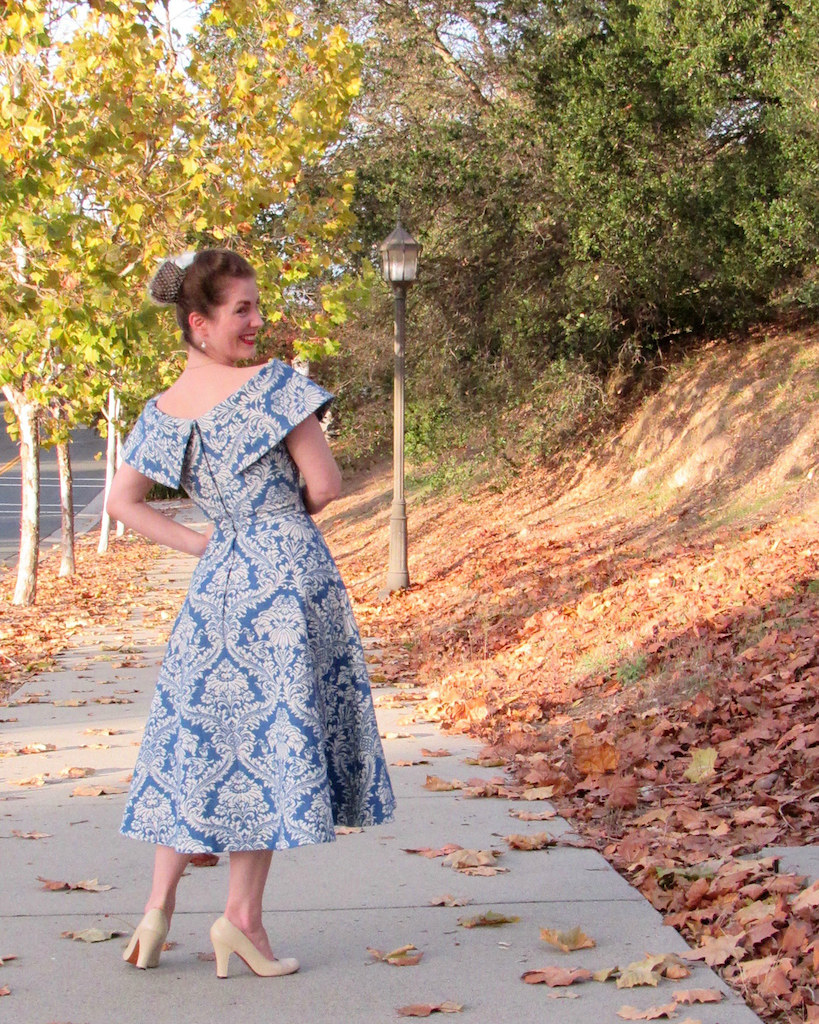
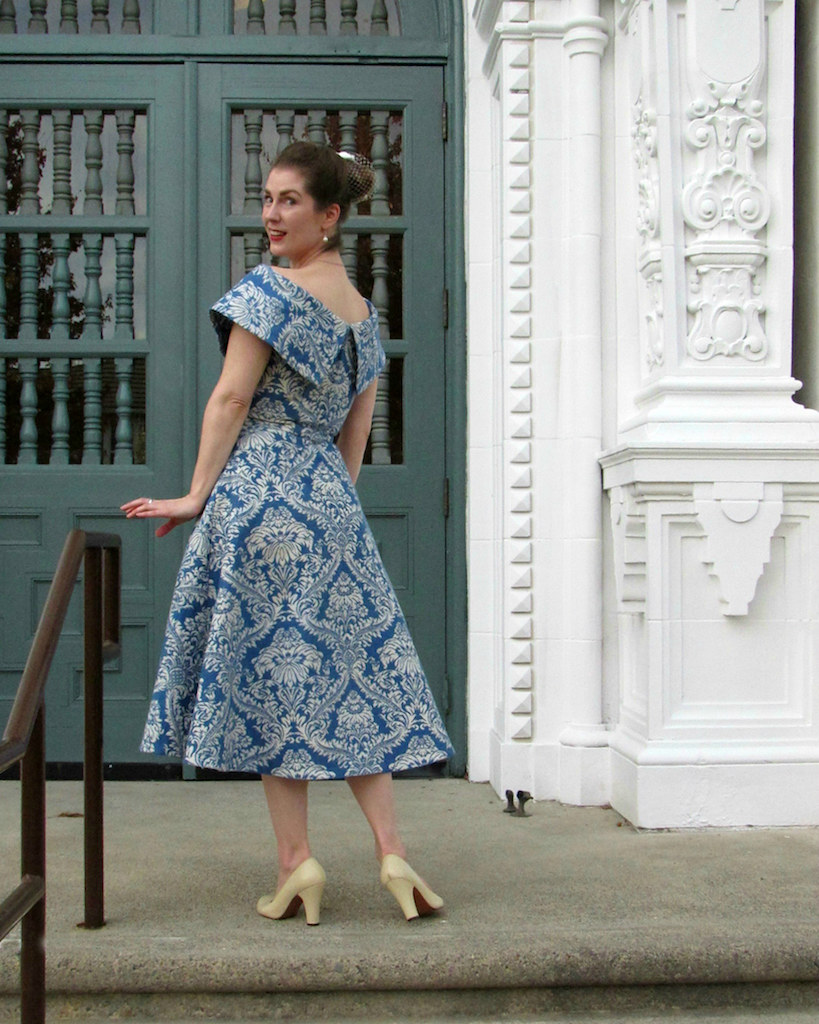
Last year, I made this dress out of some really heavy duty upholstery fabric. And here are the finished photos (we can just pretend that I am in the Southern Hemisphere and falling leaves of changing colors are weather appropriate)!
I started with a bodice that I knew would work well. I have used Vogue 8701 on numerous occasions, and I suspect I will use it again. The fit works well and it is a great place to start, whether or not I end up making significant changes.
This time around, I knew that I wanted the sleeves because the weight of the fabric seemed like too much for a sleeveless garment.
I also knew that I want to add a capelet.
For the skirt, the fabric decided for me that a circle would be a little too much fabric. This one is not quite as full, but it allowed me to cut a tea length skirt without have to piece anything together (especially helpful when print matching is necessary).
Yes, I made a muslin to check how everything went together, but the most challenging part of this project was deciding just where to put the oversized motifs, and doing my best to match them wherever possible!
As is usually the case, the extra work is worth the extra effort.
In my opinion, the finished dress turned out wonderfully! I love the blue and cream color palette, and the silhouette is almost exactly what I envisioned when I was first given the fabric.
I just love it when that happens!
Dress: Made by me, self drafted with a little help from Vogue 8701 and Simplicity 8458
Shoes: Remix "Babydoll"
Fascinator: Made by me
Labels:
Finished Projects,
Sewing,
Simplicity 8458,
Vogue 8701
Thursday, July 25, 2019
Finishing the Haslam Project
This is the last of these in progress posts, I promise! Then, there is the issue of getting through the pictures of me wearing the dress, which I am afraid will take far longer than I want. But I will get there in the end!
I always underestimate the amount of time required to finish one of these involved projects. Of course, it helps to get some of the moving parts finished before they are actually needed. Case in point . . . shoulder pads.
I didn't want too much bulk through the shoulder, so I only used a few layers of cotton batting. And then all I needed to do was cover the batting with pieces of my fashion fabric.
Even though I thought I had added at least three extra inches to the skirt length, I only turned up 1 3/8" for the hem.
But once I put the dress on with my heels, I decided I wanted the dress to be slightly longer. I really wish that the hem was deeper, but it works.
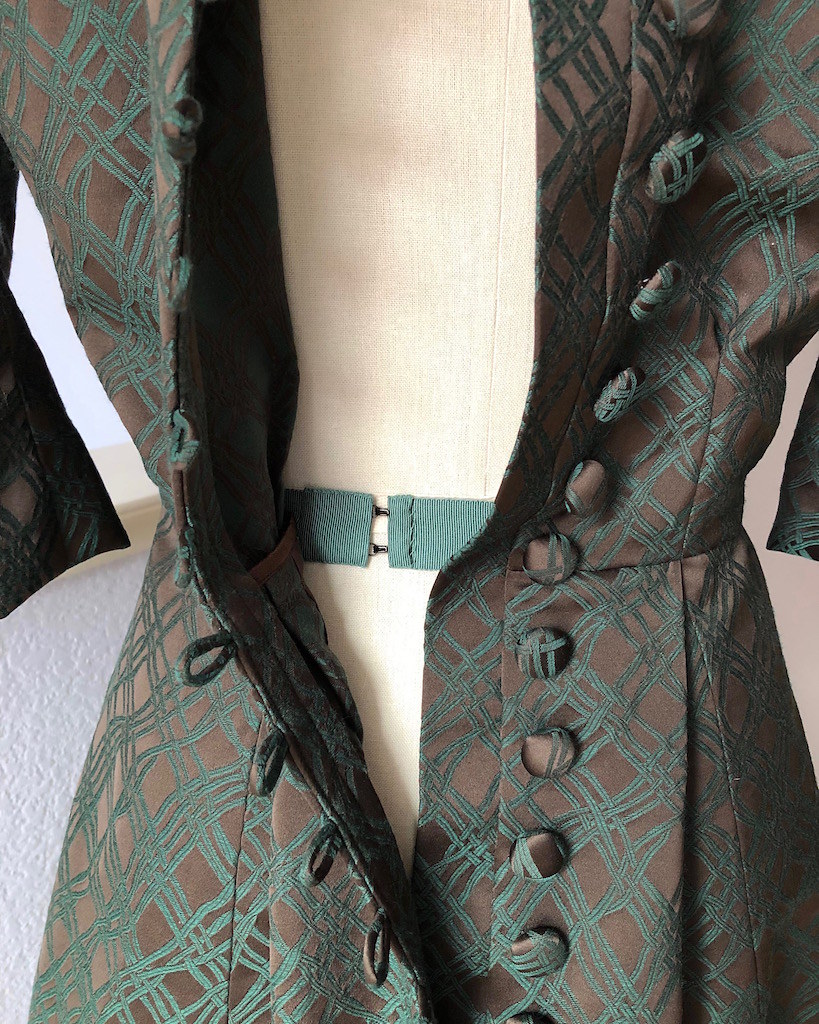
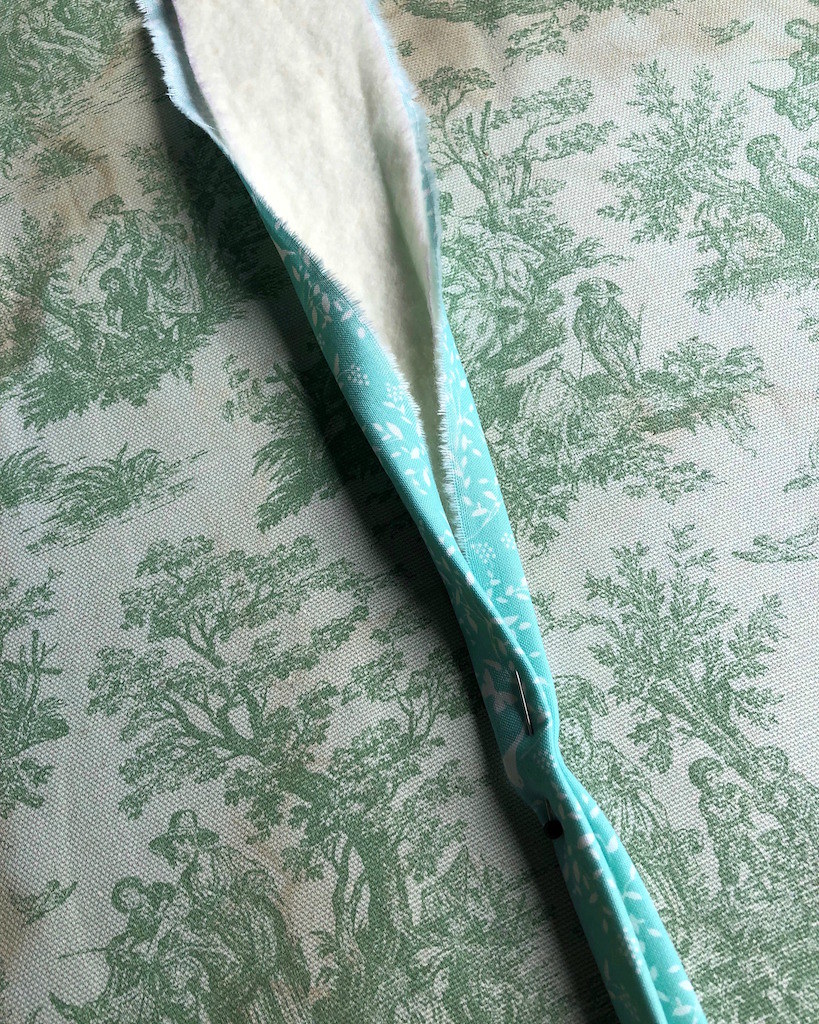
The final thing to do was add a waist stay. I even had a length of petersham ribbon that matched my fabric perfectly!
The stay makes it impossible for any pulling at the waistline since it is slightly smaller than the circumference of the dress waistline. Since my closure is a row of buttons, this is especially important.
Here you can see how the stay works within the garment.
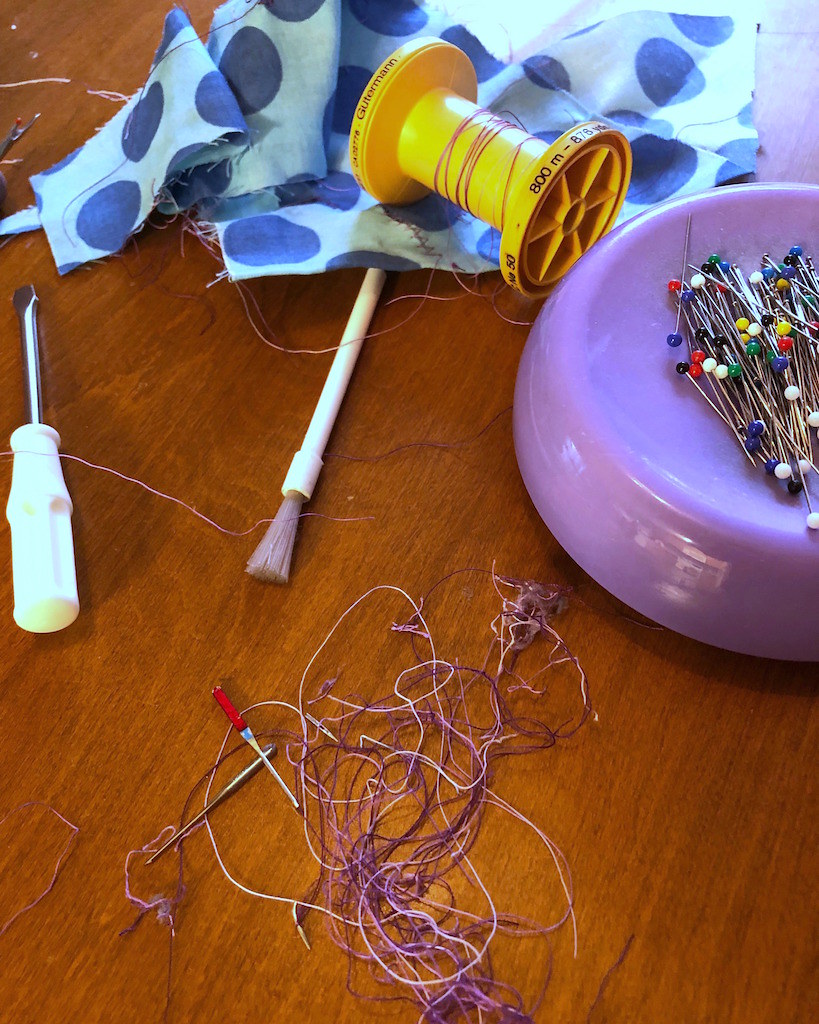
And then all those bits of basting thread need to be removed (at least, the visible ones). I will admit that I don't often remove any basting so long as it is within the seam allowances and will not be seen by anyone other than myself.
And that means the garment is complete!
It's been a fun journey. Does it make me want to start drafting sewing patterns from scratch? No! But it was a good test of my sewing knowledge, and I am pleased with the finished results, so overall, I am calling this a successful experiment.
Thursday, July 11, 2019
Those Crazy Haslam Sleeves
Now for the hard part - the sleeves. This is where I had the most questions. The armscye gave me a bit of trouble, but that was an easy fix.
My most pressing issue was the fact that the only image of the garment is not entirely clear on how those sleeves are put together. There is the illustration and the line drawing of the back view. Now, is the gathered portion a part of the lower hemmed edge, or is it inserted into a seam and completely drawn up? I couldn't come up with a definitive answer, so I just went with what felt right.
For most of the dress, I cut my pieces using a 5/8" seam allowance. However, for the sleeve, I gave myself a little extra room to play with where I could. I also needed to contend with narrow seam allowances in a fabric that likes to fray. For the almost dart like parts, I used this technique with the help of a couple of squares of silk organza. I can't tell you how often this comes in handy, even in places you might not expect.
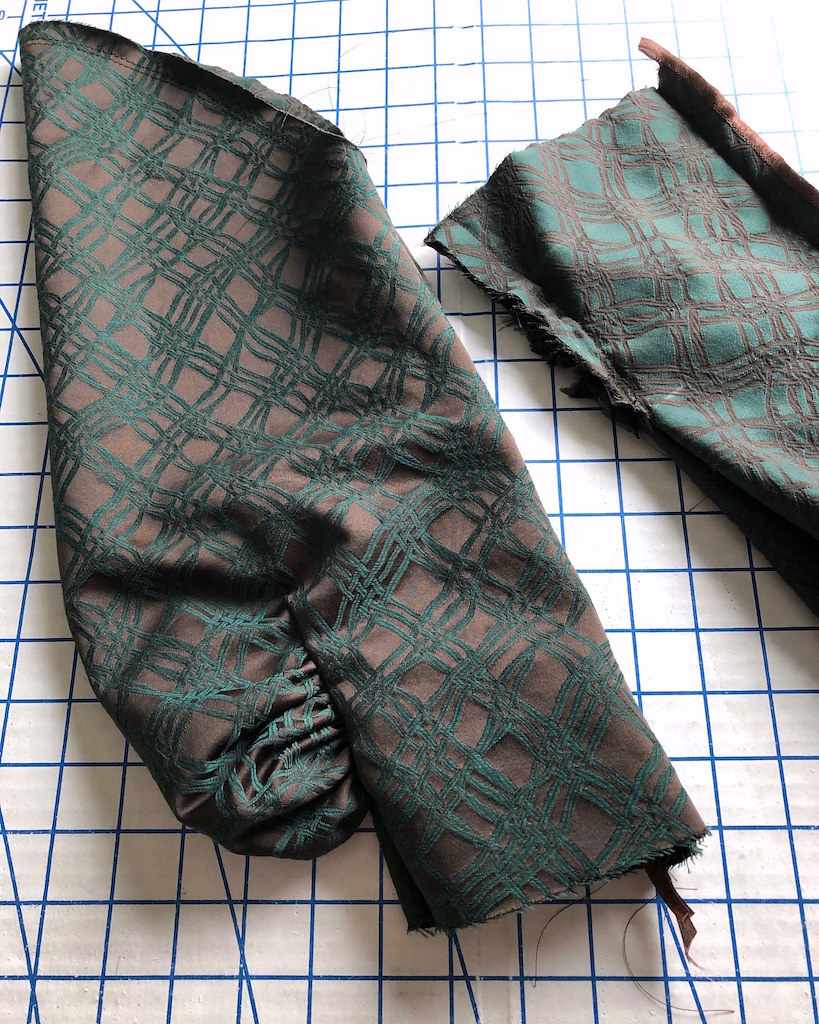
Once that corner was reinforced and clipped, the center portion of the sleeve was gathered up to fit the legs of the matching seamline.
That gives a lovely fullness at the lower sleeve. I decided to draw up the fullness completely, and not incorporate any of the gathering into the actual hem.
That gives a very puffy look to the outside portion of the sleeve.
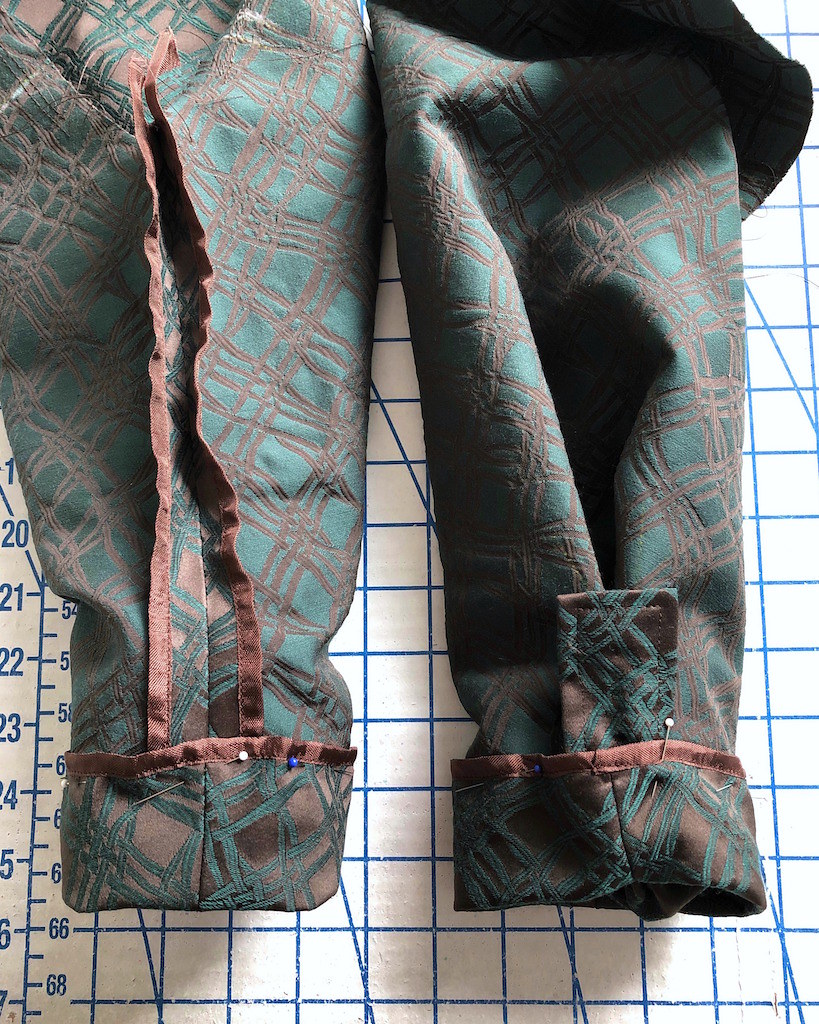
The insides, of course, are not as pretty.
The hem allowance would cover and protect a portion of the raw edges, but not the whole thing.
My solution was to hand stitch a small rectangle with finished edges to the top of the raw edges.
And, of course, the other seams were finished with rayon seam binding.
And then for the most exciting part . . . seeing what they look like on the actual dress!
So far, I like it!
Sunday, July 7, 2019
The Saga of the Jelly Roll Rug
After a year or more of use, my knitted kitchen rugs started to look a little worse for wear. They were also very lightweight and didn't like to stay put. I cannot recall when I first came across a #jellyrollrug, but once I saw one, my mind wouldn't let go of the idea of replacing one with the other.
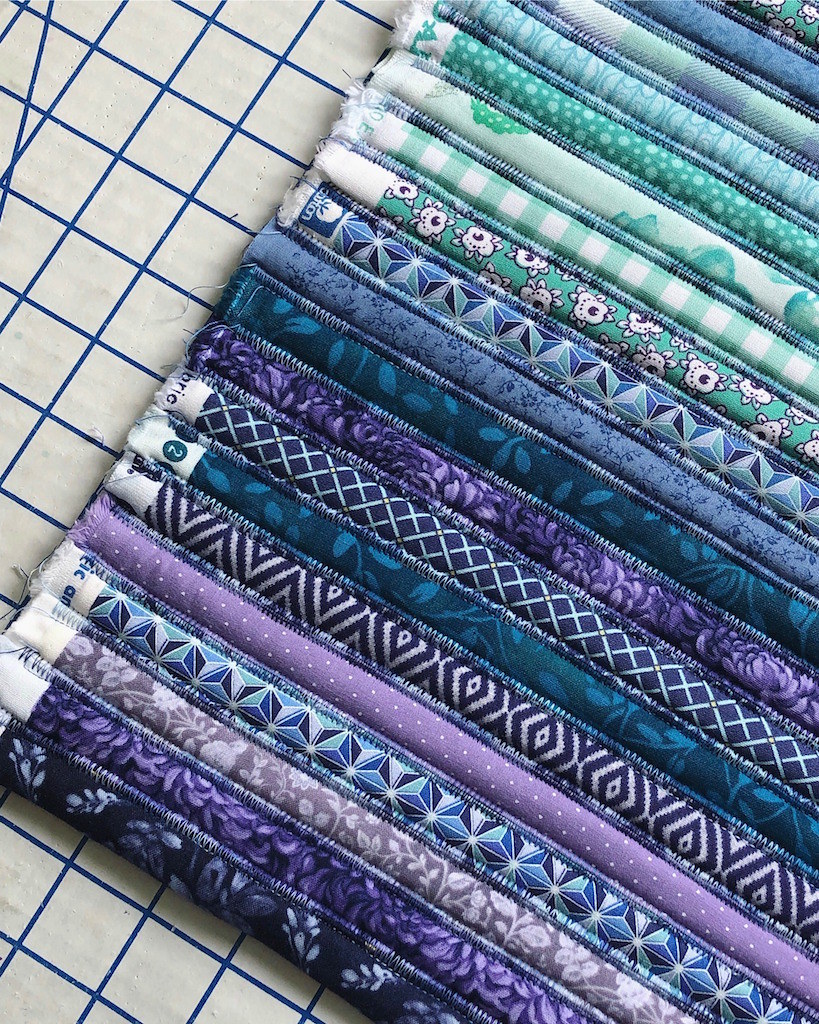
I started small, with the idea to replace the dog bowl rug. An actual Jelly Roll was not used. Instead, I gathered scraps of fabric that I thought would look nice together, purchased a few small cuts of quilting cotton, and ripped my 2.5" wide strips along the cross grain. Cotton batting was cut into 2.25" wide strips.
I started at the ironing board and wrapped the batting in my cotton strips. Eventually, this got old, and I decided that the ironing step was unnecessary. I would just fold the layers together at the sewing machine.
For the first rug, I used my 42" wide strips laid side to side in an order that I found pleasing.
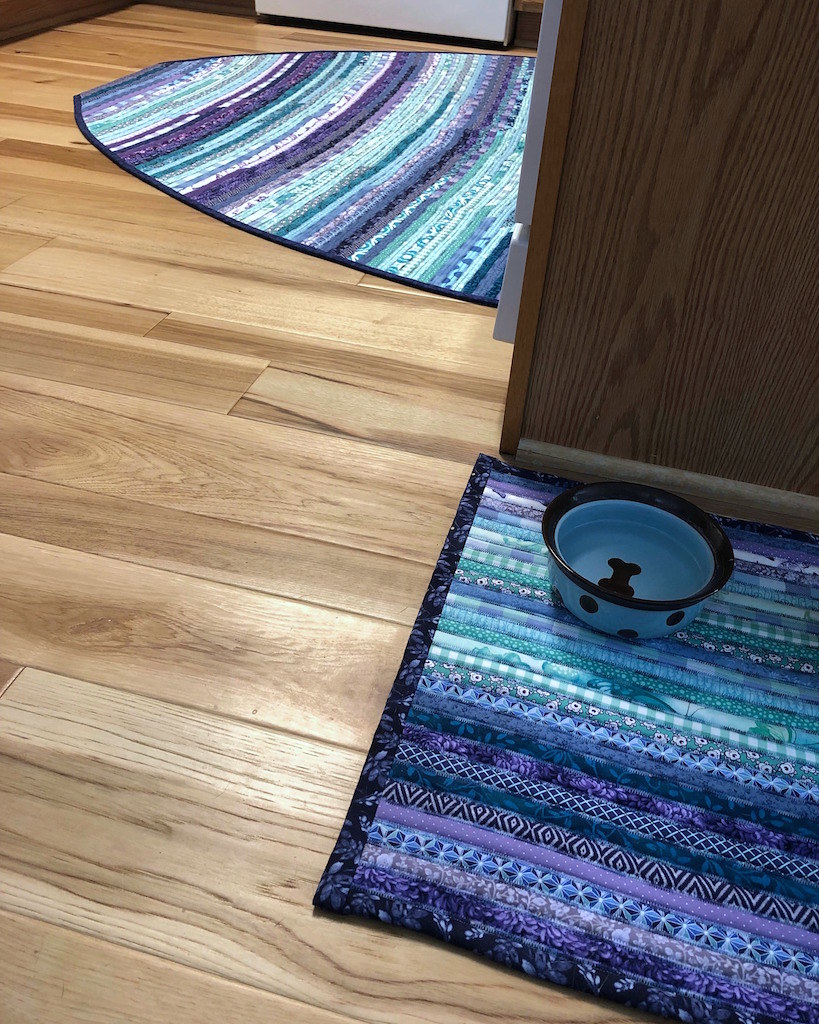
There was no need to join the ends of the fabric/batting tubes since the 42" minus the trimmed selvedge ends was going to be wide enough for my rug. To finish the sides, I just used another strip of fabric and bound the edges. It's not perfectly rectangular, but it certainly works, and I think it looks rather pretty!
Of course, once I made the first one, I wanted a larger version to replace the boring gray rug in the living room. That was definitely going to need more than the 42" strips, so I needed to join at least some of the ends.
Once I came up with a color/print order, I joined the seams along the bias, trimming the excess off after I had a long chain of 2.5" wide fabric.
The next step was to wrap the fabric around more cotton batting until I had a big ball of fabric rope.
The idea for this rug was to make it into a half circle shape, or something similar; large enough to fit the coffee table, but rounded at one end to save on fabric.
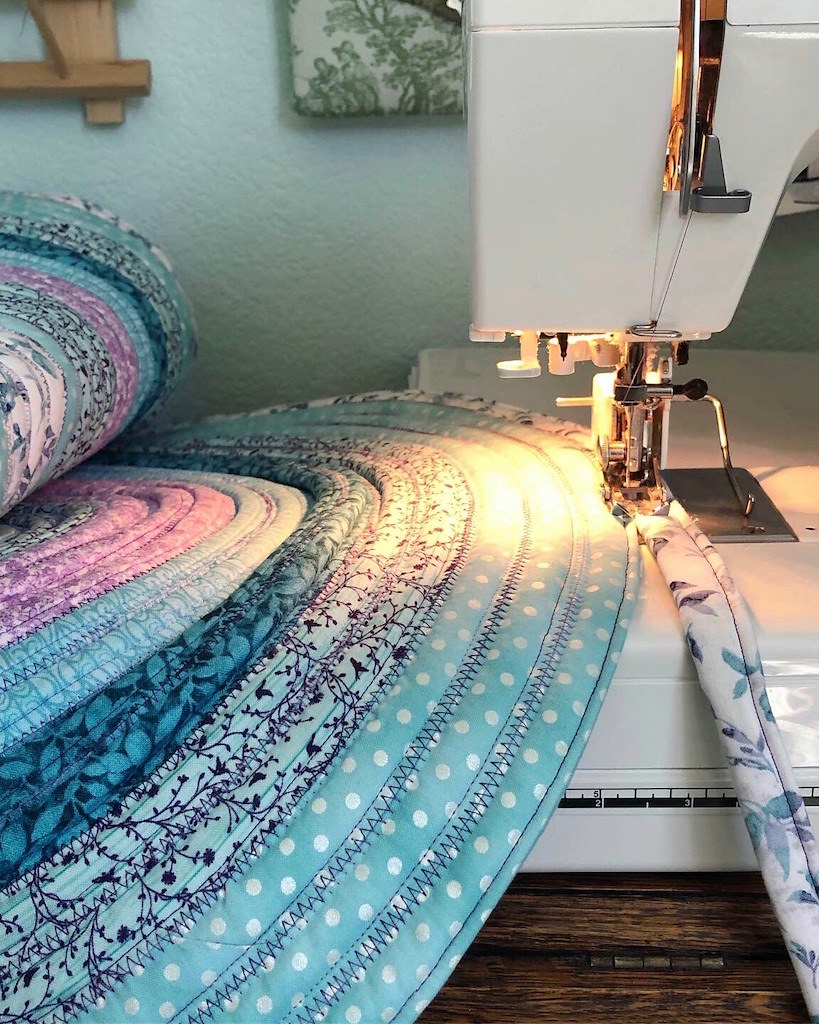
Well, my sewing machine table is set against a wall, and once the rug began to grow, it was a struggle to manage. There is a rippled portion, the rows are definitely not straight, and I had to trim more of the edges than I wanted to, making this much too small for the living room. The only good thing was that it could replace the other knitted rug in the kitchen.
So, not an entirely successful project, but I think it has charm, and it does work in the space.
But I wasn't over the fact that I wanted a pretty rug to replace the boring gray one. So a couple of weeks later, I was back at it, making a very large fabric rope ball for my next Jelly Roll Rug.
This time around, I decided to go for the original oblong shape. And that's where things went really wrong. I love my colors, and I love the idea, but fighting with an ever growing rug in a small space, with a wall to contend with, and the weigh of the rug dropping off the side of the table every chance it gots was not an easy thing. I was determined to get through.
I was ironing everything flat at each turn, and checking that it was laying flat for the first bunch of rows, until the floor space in the sewing room could no longer accommodate the growing rug, nor could my standard ironing board. I stuck it out, hoping that I could iron the thing into submission once I was finished. But once I brought it downstairs to iron on the floor with some old towels laid down, I saw what a huge problem I had. No amount of steam or starch or a combination of both was going to get this thing to lay flat. So I had a hissy fit and ripped the whole thing apart. And then I put the fabric ball away.
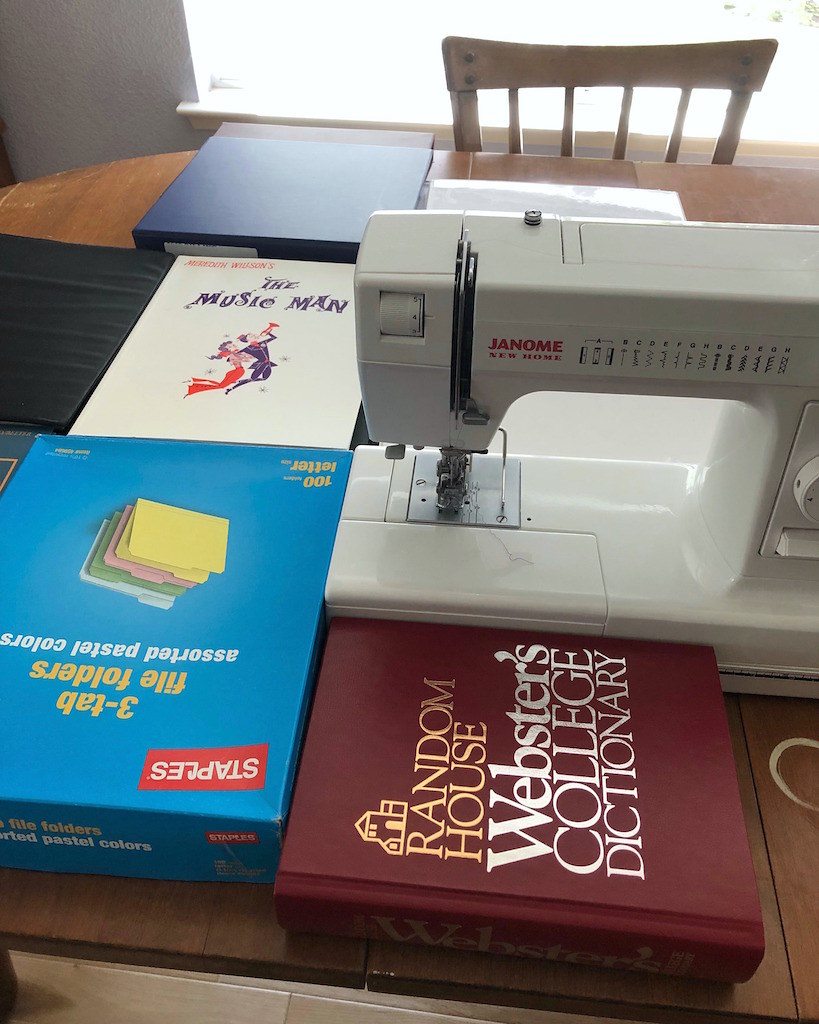
A few days ago I was still glaring at the discarded rope when a thought crossed my mind. People without an extra sewing room use the dining room table as a temporary sewing table all the time; in fact, I used to do the same thing. I am so very grateful to have a dedicated space, but in this case, I though the extra room just might save this project. So I cleared everything off, brought the sewing machine down, and pulled out a bunch of books to give myself a semi flat working space. Best of all, no wall to fight directly behind the machine!
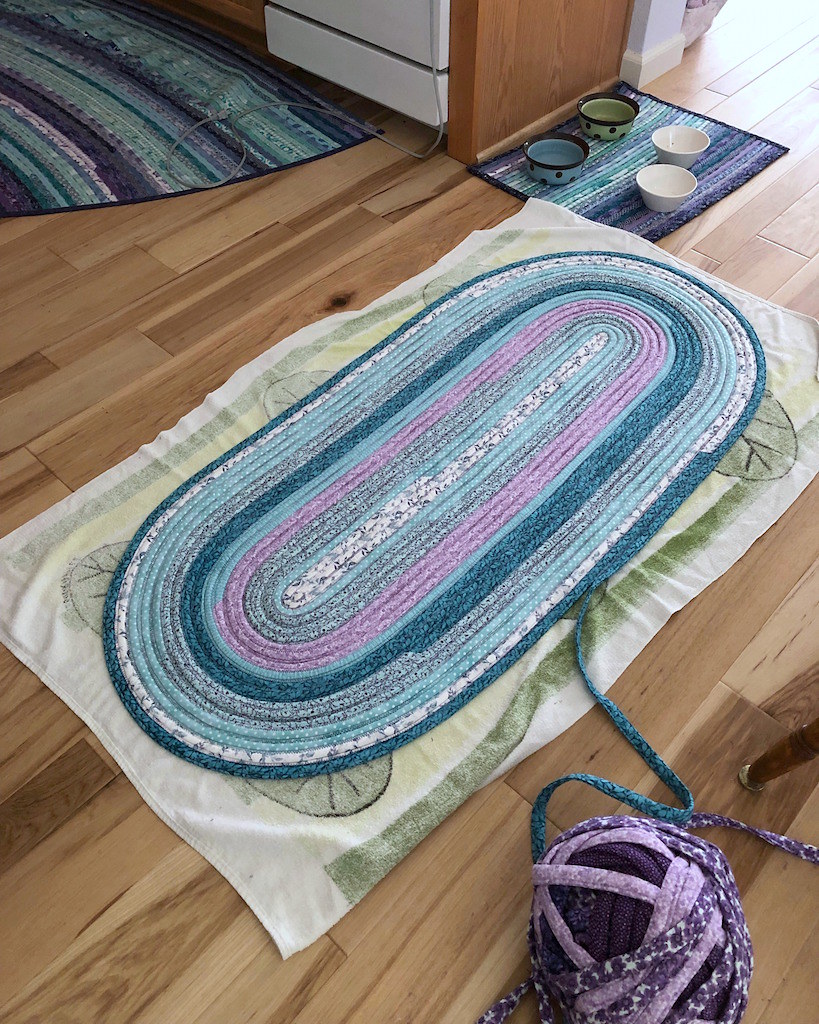
I also put a towel down and brought the iron downstairs to check my progress. The corners were cupping slightly, but I was able to iron them flat along the way.
That is not to say it wasn't a lot of working fighting this monster as she grew larger and larger. The finished measurements are 67" x 40". I am not sure how many 42" strips are in this rug, but I think there are considerably more than 40 of them (the standard Jelly Roll number, I believe).
Everything was going fairly well until the last few yards of fabric rope. Then the machine started acting up. Grrrrr. I suspect that my needle had enough and perhaps bent slightly. Well, I got myself a new one and started again, only to have it break as I was pushing the end under. I suppose I may have been stitching too fast for the added thickness. Well, a third needle was employed to get through the last few inches of the project.
I gave her a final press, pulled the towel out, and weighted her down with books for a few hours.
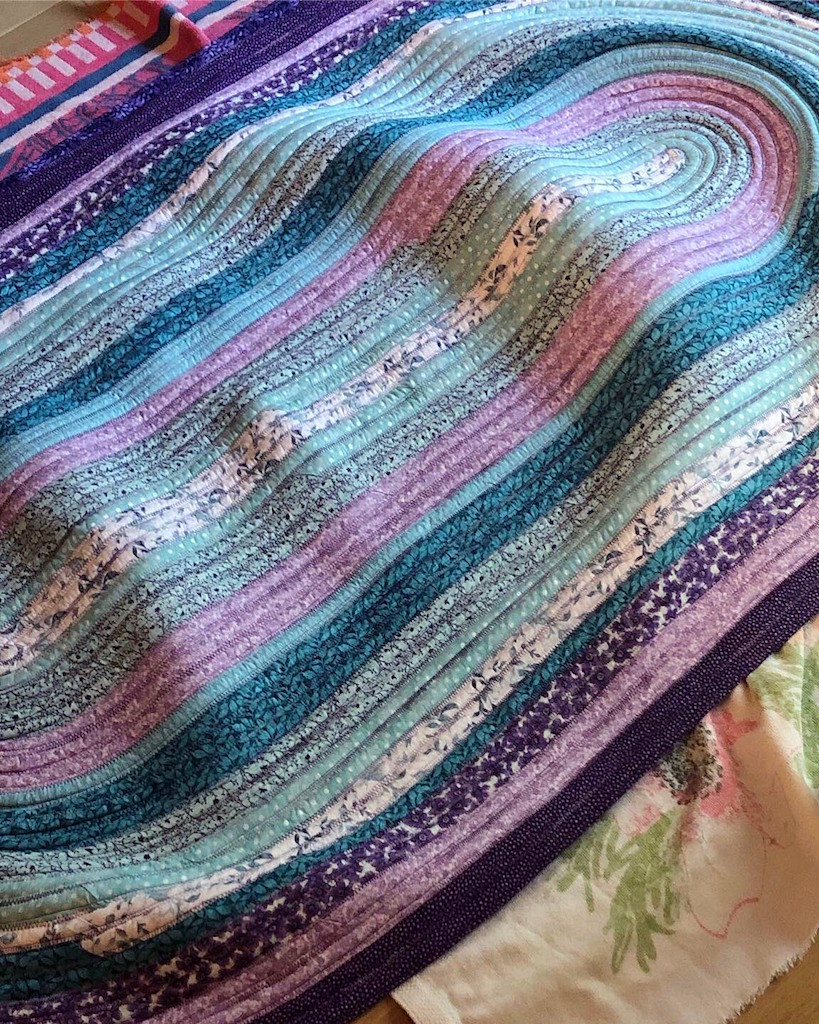
Miraculously, I have a usable rug! There is a little bit of waviness at the center, but overall, I am calling this a win.
And, most importantly, the gray rug is gone! You can also see a bit of the hand braided and hand sewn rag rug I made a year ago in the background. I am still convinced that hand sewing on a flat surface is the only real way to keep a larger sized rug completely flat, but I am very happy that this project turned out as well as it did in the end!
Subscribe to:
Posts (Atom)


