Pages
▼
Monday, December 10, 2018
Adding the Lining
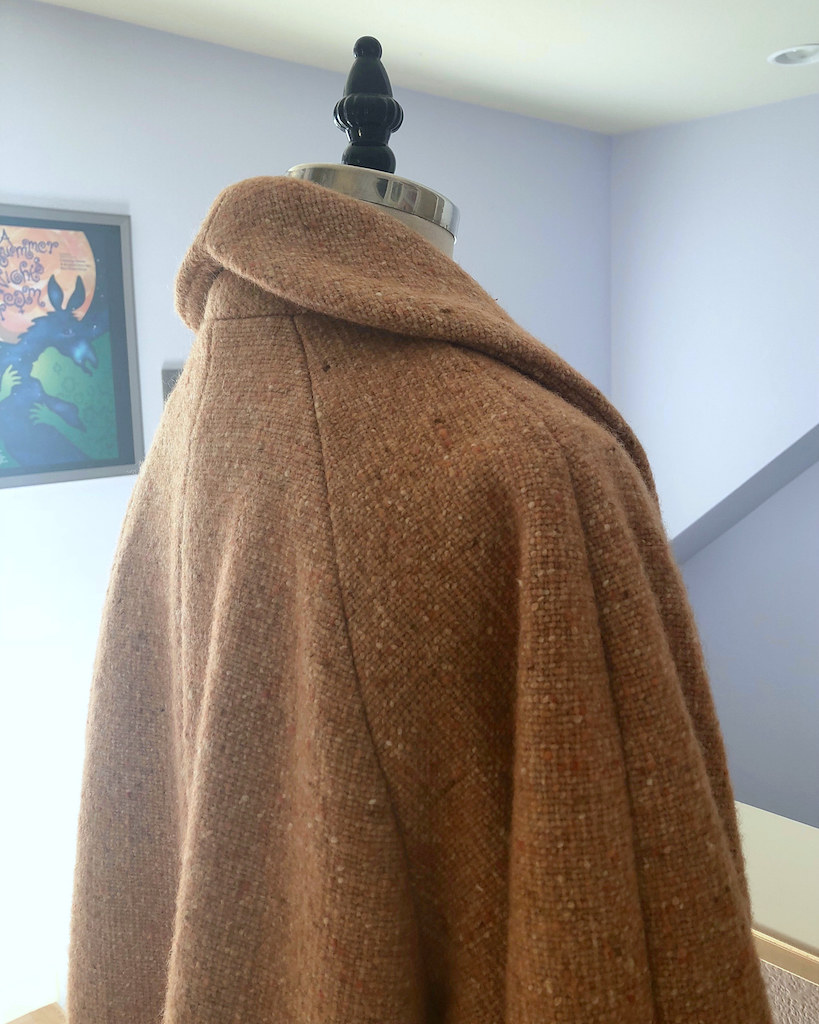
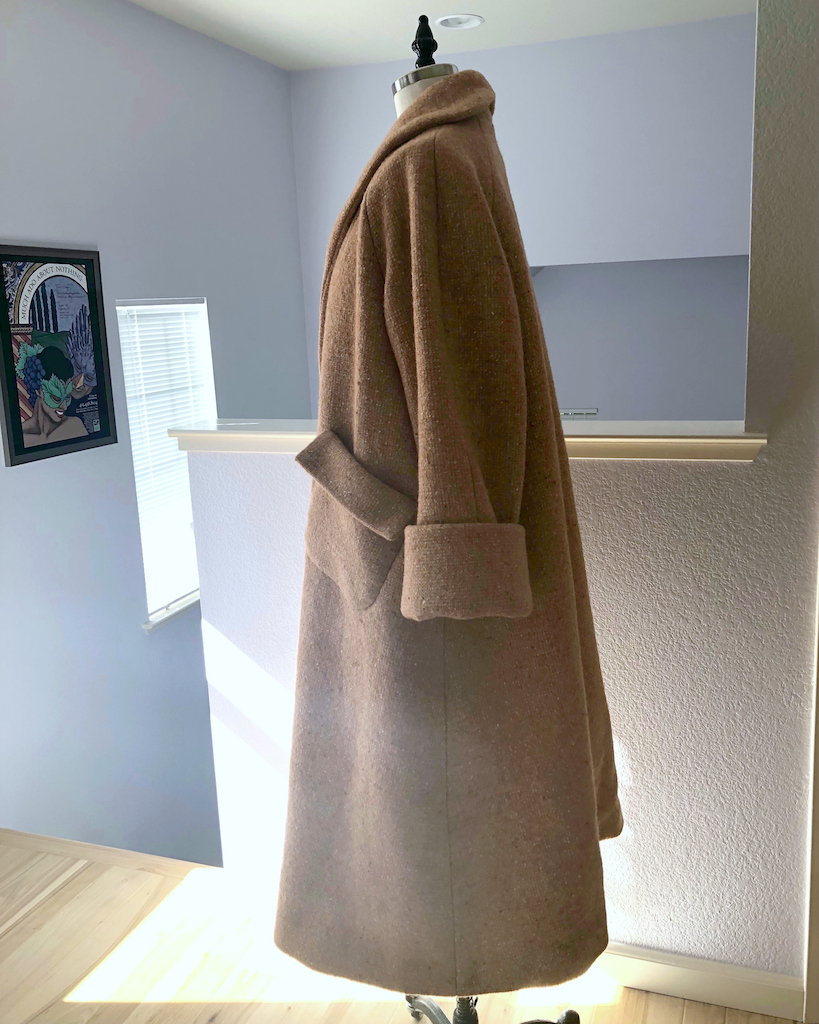
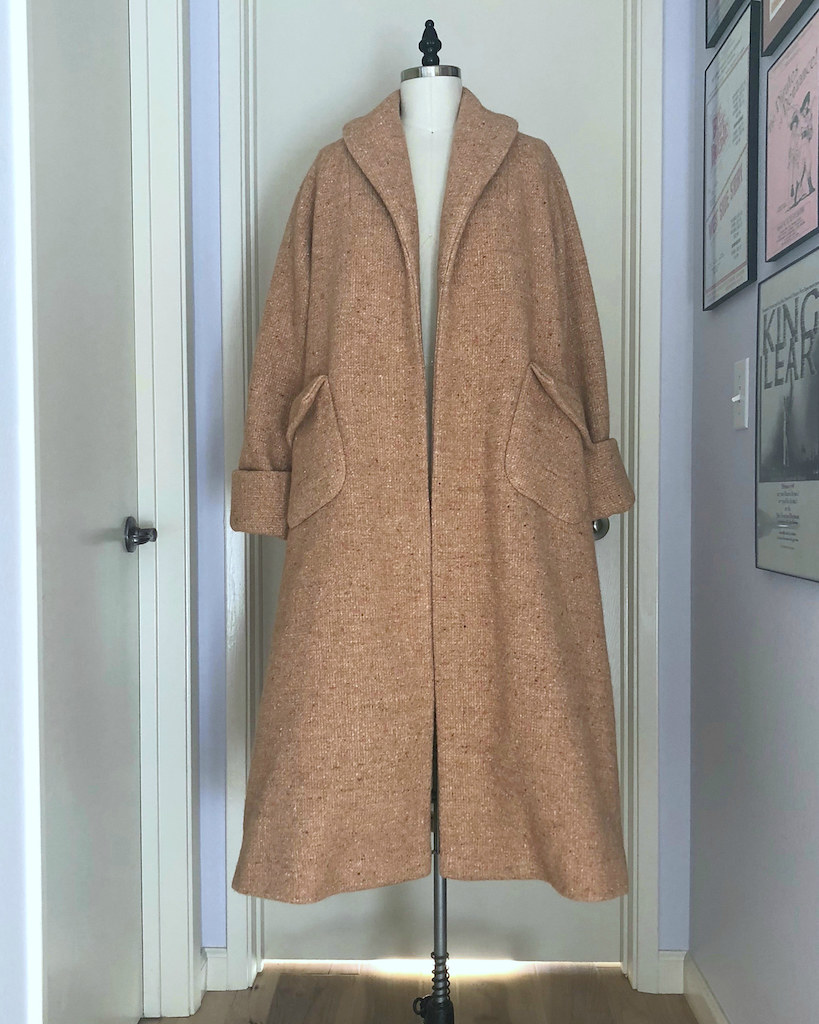
Back in December of last year, I made up my first version of Simplicity 8509. It was really a test run for this wool swing coat. The successful wearable muslin just confirmed that I should move forward with the wool.
I started blogging about the process of making a second coat with this crazy thick wool coating fabric back in March of this year, and somewhere along the way, I lost steam. It probably had something to do with the weather getting warm, and the thought of this heavy wool was too much to take! But anyway . . . where I left the project here on the blog was with a finished outer shell.
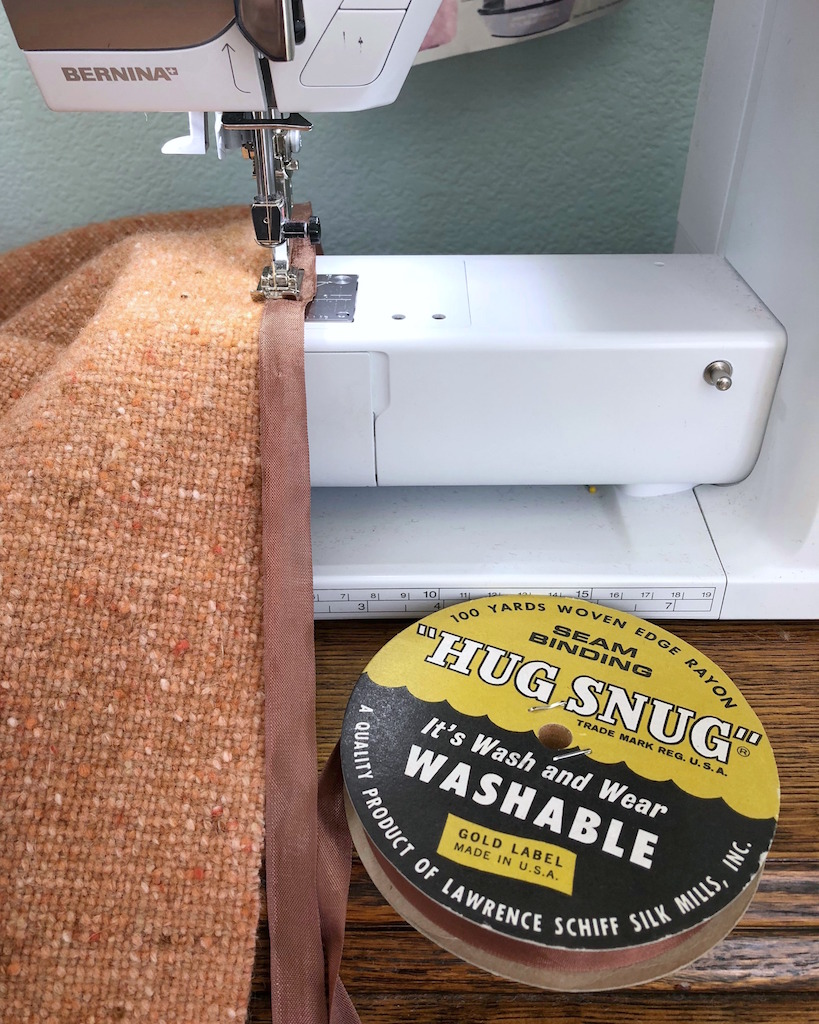
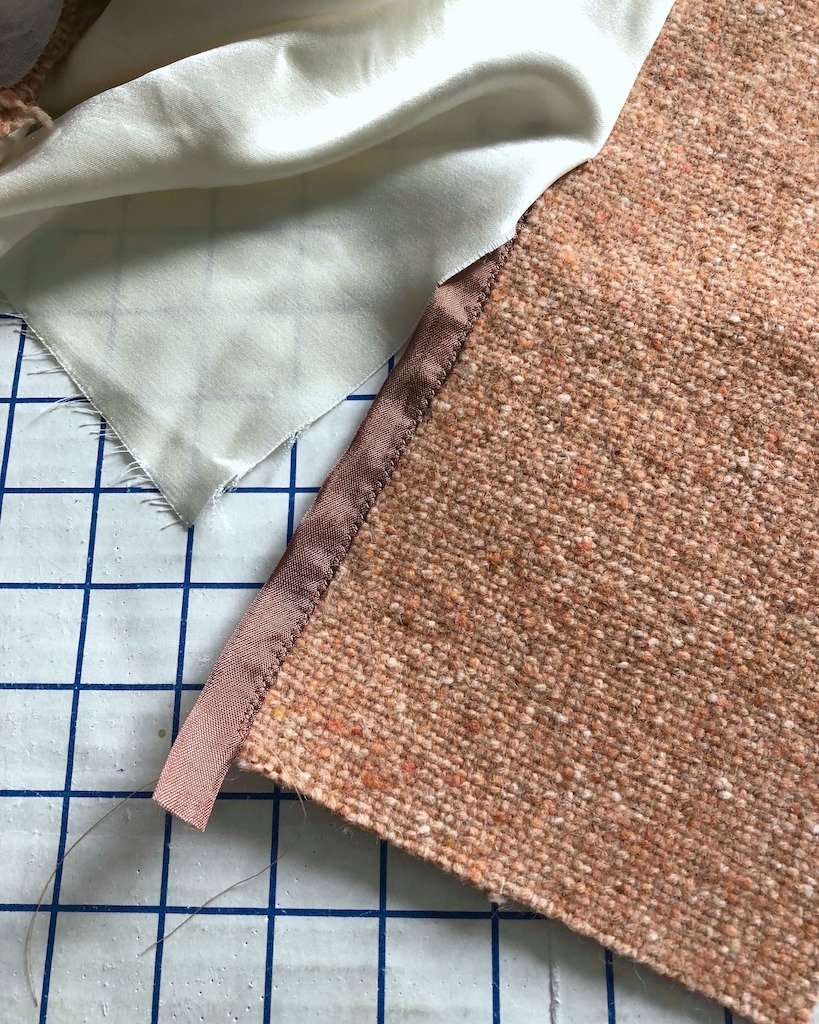
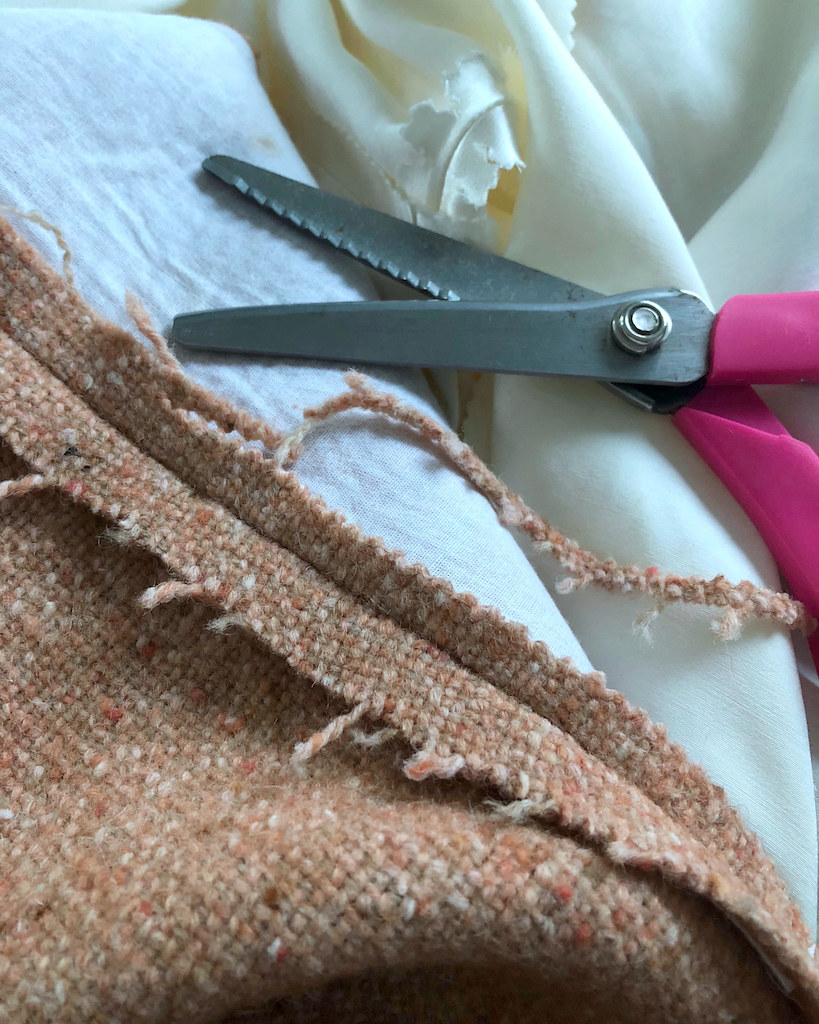
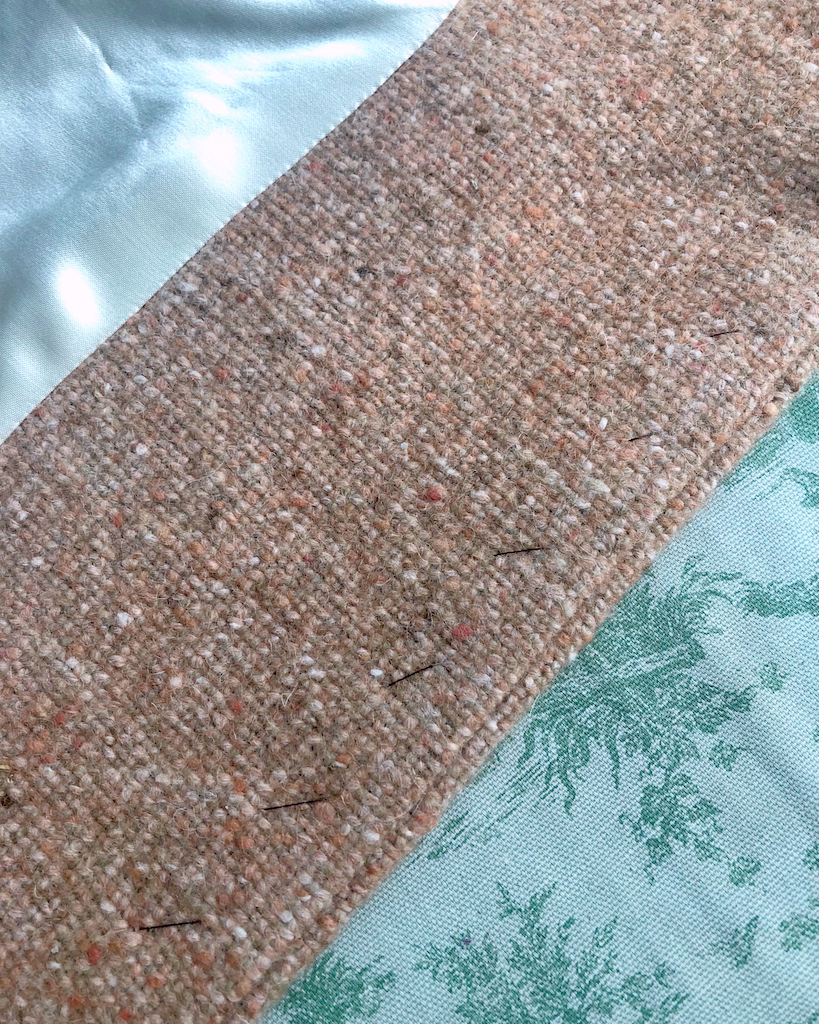
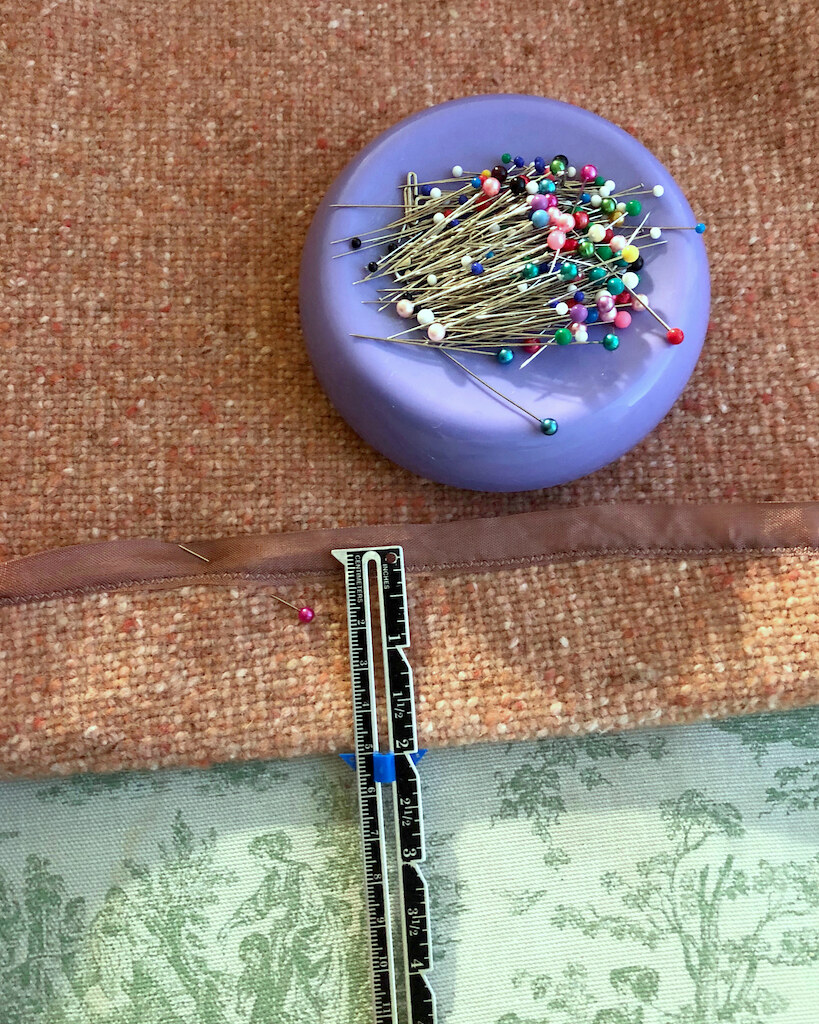
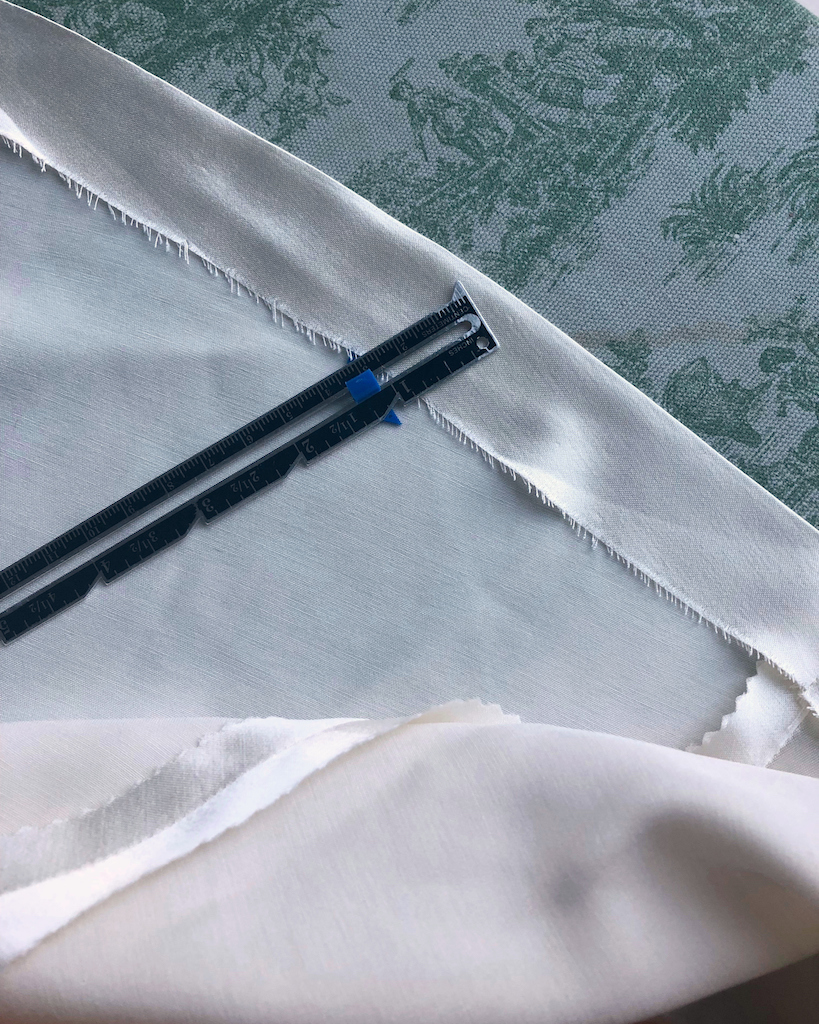
I added a strip of seam binding to the bottom edge of of the facing where it joins the lining. In ready-to-wear coats, this bit is often left unfinished or serged. I am not a huge fan of the serged look, and there was no way I was going to leave this "fray as soon as you look at it" coating raw for an inch along the bottom of the coat. Once again, my Hug Snug saved the day!
The most challenging part of this process was certainly dragging this heavy thing back and forth from sewing table to sewing machine.
I stabilized the front edge with some twill tape.
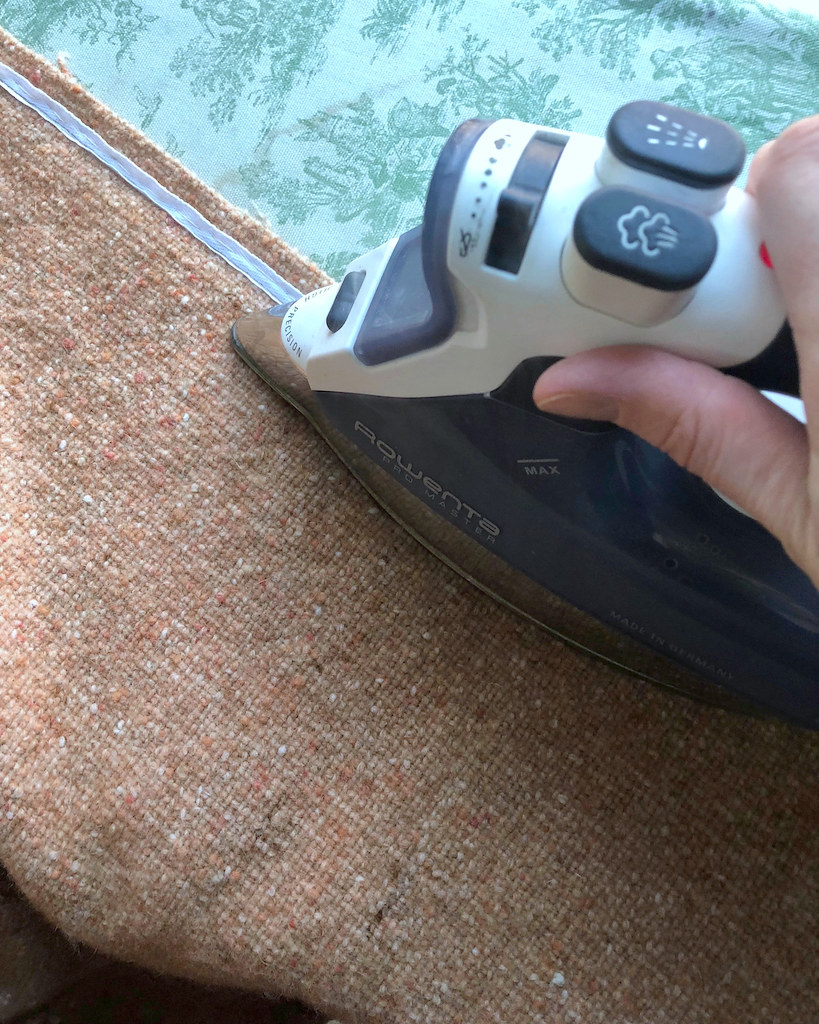
And then pressed . . .
and pressed . . .
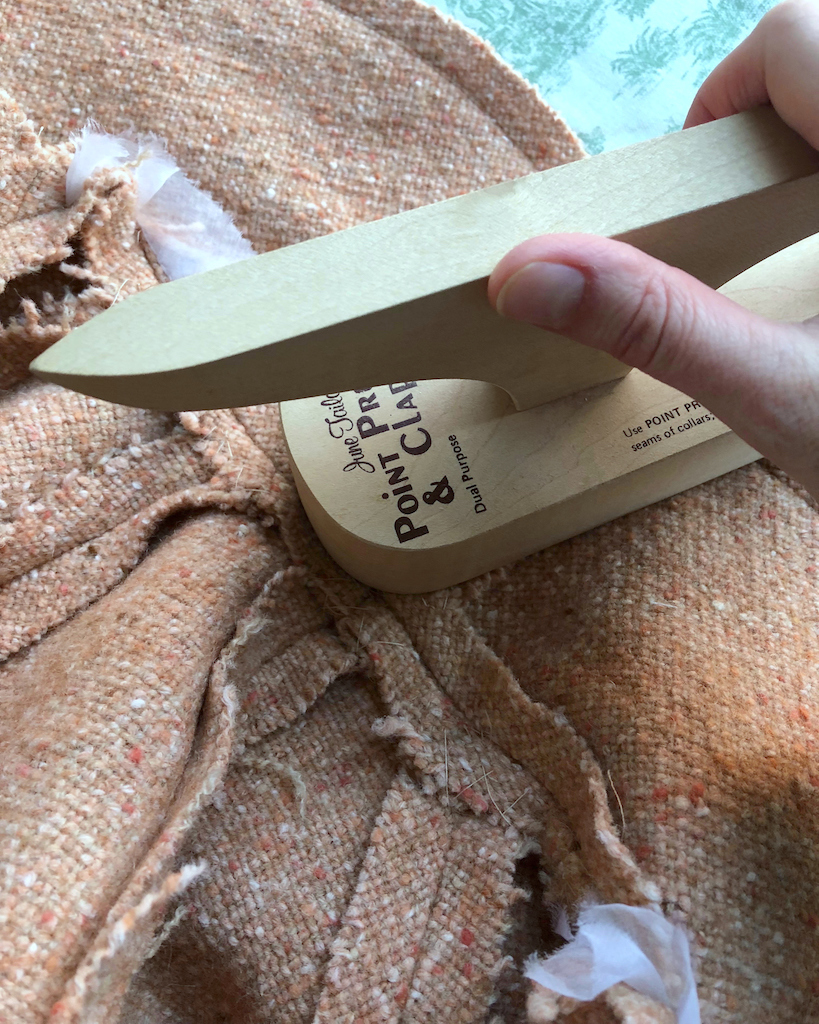
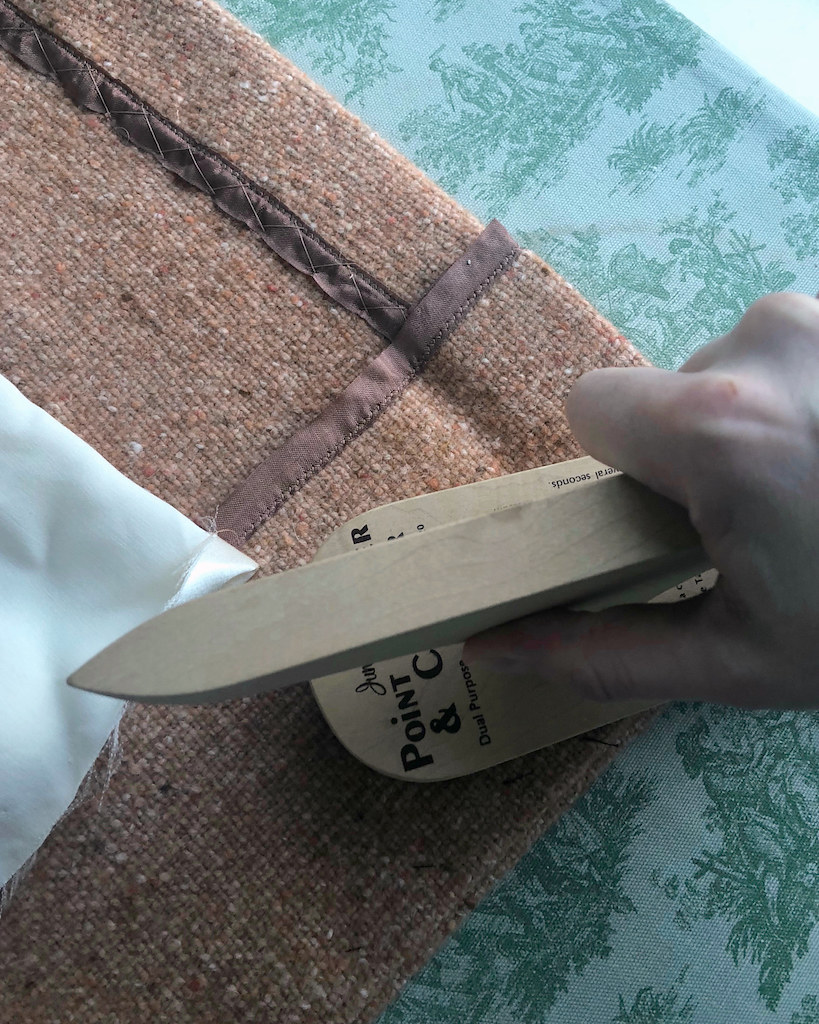
and went to town with the clapper.
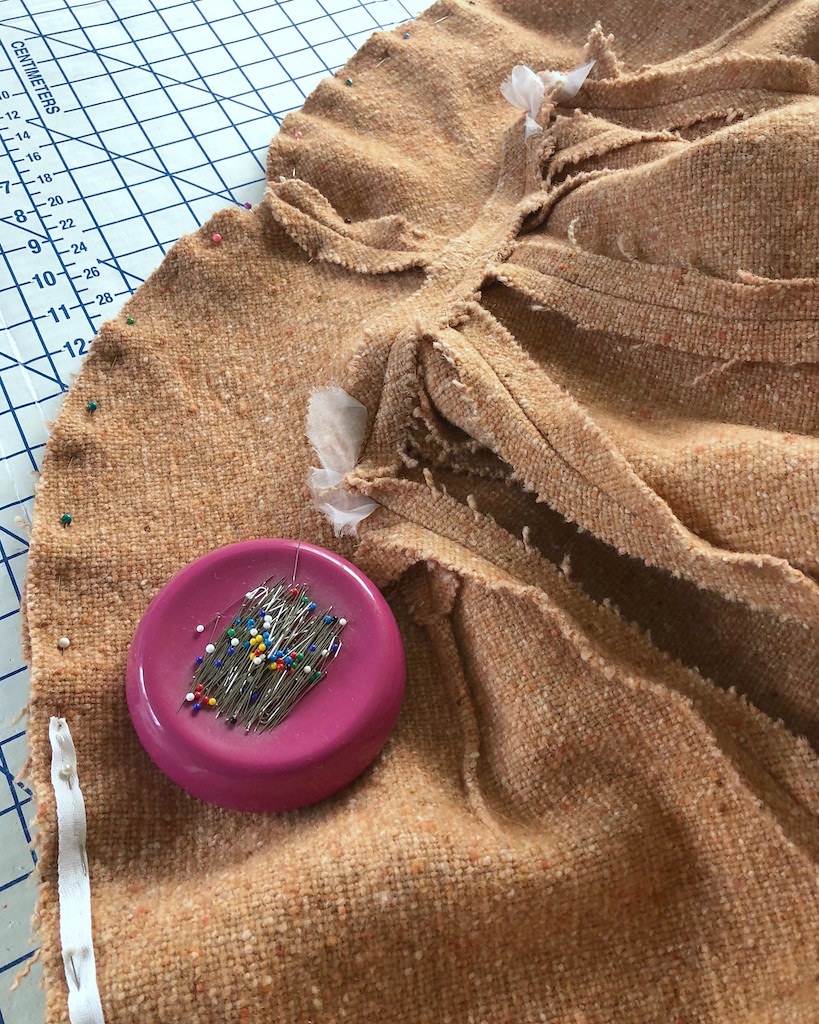
And, of course, there were plenty of seam allowances to be trimmed and graded.
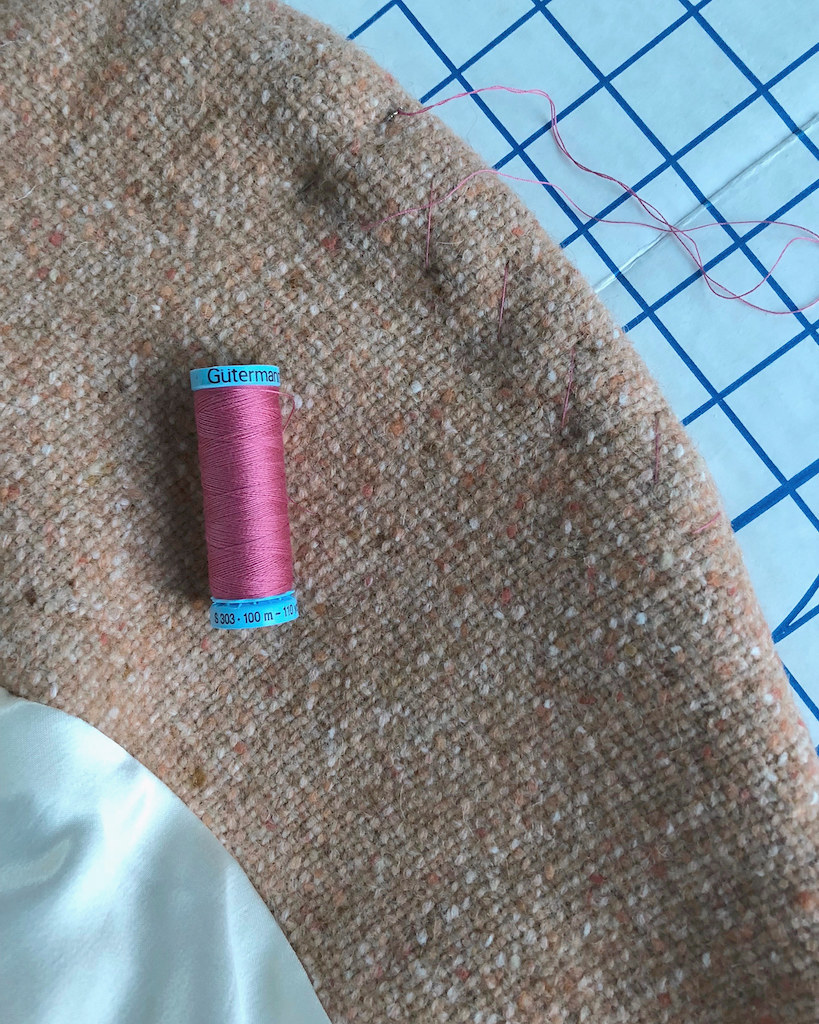
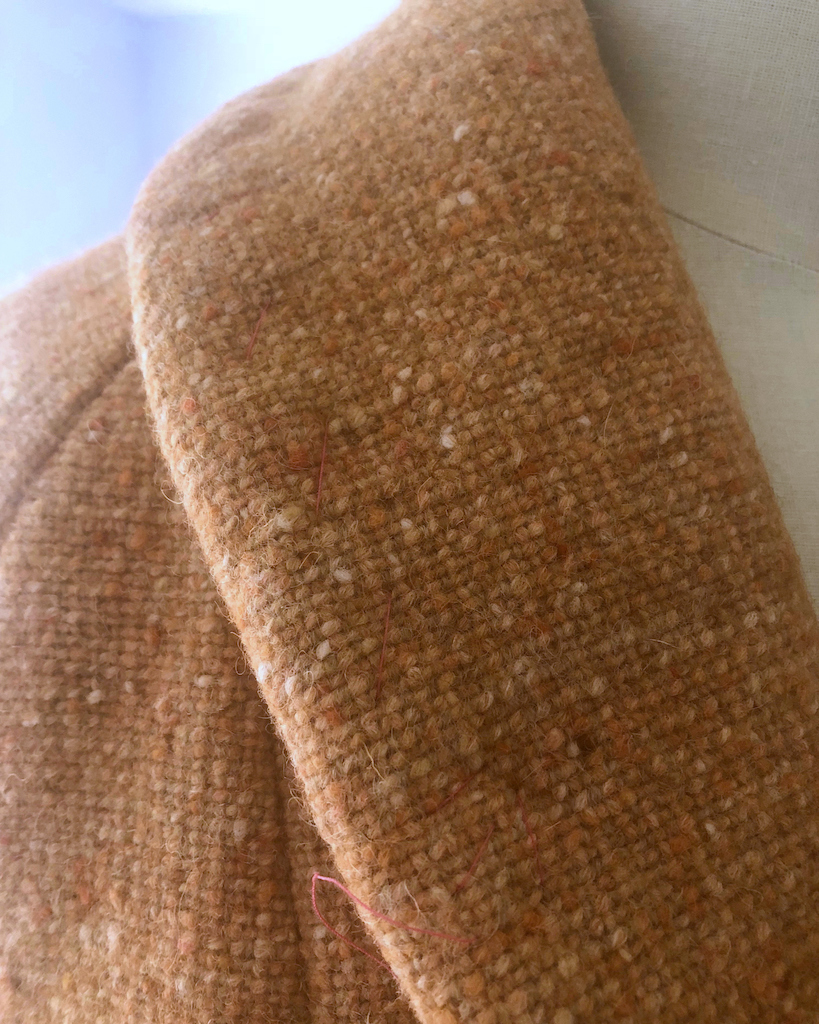
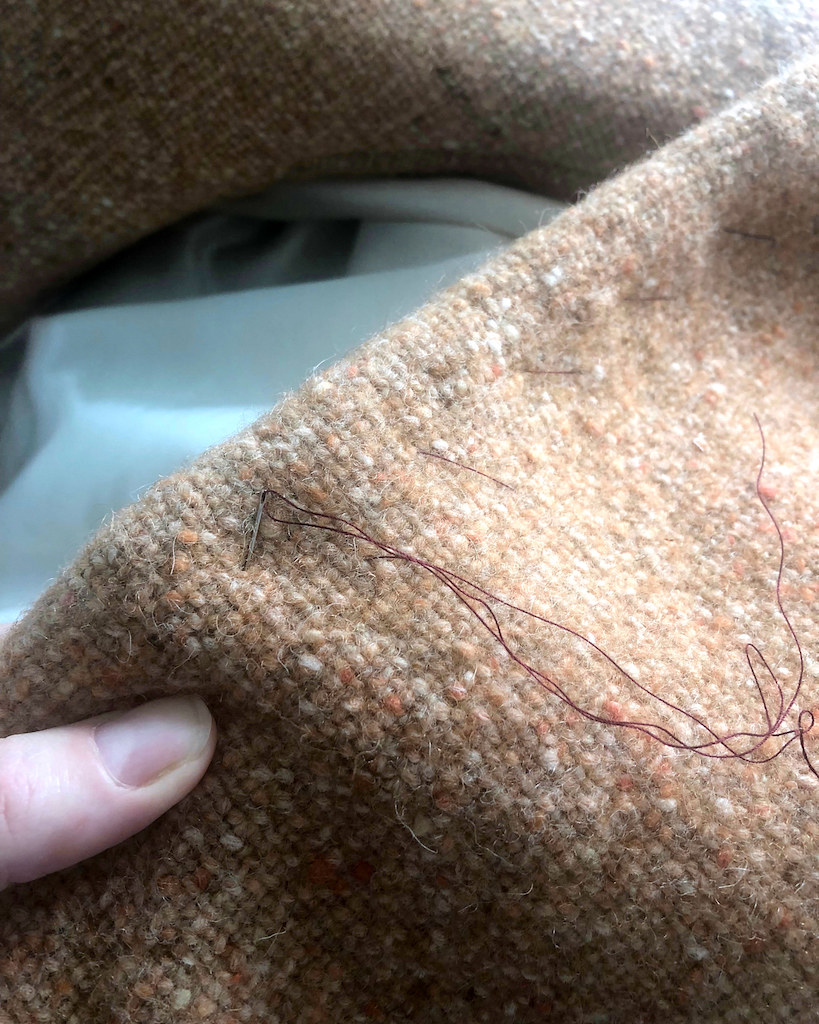
Because of the thickness of the coat, and the weight, I needed to stabilize the turn of cloth (the collar is shown below). I love silk thread for basting because it is so easy to remove. I probably could have used a color with a little more contrast, but this was the first spool I grabbed.
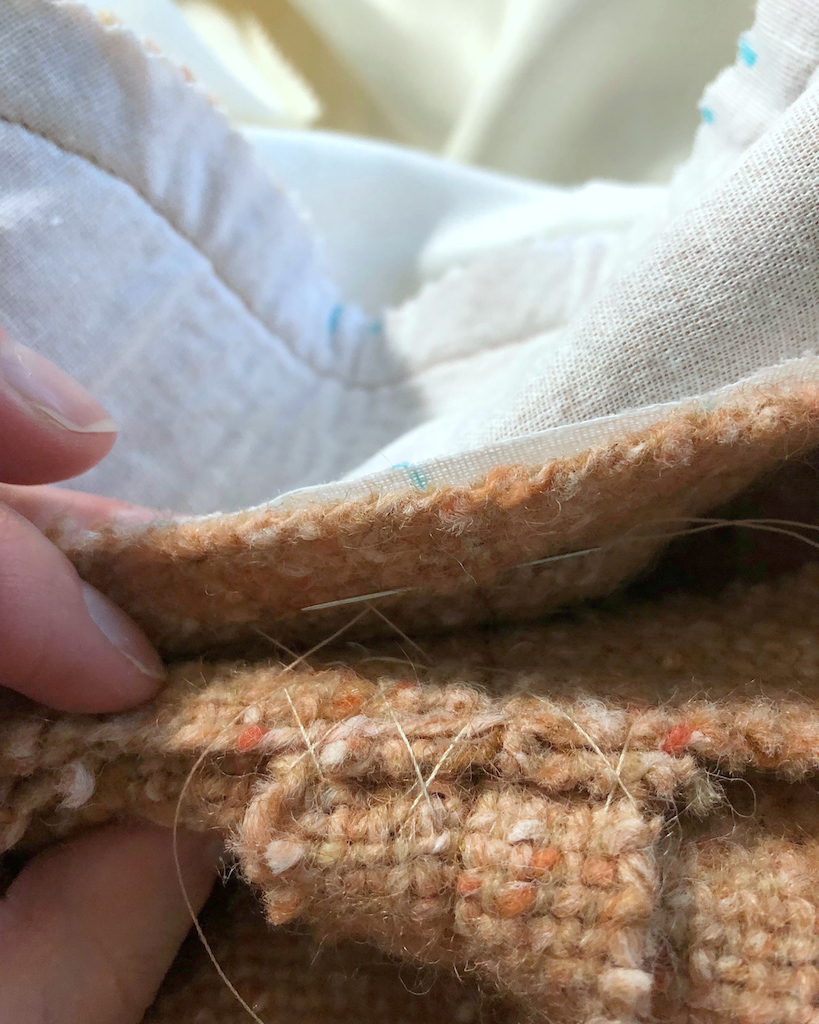
Once that collar was pressed into submission, I catch-stitched the collar facing and collar together using the seam allowances.
Which should keep that collar in place nicely.
No facing visible from the front!
And then I did the same with front opening edges.
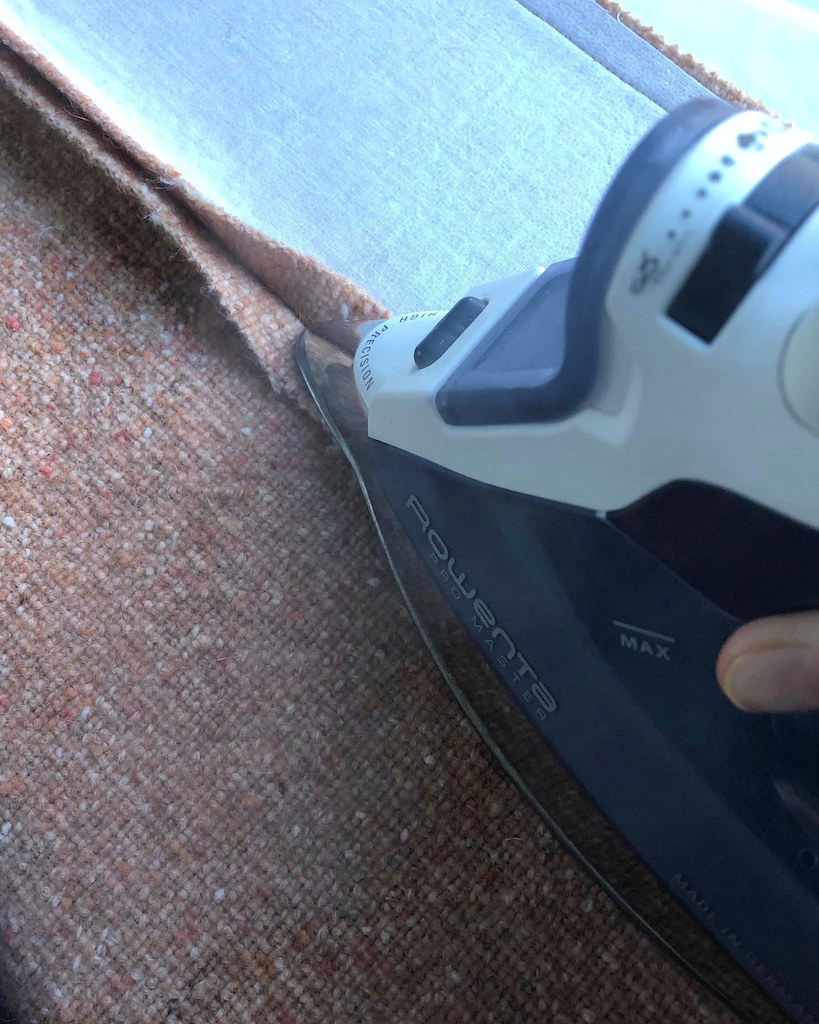
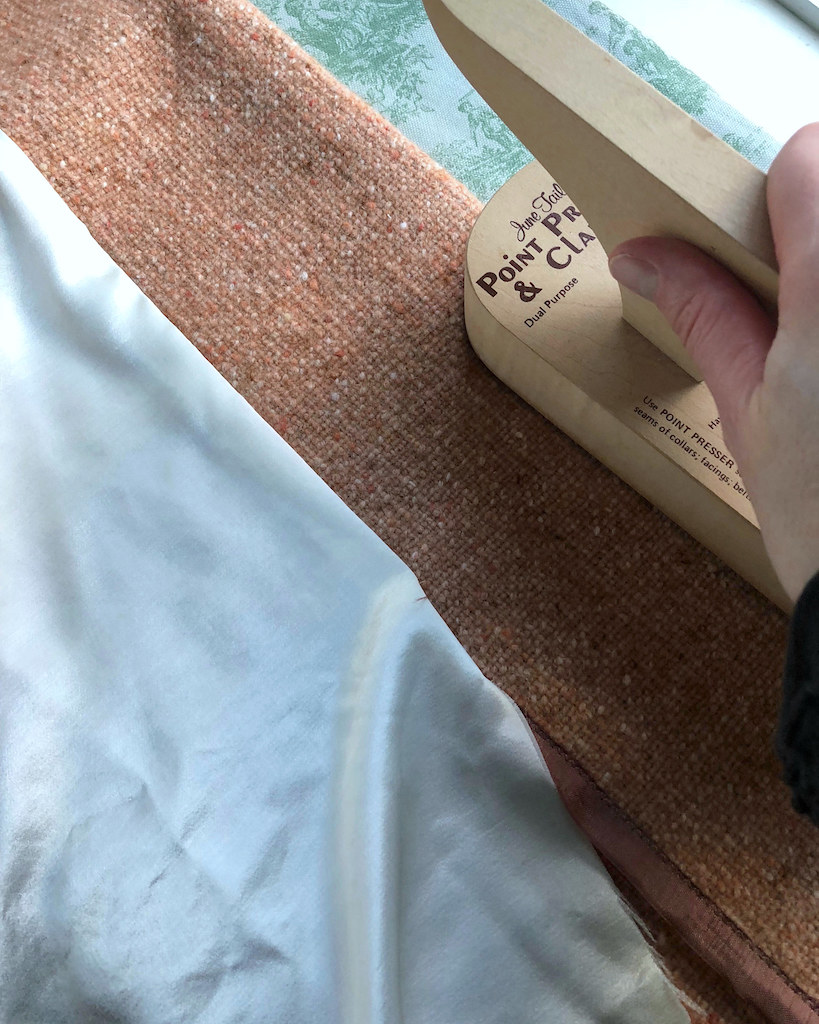
And I once again pressed the heck out of this portion of the coat.
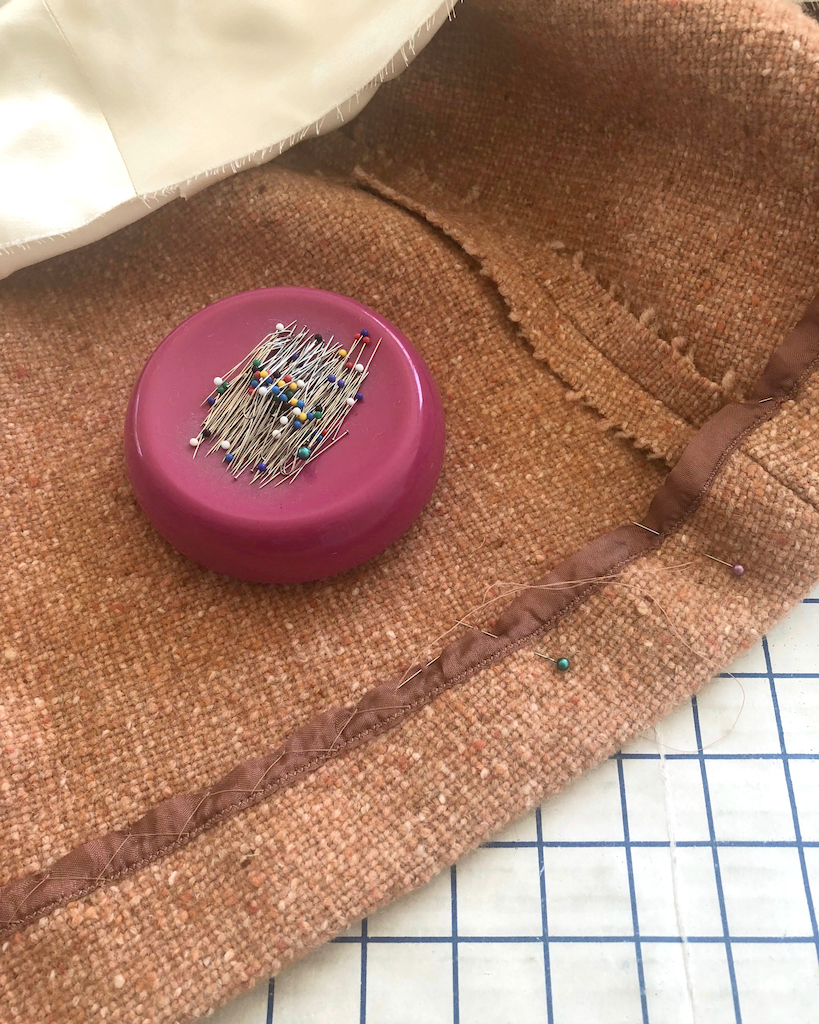
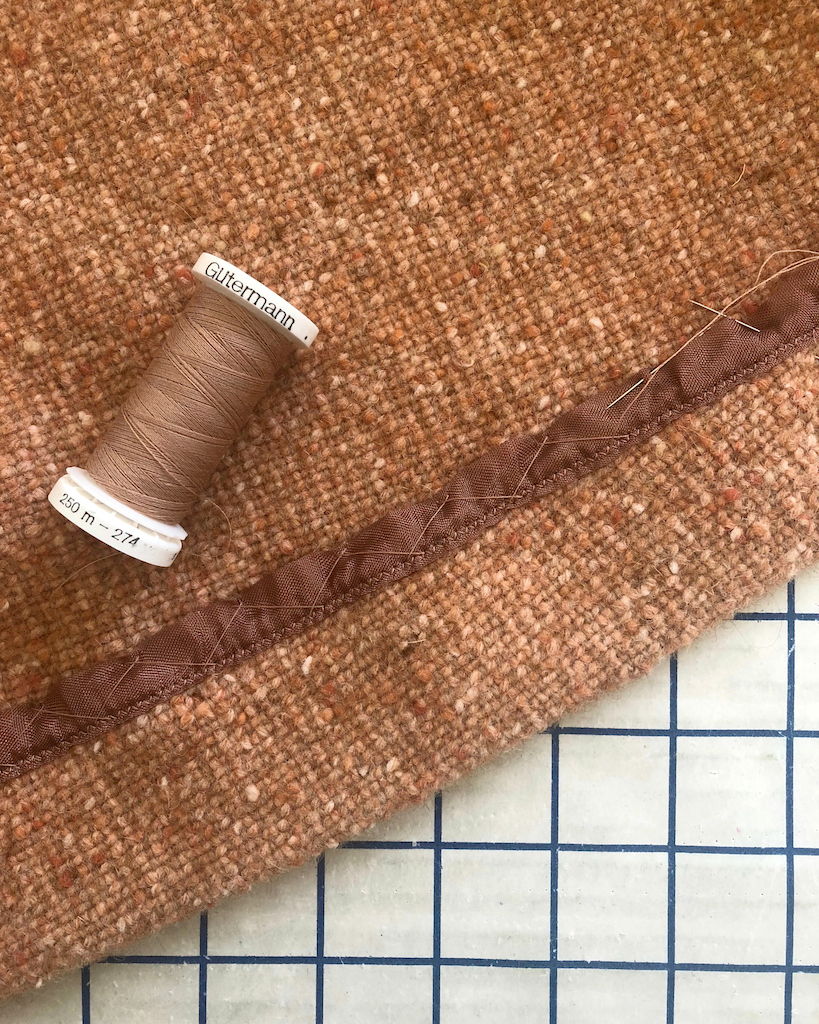
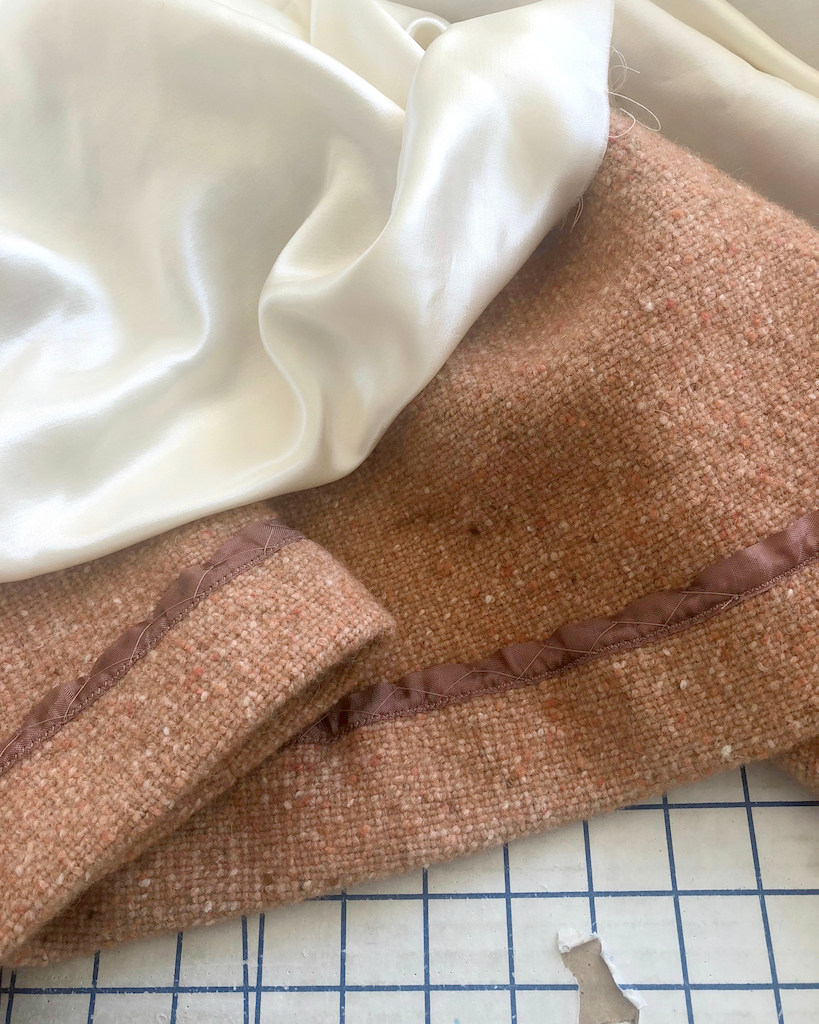
Next up was the hemline. I used seam binding on the raw edges.
The hemline was catch-stitched in place.
This is becoming my favorite hemming method!
In this particular case, the stitches will be covered by a lining, but the seam binding is much easier to work with than the loosely woven wool.
And then there was more pressing.
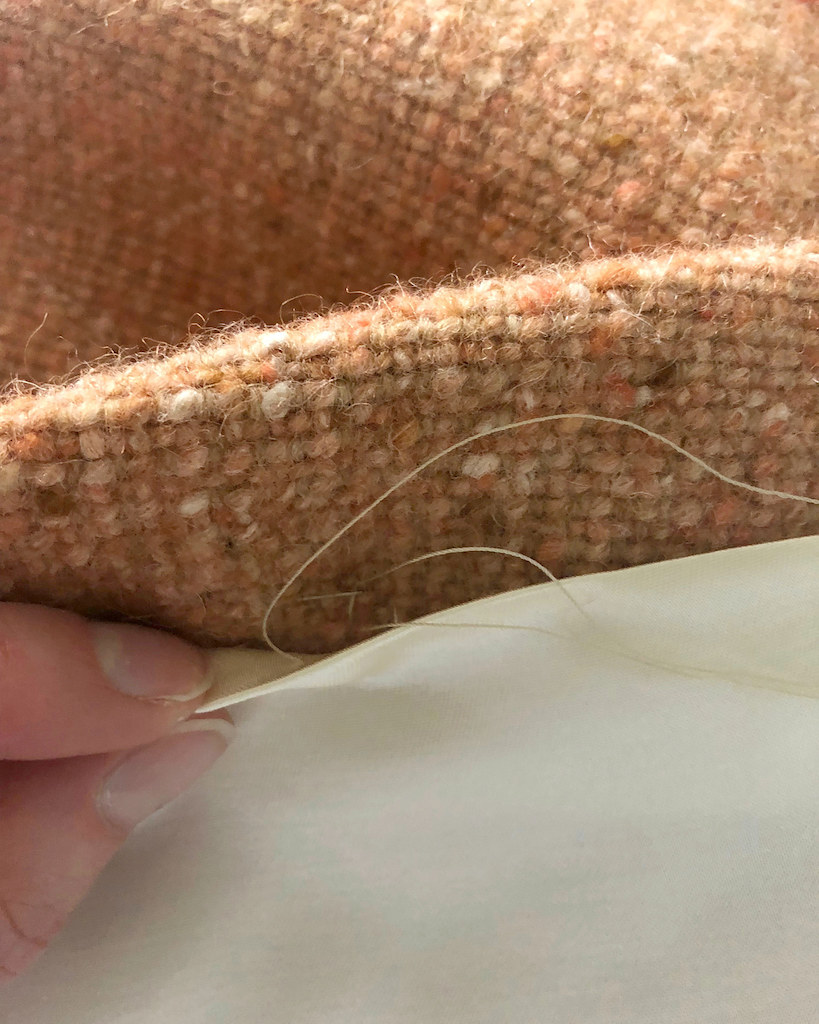
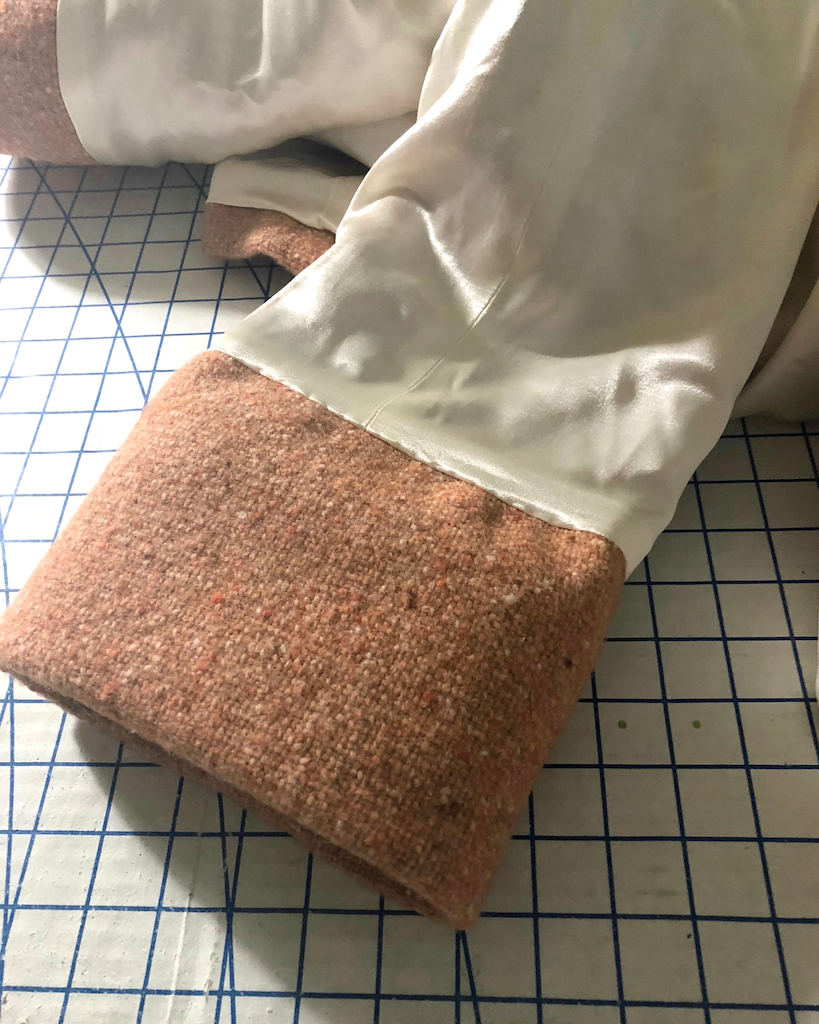
The raw edge of the lining hem was folded up and pressed.
It was then hand stitched to the coat.
The sleeve lining was also stitched in place.
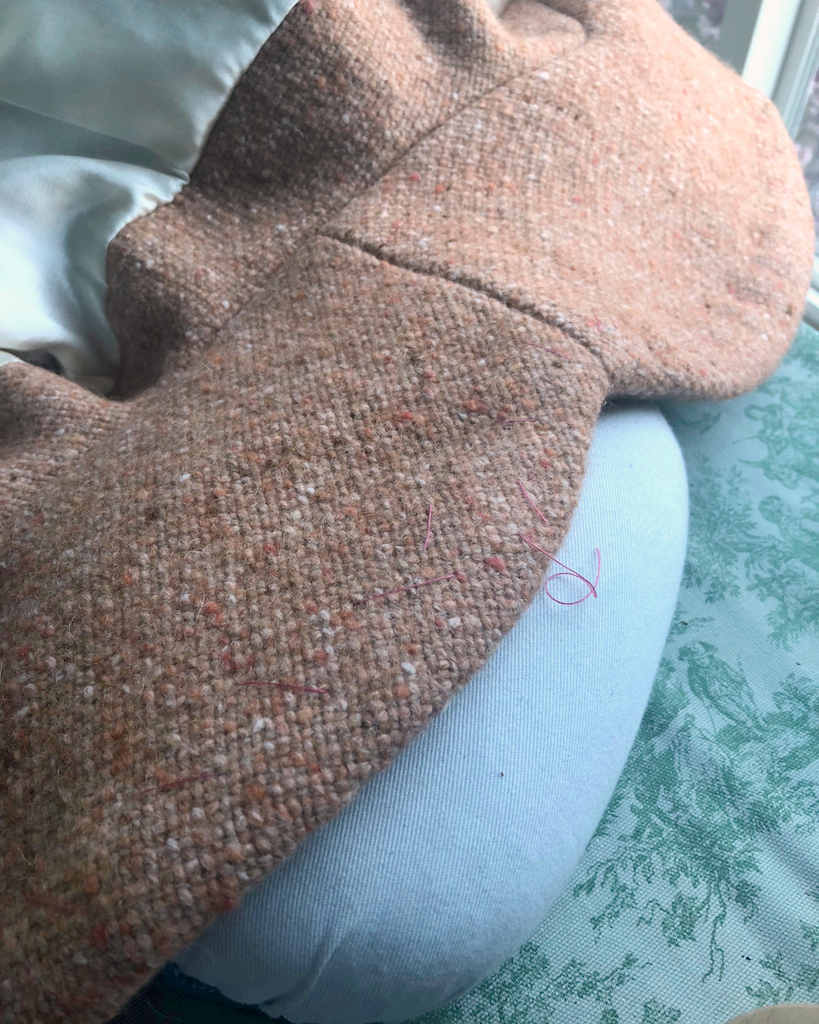
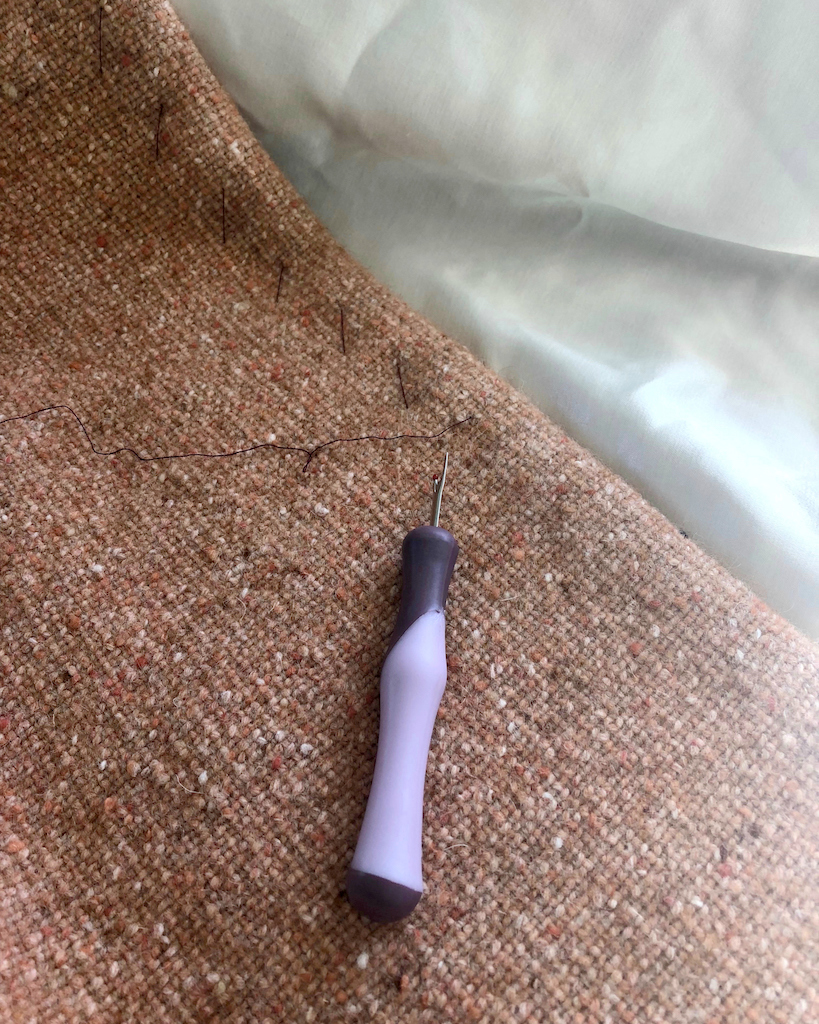
And then it was time to remove the visible basting stitches.
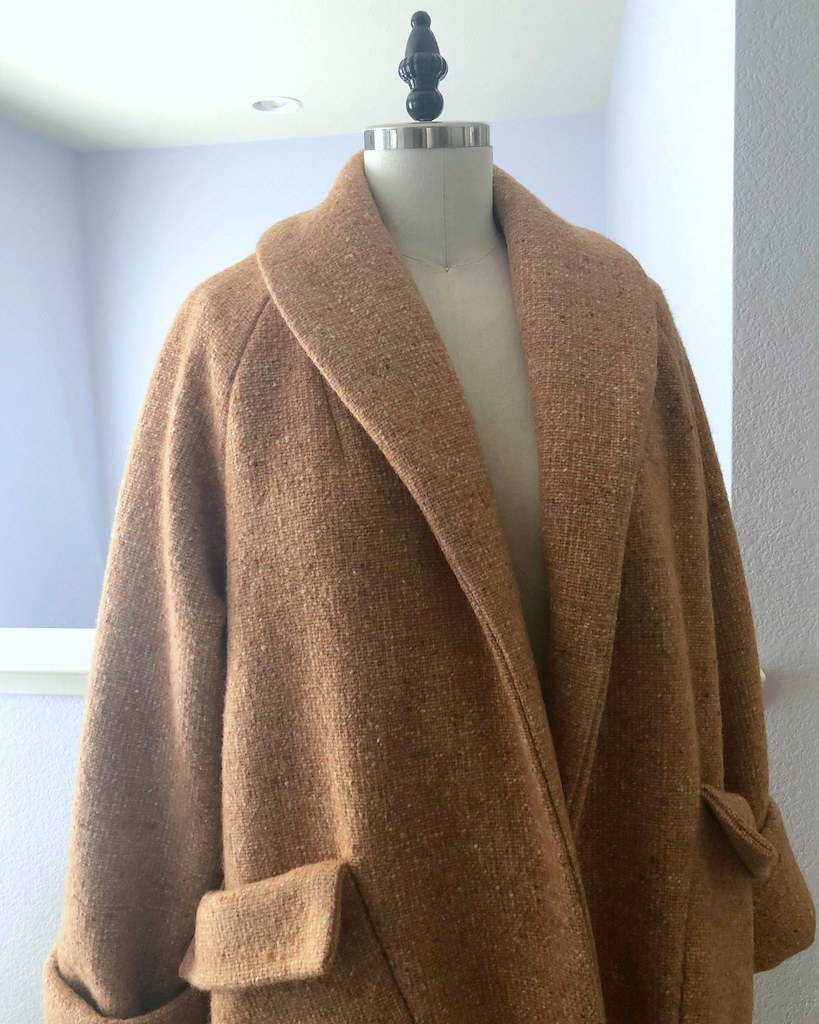
Which means the coat is finished!
This lady is heavy duty!
So I am all ready for the cold weather!
Well, not really . . . I hate the cold (not that we have real cold weather in the Bay Area, but I am a baby about it anyway), but this coat will make the temperatures slightly more bearable.



Congratulations! Your work is so inspiring.the pockets are delicious
ReplyDeletegreat version of this swing coat and I bet it is warm! and I'm a baby too about the cold, it's been freezing lately :) at least to me
ReplyDeleteThe coat is gorgeous! You've done a wonderful job (once again).
ReplyDeleteI was wondering what ever became of this project. It's gorgeous! As always, you're an inspiration.
ReplyDeleteWonderful coat! Thank you for including so many details.
ReplyDeleteYour sewing is amazing! Thanks for posting.
ReplyDeleteWhat a coat!!!
ReplyDeleteThat neckline is certain to put your face upon a pedestal.
Awaiting your photo shoot (hoping for some "in town" settings - Laura Mae exiting a bakery holding the box by the strings, applying lipstick in front of the typewriter repair shop's window, or maybe in front of some very Art Modern elevator doors).
Wonderful details
ReplyDeleteSuch talent! Would love to see some more tutorials from you. You are a truly gifted young lady.
ReplyDelete