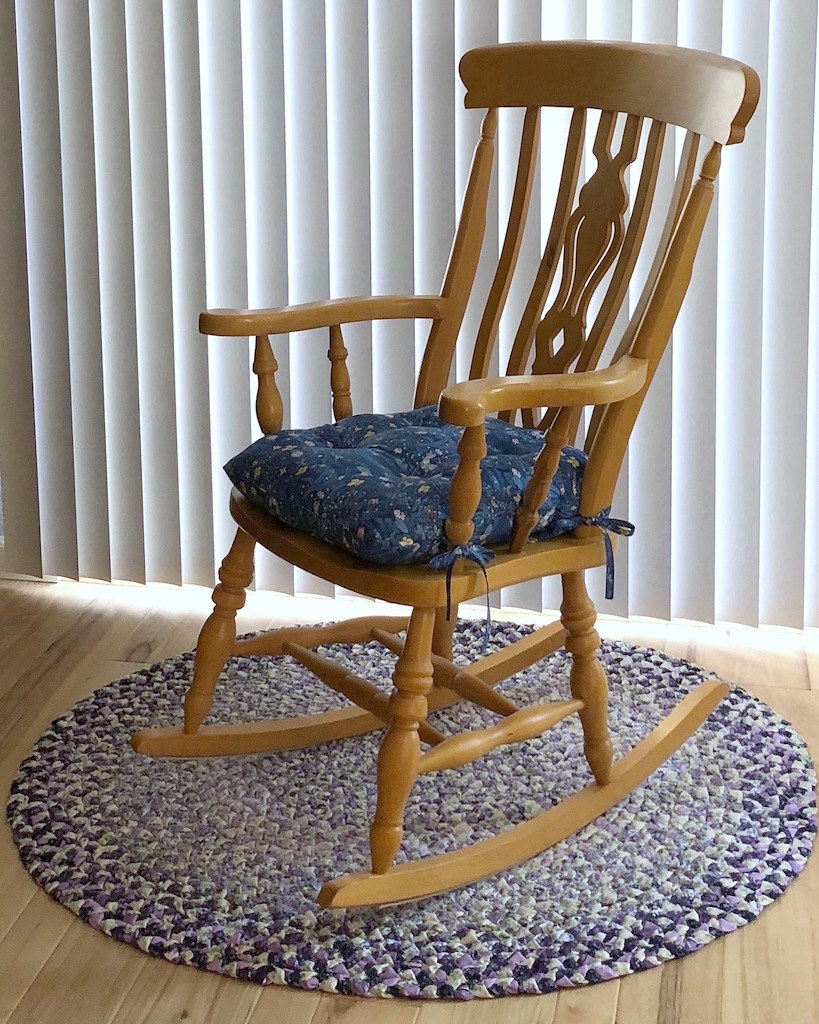
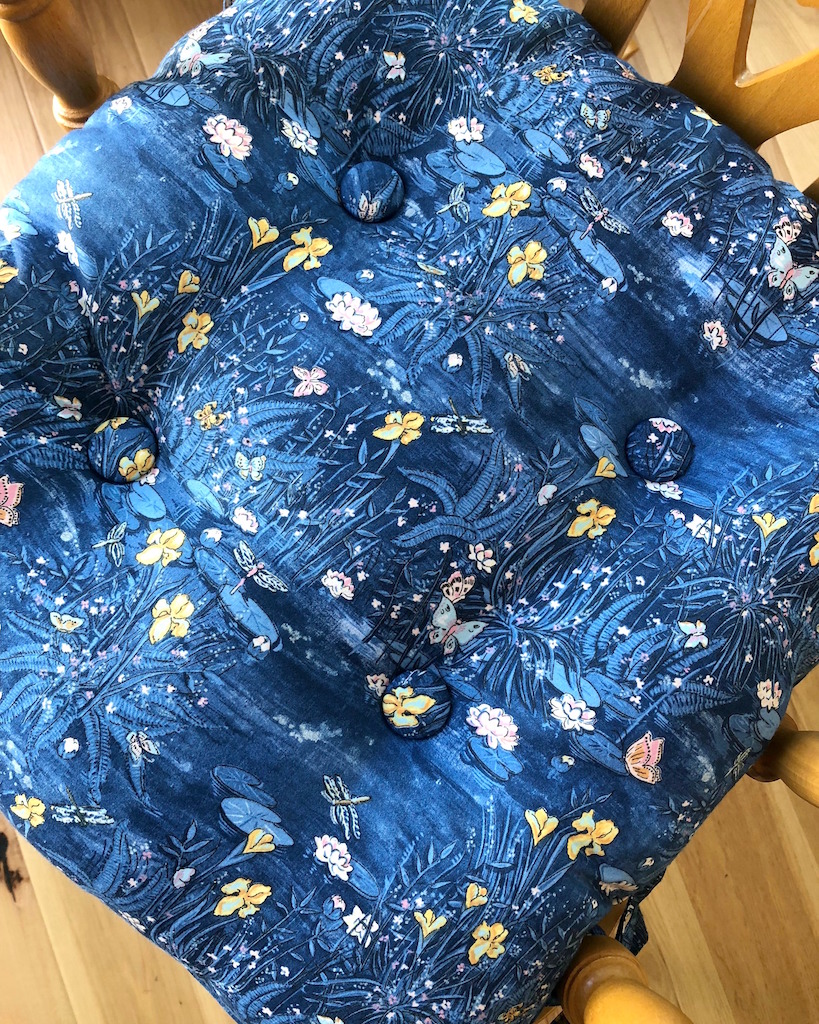
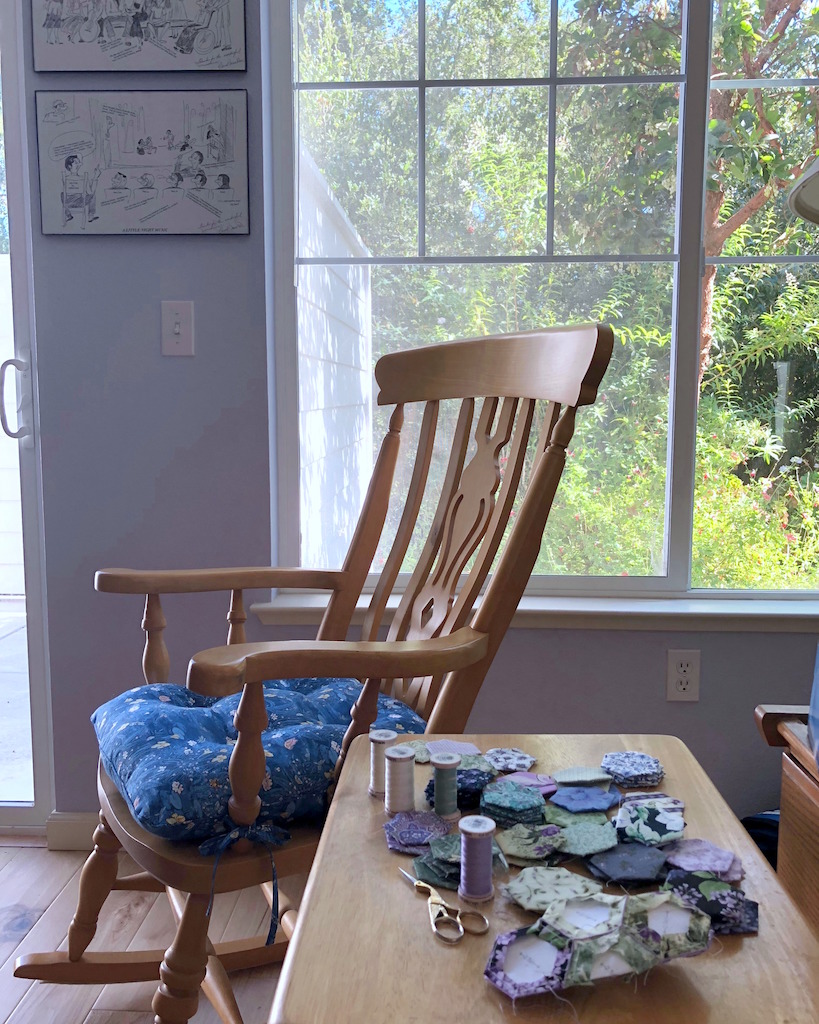
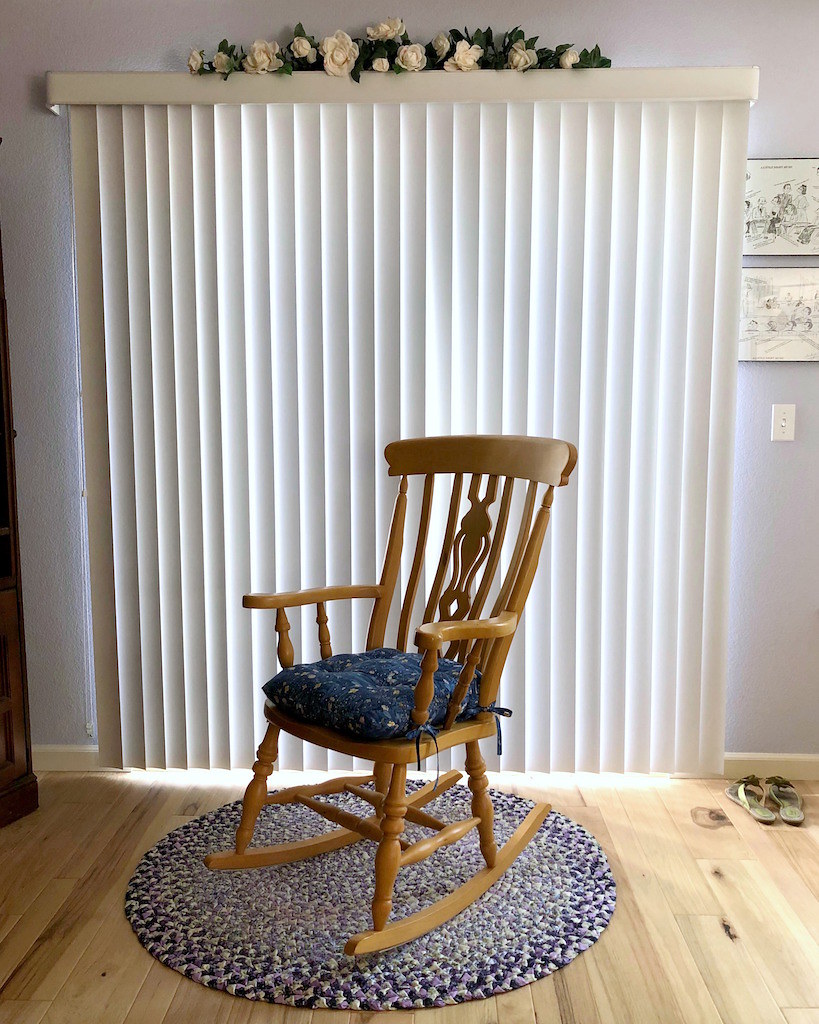
I found a lovely rocking chair at a garage sale a couple of weeks back. It's quite comfortable, but if you want to sit for a significant amount of time, a wood seat can begin to feel a little hard. So a cushion was in order!
I looked around for a tutorial to make sure I wasn’t going to miss anything important. This one was particularly helpful, although I made a few changes to suit my needs.
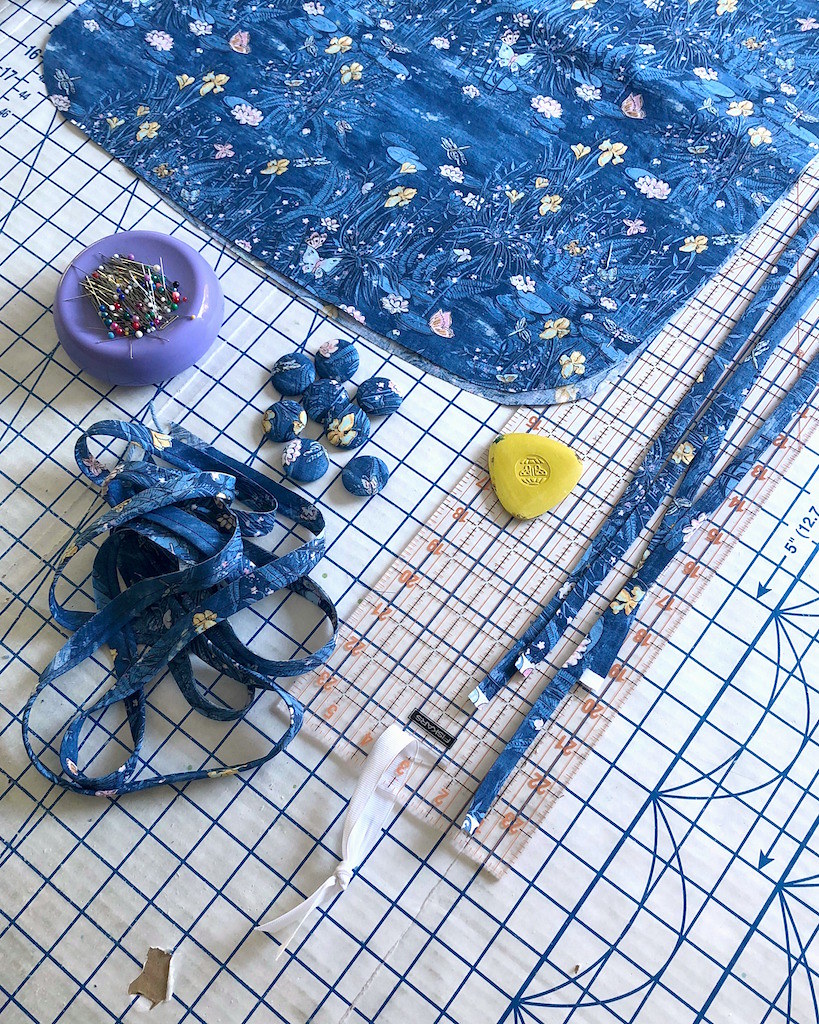
The supplies I used were as follows:
Quilting Cotton
Fusible Interfacing
Yarn Scrap (for piping)
Covered Button Kit
Button & Carpet Thread (for tufting)
PolyFil (for stuffing)
And best of all, everything I needed was in the stash. There was not quite enough poly-fil stuffing left in the bag to completely stuff the cushion, so I used some scraps of polyester fleece to fill out the remaining bit, and it worked beautifully! The fleece was purchased years ago with the thought that it would be an inexpensive way to make shoulder pads - big mistake - cotton batting is far superior, and so it was nice to find a use for the gross polyester stuff. By the way, does anyone know why JoAnns fills its stores with fleece? Someone must be buying it, right? But who, exactly - I never see anyone in those aisles. Inquiring minds want to know.
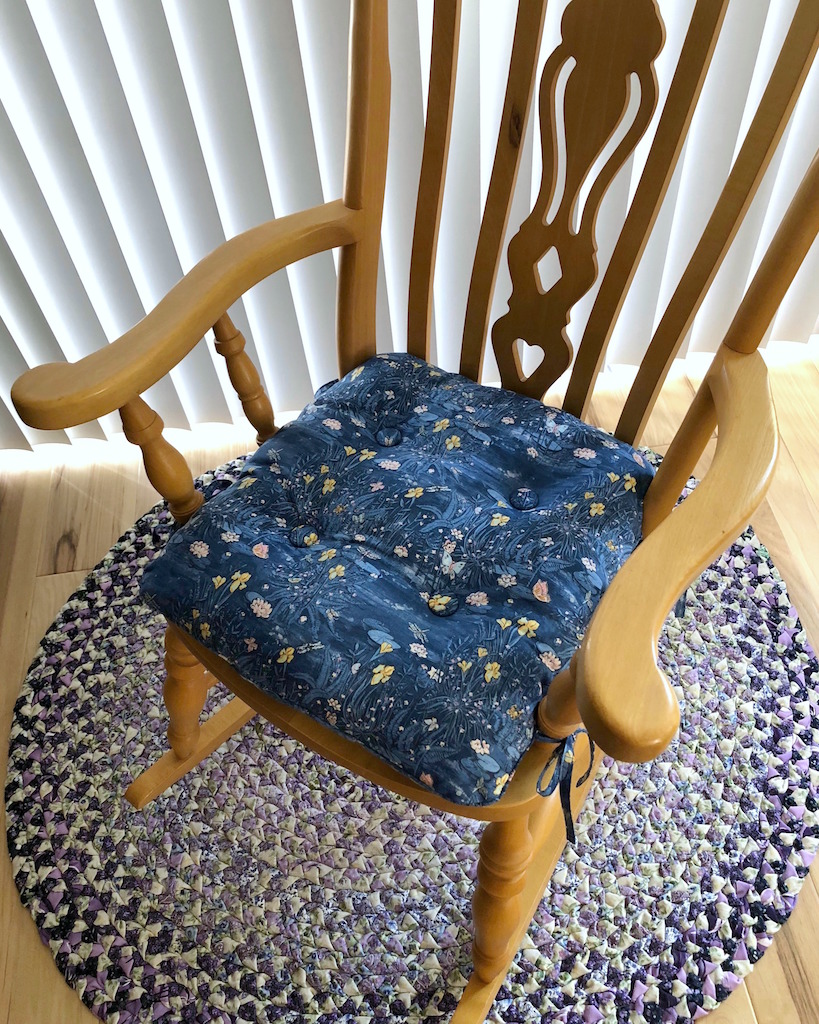
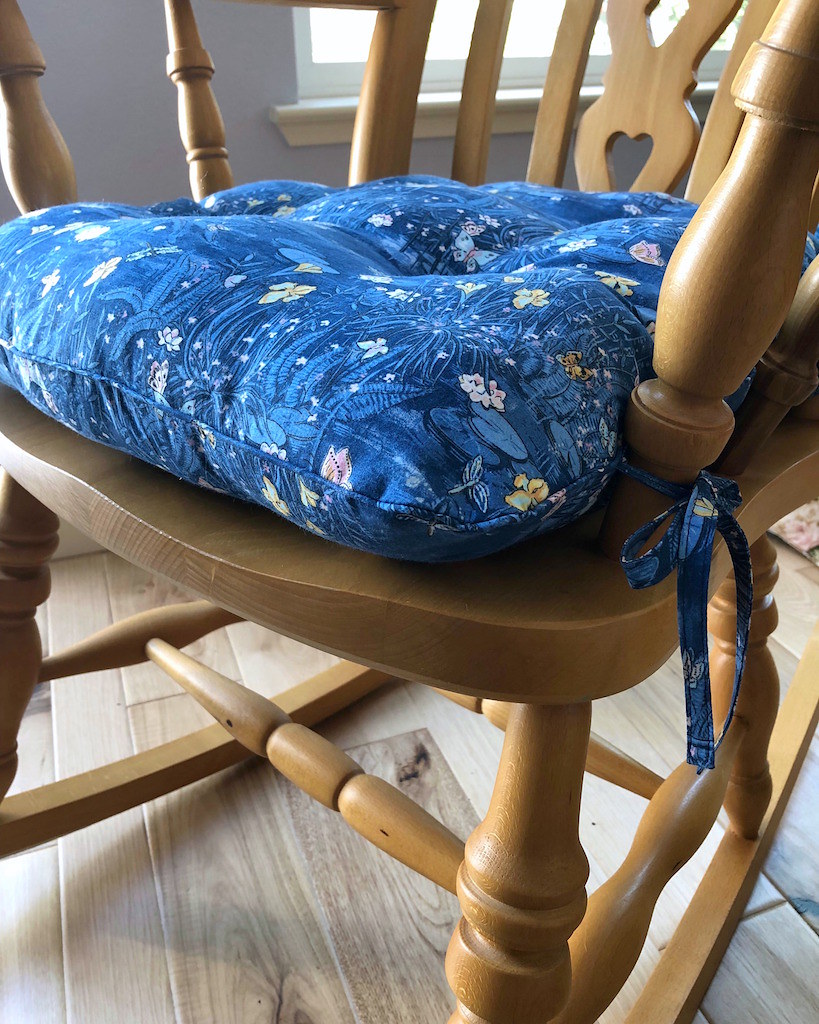
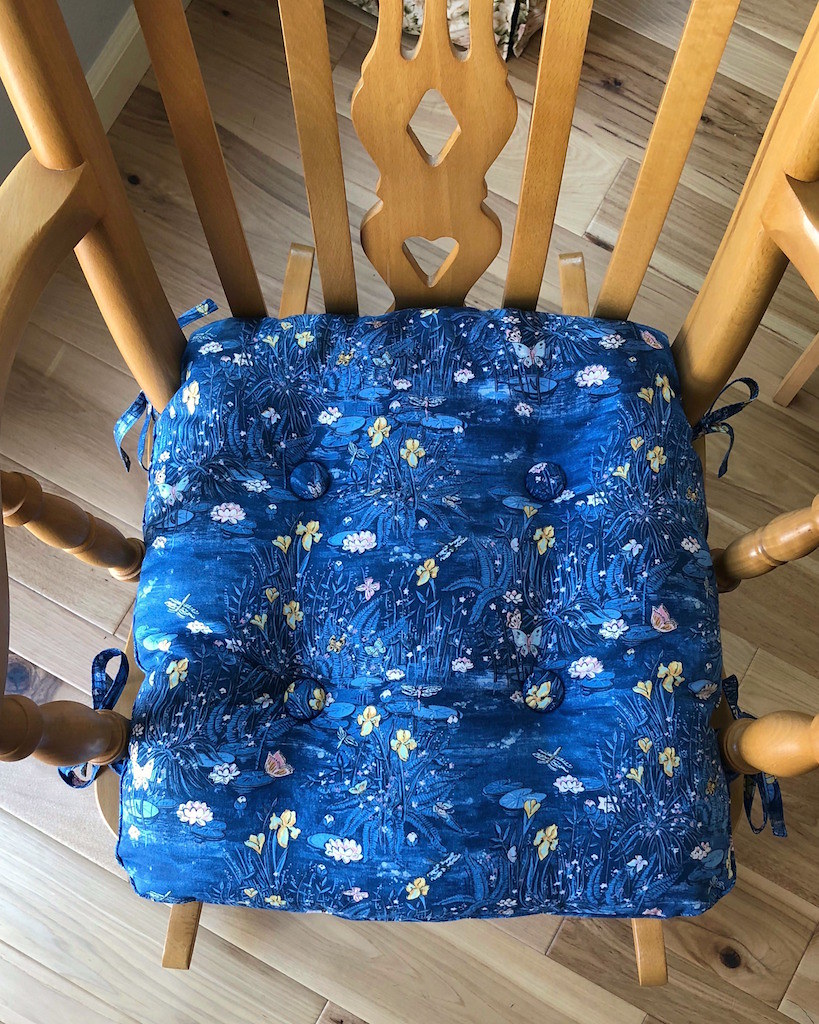
But back to the cushion . . . I would say the most important features to make a hand made cushion look good are piping, and buttons for tufting. Otherwise, you are going to have a rather sad looking stuffed square.
The piping on this particular project could probably stand to be a bit wider, but even a narrow option adds something. And if you are going to add tufting, make sure to interface your fabric at those spots. I interfaced the entire front and back of my cushions because the quilting cotton was not especially sturdy, but if you are planning to pull a length of thread through a mass of stuffing and pull it tight, you will definitely need to reinforce that area so the fabric does not tear.
I also added four sets of ties, two at the back corners, and the two others a few inches in the from the opposite corners to match the forward most spindles of the chair.
I was expecting this to be a practice run, but I really love how it turned out. So for now, I am going to keep my lily pad cushion on my lovely new rocking chair!

