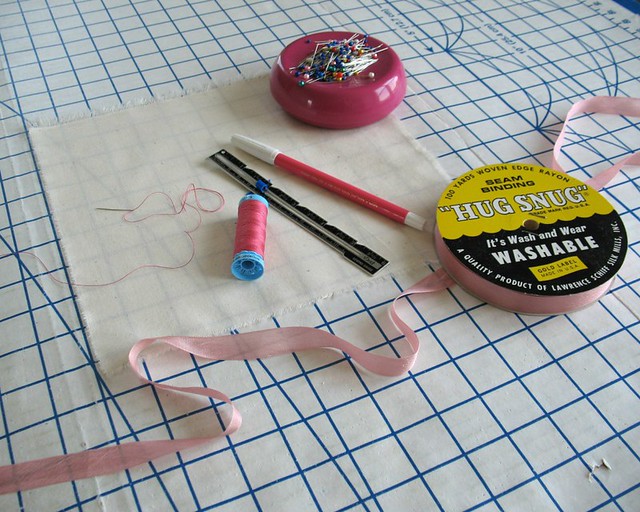
Today I wanted to share a tip using my favorite sewing
notion . . . rayon seam binding! Yes, I have found yet another excuse to keep adding to my collection of Hug Snug.
Hemming
a garment is generally one of, if not the last, steps in the construction
process - this means it is often rushed.
But a bit of extra time and effort can make a huge difference to the overall quality of a garment. It really is all
about the little details!
There are many, many different ways to hem a garment. This particular option works quite well with
thicker fabrics since it covers the raw edge without adding any bulk, although I
also like to use it on lightweight fabrics, like this gorgeous floral cotton.
This technique involves a length of rayon seam binding (to
cover the raw edge) and some catch-stitches (to contain and secure the binding
to the garment).
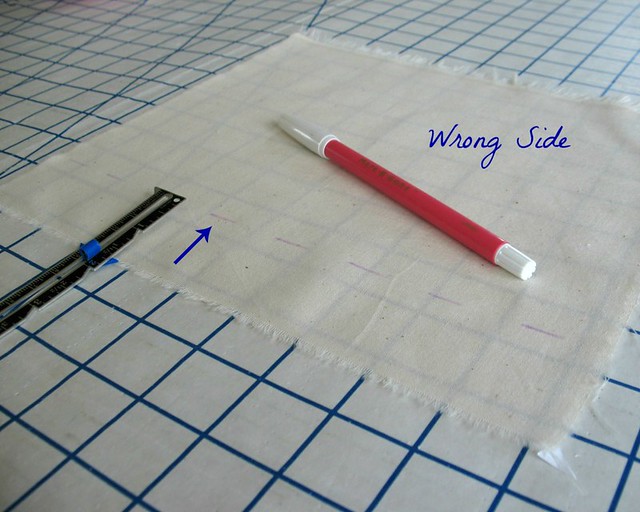
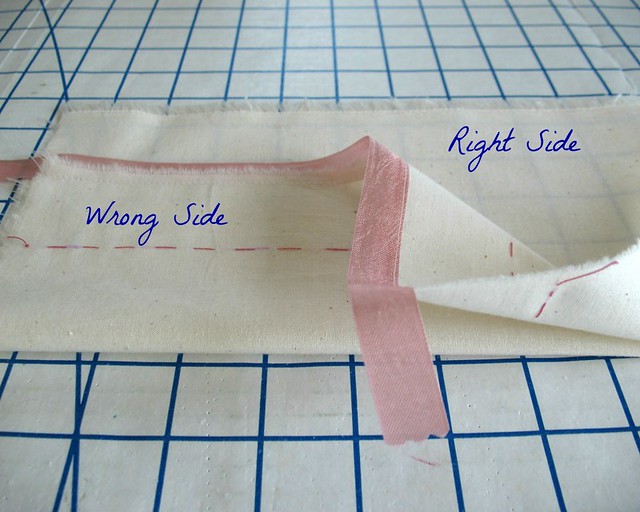
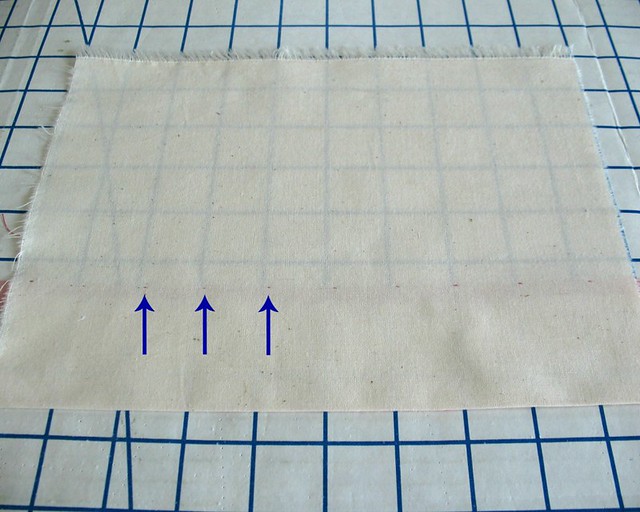
The first step is to mark the fold line.
On most fabrics, I like to use a fabric pen to lightly mark
the fold line on the wrong side of my fabric.
Tailor’s chalk is another excellent option.
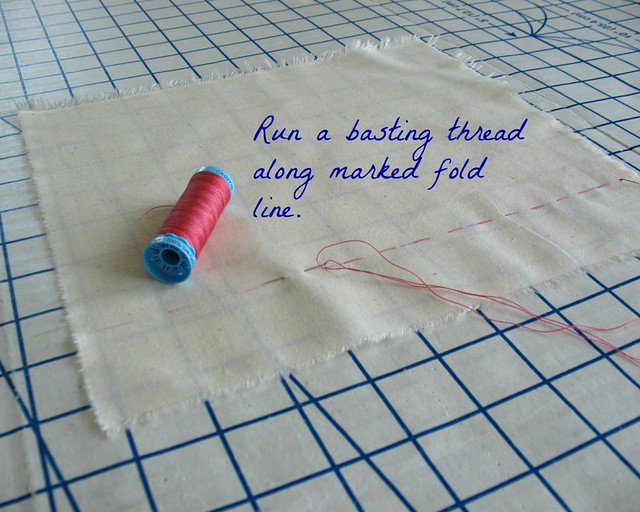
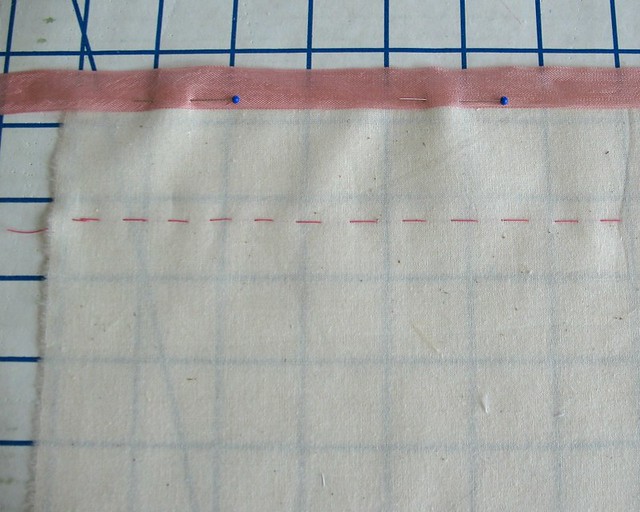
Next, a running stitch is worked along that marked
line. (I suggest using silk thread since
it will be easy to remove later on.)
This basting stitch allows the fold line to be visible on both
the right and wrong sides of the fabric.
It will also not disappear under a spray of steam at an inopportune
moment!
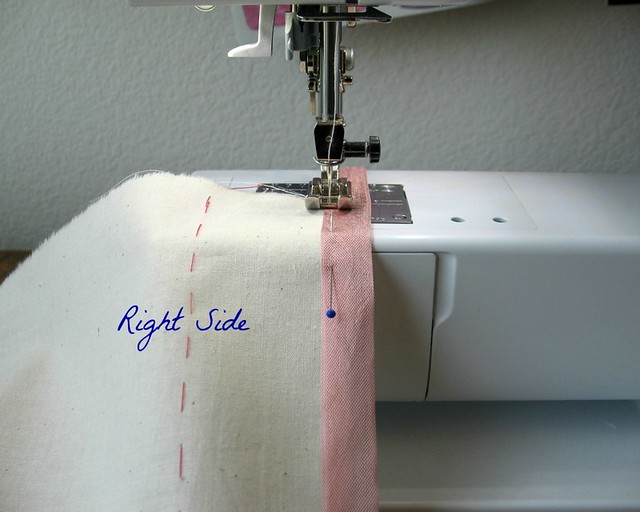
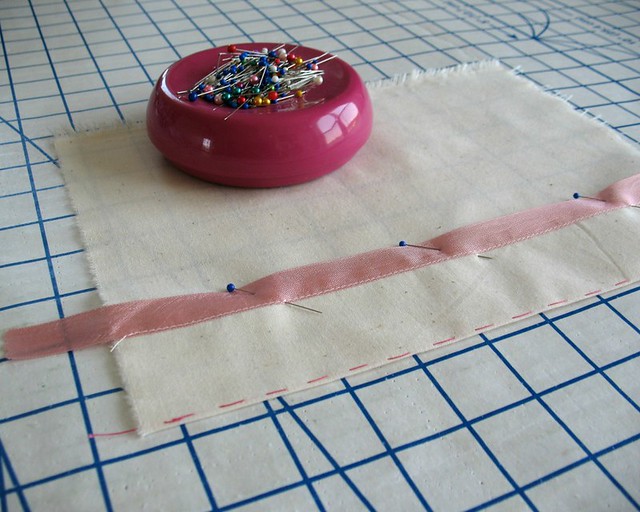
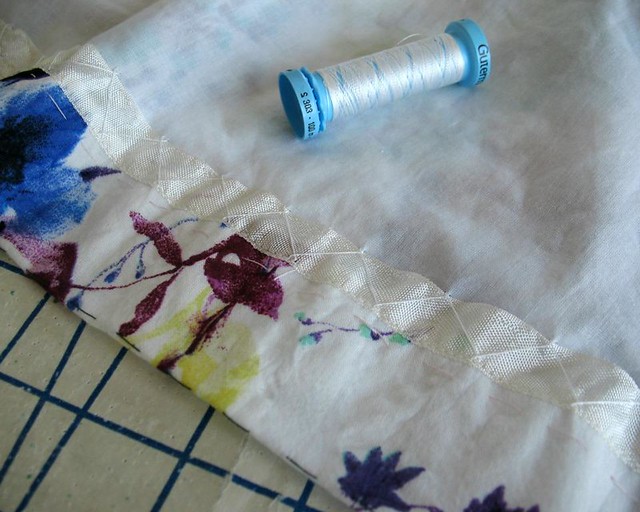
A length of rayon seam binding is then stitched to the right side of the hemline along the raw edge. I like to drop the spool of binding next to me at the sewing machine and apply the binding without pins, but you can certainly cut a length of seam binding sufficient to run the length of your hem and pin in place, giving yourself an inch or so extra at one end.
The
stitching line should securely attach the seam binding to the fabric, making
sure that the raw edge is covered. Because the rayon binding is so lightweight, you will be able to feel the edge of your fabric to keep the binding in place, with or without pins.
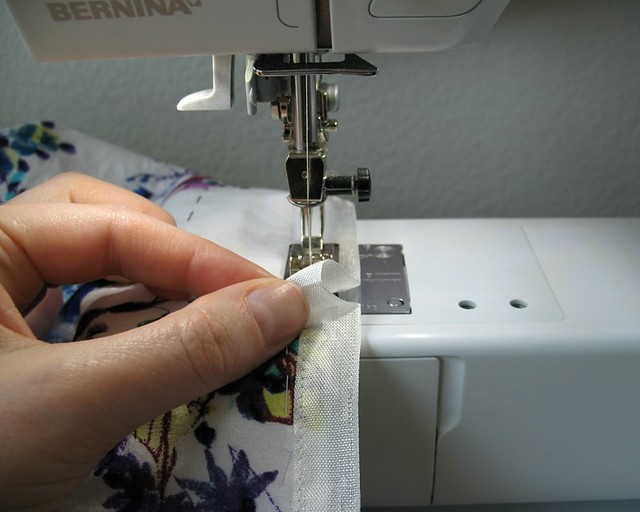
To finish the end of the seam binding, simply trim and fold
under the raw edge, overlapping the initial cut edge, and stitch in place.
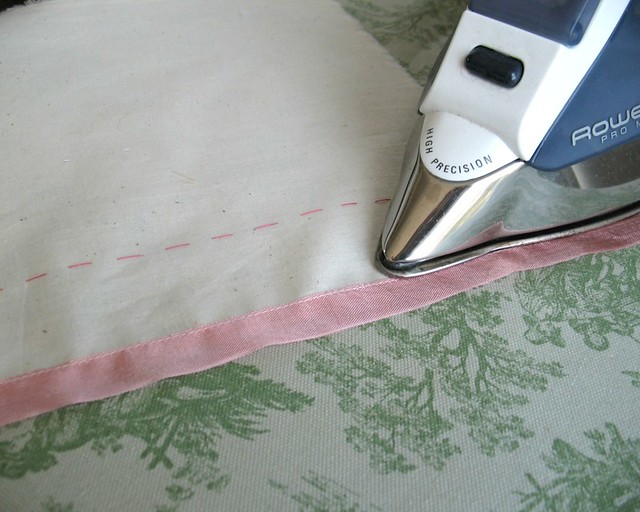
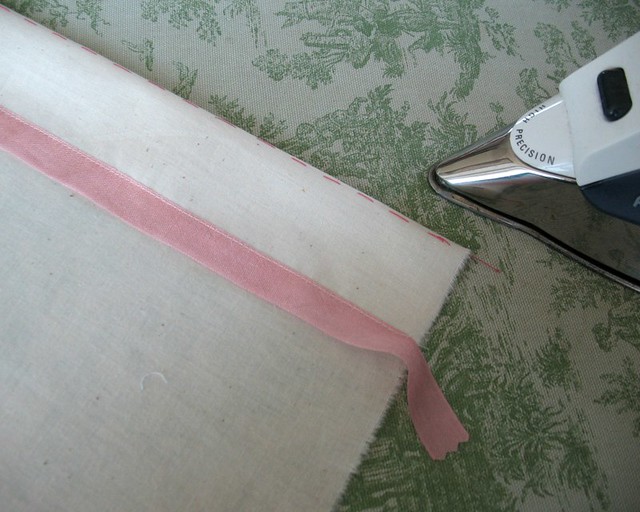
Give the hemline a quick press to remove any puckering along
the stitch line.
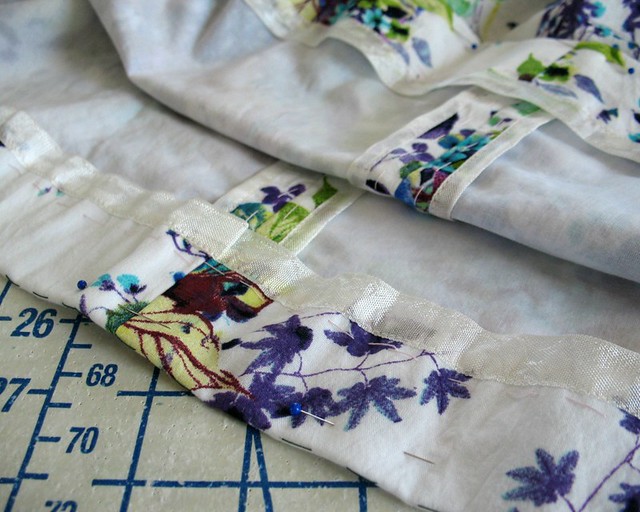
That should look something like this.
Press the hem up along the basted fold line.
Pin the hem into place.
For my initial versions of this hem variation, I would
stitch through the upper edge of the binding.
While both edges of the ribbon are woven and will not fray, the
application always seemed a bit unstable.
One day while I was catch-stitching seam allowances to an
underlining, it hit me. I could just as easily catch-stitch the seam binding on a hem application!
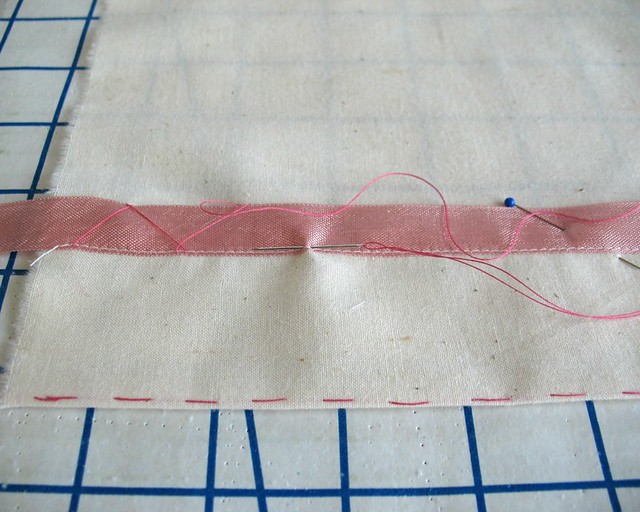
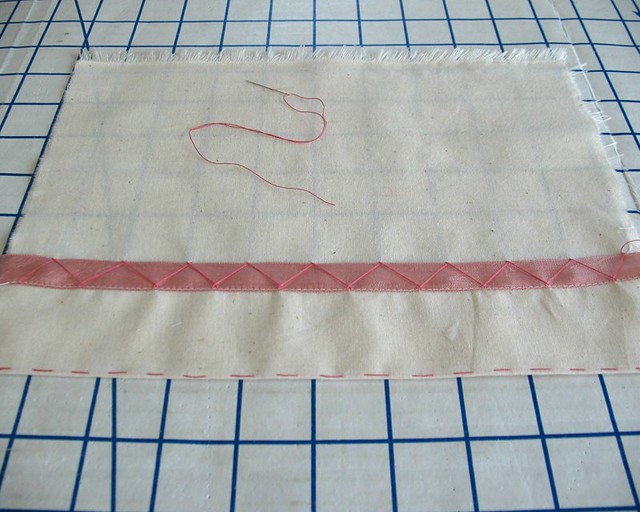
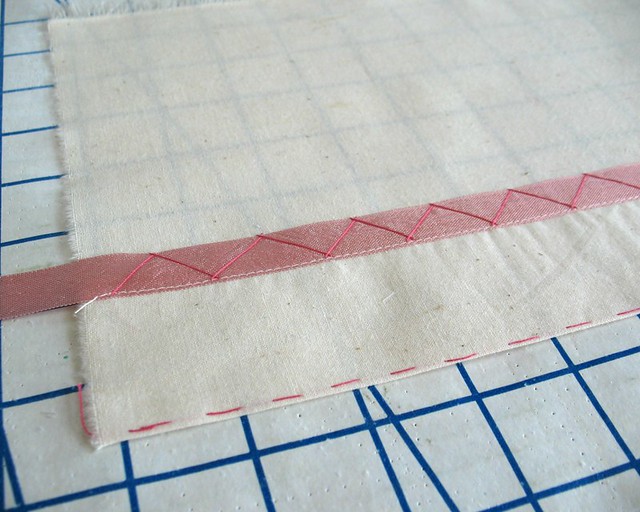
Moving left to right, catch-stitch the hemline in place,
taking a bite out of the stitched edge of the seam binding followed by a tiny
bite out of the fabric to secure the hem in place.
This hand stitch is best worked flat – that means no hemming
while sitting on the couch watching a movie, no matter how tempting it may be!
Make sure to give your hemline a good press. All that hand sewing means the garment has been handled quite a lot - a bit of steam will fix that!
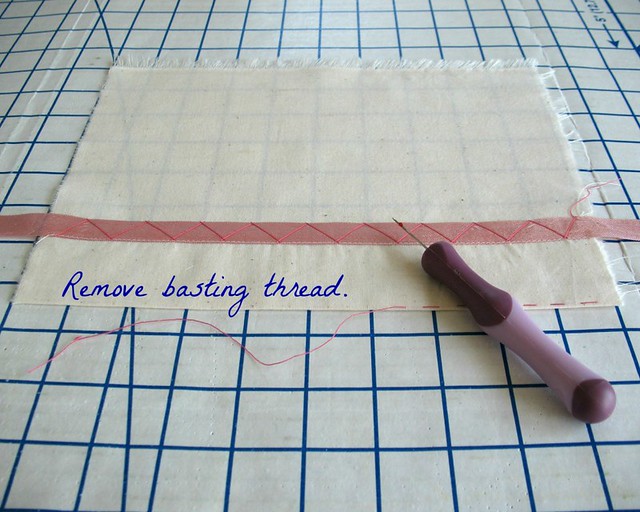
The final step is to remove the line of basting stitches. I often leave basting threads throughout my finished garments, but in this case, they should really should be removed.
Yes, this hemming technique requires a bit of extra effort, but
the end result looks so pretty! The catch-stitch also makes for a very flexible hemline. And
beautifully finished garments really are a joy to wear!
[The fabric for this dress was received in exchange for my
contributions as a Britex
Guest Blogger.]

Very nice! I've used lacey hem tape, I think it's called, but this is so nice since you can't see the fabric edge underneath. I will definitely try this.
ReplyDeleteVery pretty. I would love to be able to find this in the UK, but I have never had any luck.
ReplyDeleteHave you tried etsy? There may be some UK sellers with rayon seam binding for sale. I used https://www.etsy.com/shop/mattiecakes before I found wawak.com which sells entire spools.
DeleteI do wish more vendors carried the stuff - it really is a great sewing notion.
Oh, my!! That is gorgeous! I always wondered how you did your gorgeous, perfect hems! I can't wait to try this method, especially since we just picked up some vintage rayon seam binding yesterday. Thank you!! :)
ReplyDeleteI've always wanted an excuse to try some hug snug. This looks like a fun way to experiment with it.
ReplyDeleteYou were a structural engineer in a previous life, and you are a prolific sewing sherpa in this life.
ReplyDeleteLaura Mae, please keep sewing, showing, and sharing. You make every technique understandable and doable.
And just so you know, I, for one, have disregarded all that those gossipers and quipsters have ever uttered about you.
I love a beautiful hem! Thanks for sharing - this will definitely refine my hemming. One tip that works for me. In the initial step of sewing the hug-snug to the right side of the bottom hem edge - I know you can feel the fabric edge underneath the hug-snug, but I still get it wonky a lot. I like to first sew a 1/4" line of a 3.0 stitch length around the bottom edge, press the stitches to sink them in, and then use that stitched line as a guide to place the hug-snug.
ReplyDeleteThat is a great tip!
DeleteYour illustrations are so clear! Good job on this tutorial.
ReplyDeleteYour illustrations are so clear! Good job on this tutorial.
ReplyDeleteThis technique for sewing the hem is genius. I can't wait to use it on my next dress! Thanks so much for sharing this idea. Isn't Hug Snug the best?!?
ReplyDeleteMy sewing room would not be complete without rolls and rolls of Hug Snug!
DeleteThank you for this tutorial. I will be giving this a try because it looks so nice.
ReplyDeleteDo you find yourself snagging the long edges of the catch stitch? I'd be worried I'd snag a thread and end up having to unpucker a pulled hem or be fix a snapped thread.
ReplyDeleteI have not had that issue with this stitch, but I certainly do with a whipstitch. I think that problem has more to do with hem length and heel height more than anything else. I was taught to use a catch-stitch in men’s trousers because the stitch is very flexible and if you step into the hem it will not rip – if it puckers, that can be smoothed back into place.
DeleteIf I line my skirt with this technique, I do like to cover the seam binding and thread tack at the side seams. That may help to keep those stitches safe from a rouge heel.
This dress is knee length, so I won't have that issue with this one!
I'm loving this catch stitch technique! Thanks for sharing. :o)
ReplyDeleteJJ
www.dressupnotdown.blogspot.com
I having been using Hug Snug and encasing my seams with it for a few years now. Shop at A. Feibusch aka zipperstop on the internet for an array of colors. I bought my Hug Snug in four basic colors and I'm so happy with my purchases. I am not related to them; I just believe in repaying kindness with kindness. I am currently sewing a denim dress and yes, I enclosed my seam with Hug Snug. Hug Snug does not add bulk.
ReplyDeleteI having been using Hug Snug and encasing my seams with it for a few years now. Shop at A. Feibusch aka zipperstop on the internet for an array of colors. I bought my Hug Snug in four basic colors and I'm so happy with my purchases. I am not related to them; I just believe in repaying kindness with kindness. I am currently sewing a denim dress and yes, I enclosed my seam with Hug Snug. Hug Snug does not add bulk.
ReplyDeleteThank uou for this great tutorial! Such a beautiful hem - I will have to try it! Saving the link for future reference!
ReplyDelete