Saturday, February 28, 2015

Reinforcing a Kimono Sleeve: A Tutorial

Today I have a tutorial to help you reinforce the curved edge of a kimono sleeve.  I have mentioned this technique before, but thought it was deserving of a more in depth tutorial.


I love a kimono sleeve.  The design feature is classic, easy to wear, and very easy to construct.  As a fan of vintage silhouettes, I have made quite a few dresses and blouses with this design feature over the years (the Anna Dress is a perfect example, as is this blouse, as well as my most recent project).  But I have never liked the fact that it requires clipping into a seam that sees a lot of movement and potential wear.

  
There are, of course, different options for reinforcing a non-gusseted version of a kimono sleeve.  If your fabric is lightweight, a French seam is an excellent choice.  Because the seam allowance is trimmed during French seam construction, the need to clip into the seam is eliminated.  If, however, you find the perfect fabric for your kimono sleeved pattern, but a French seam is going to be impossible with your thick fabric, there is another way!


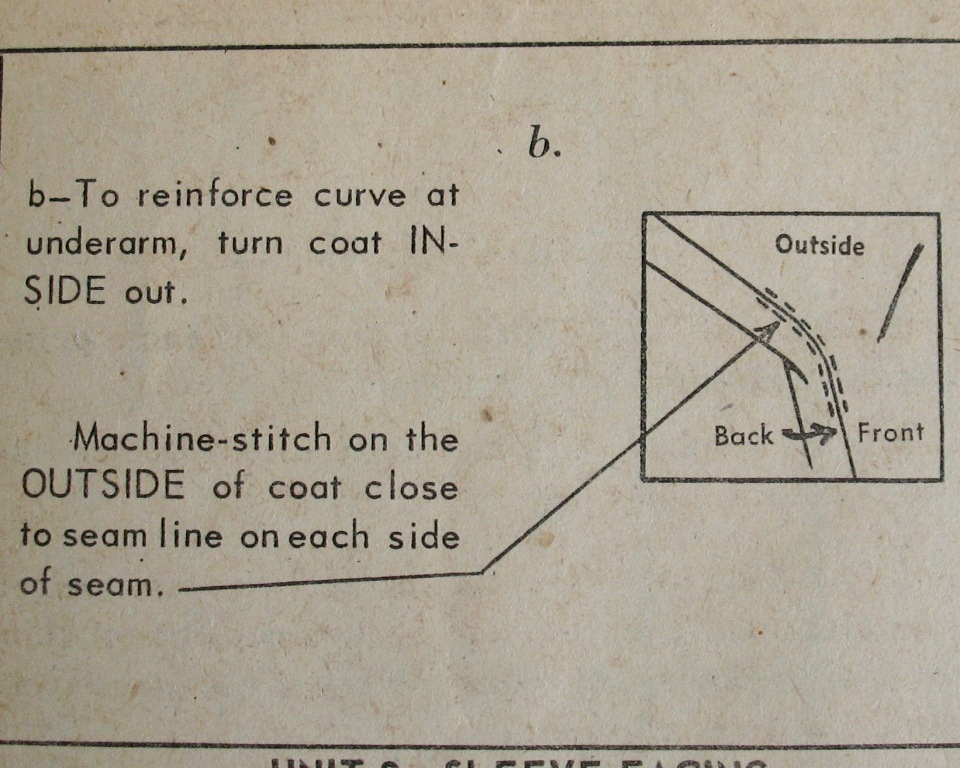
This reinforcement technique is often included on vintage pattern instructions; the first time I came across it was on the instructions for this dress.  Over the years, I have used the process on many, many cut-in-one sleeved bodices, and along the way, I have figured out a few extra steps that makes the process easier, and (I think) even better!

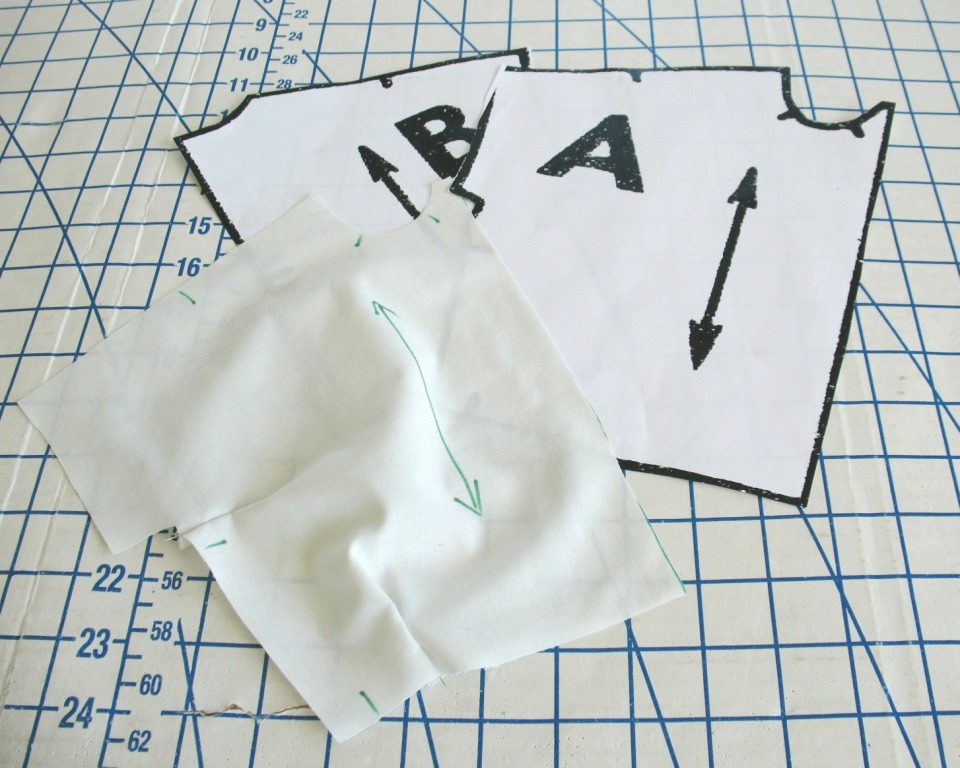
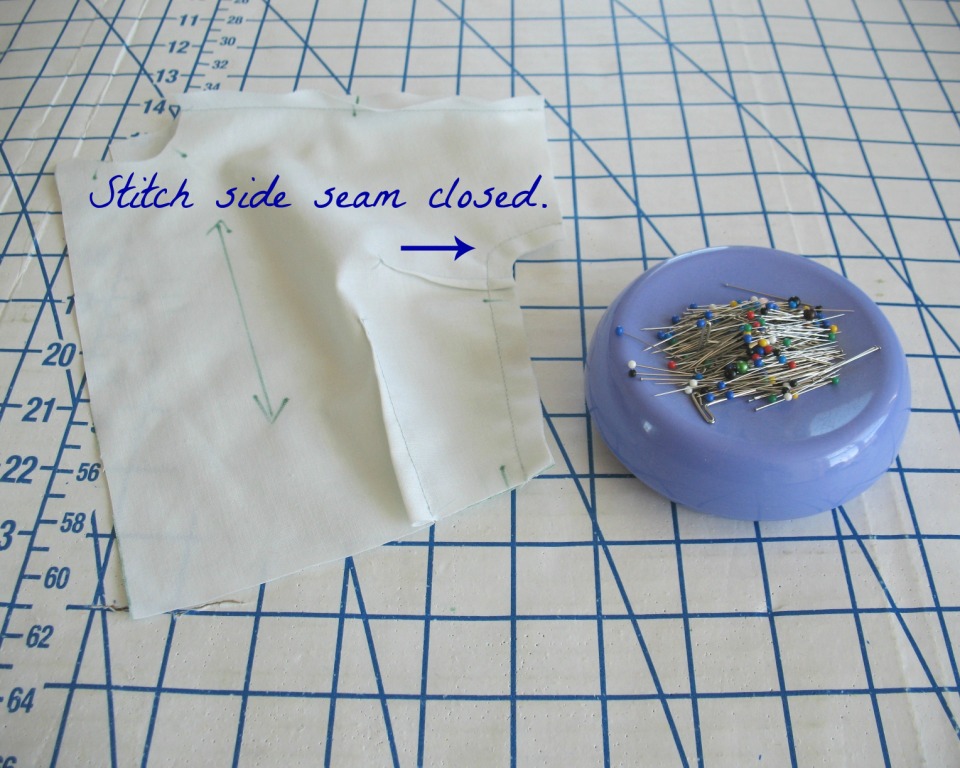
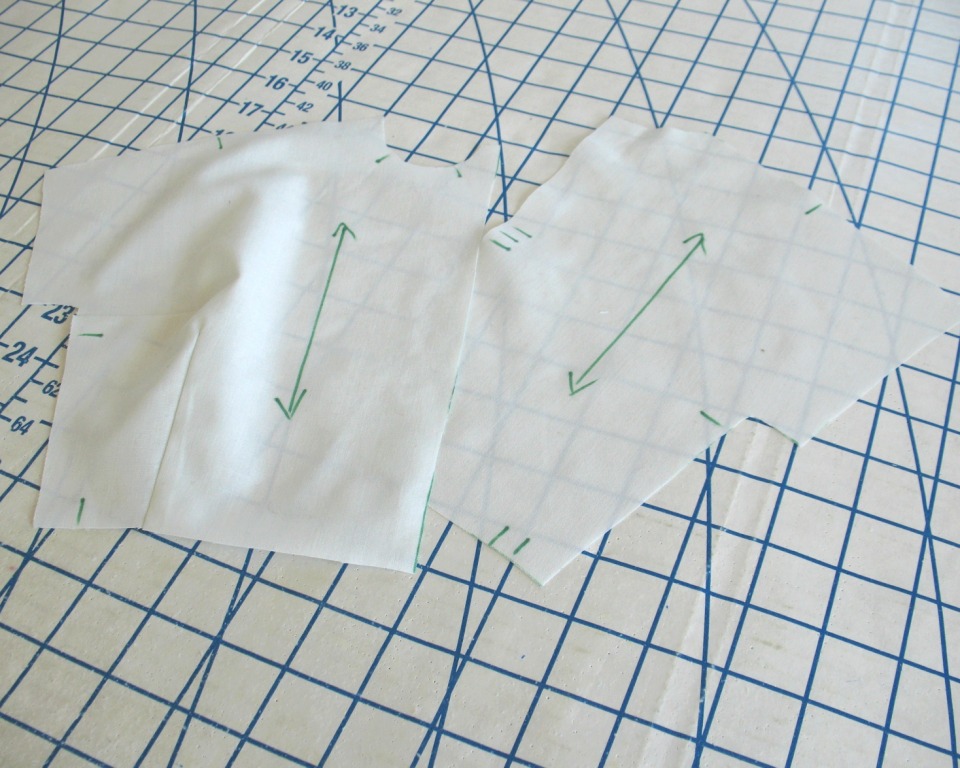
Before you start construction, stay-stitch each side seam on the front and back bodice pieces (this step is not shown on the mini muslin mock up).  Complete any construction necessary on the bodice (darts, for instance) until it is time to close your side seams.  Stitch the side seam closed.  For a side seam zipper insertion, stitch the curved portion of the side seam from sleeve opening to the top zipper opening.


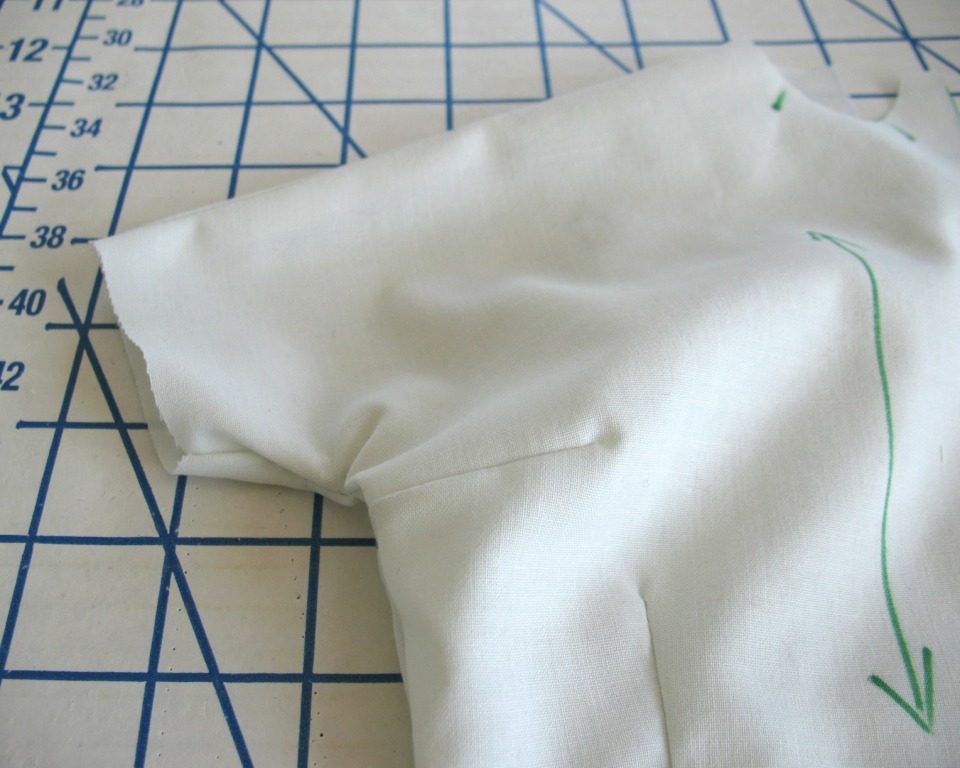
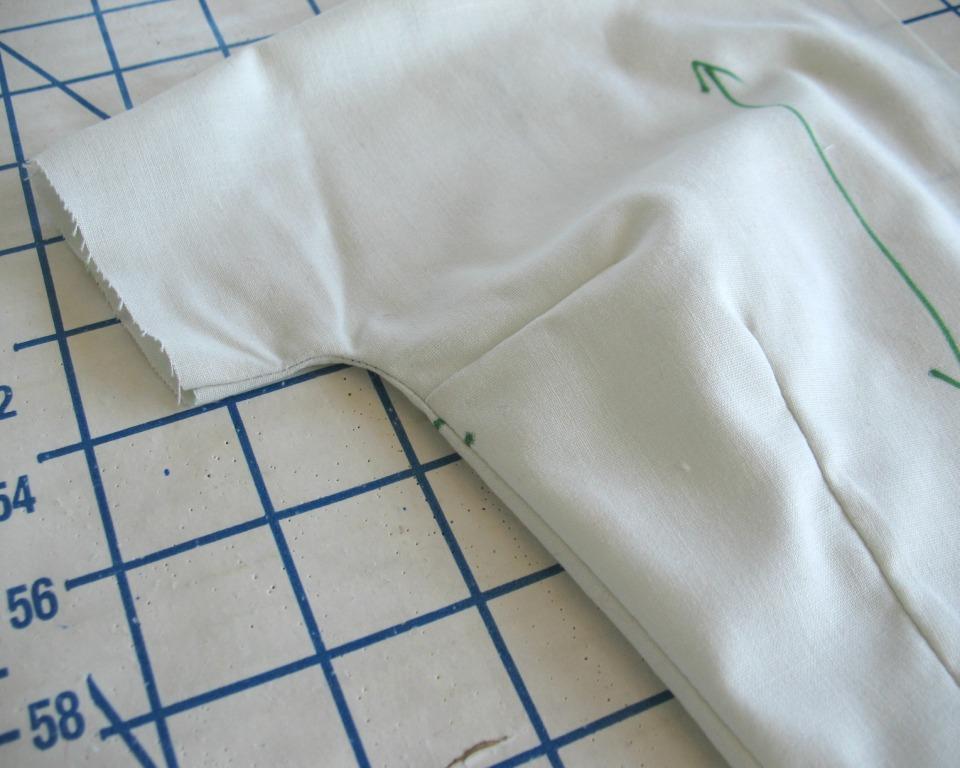
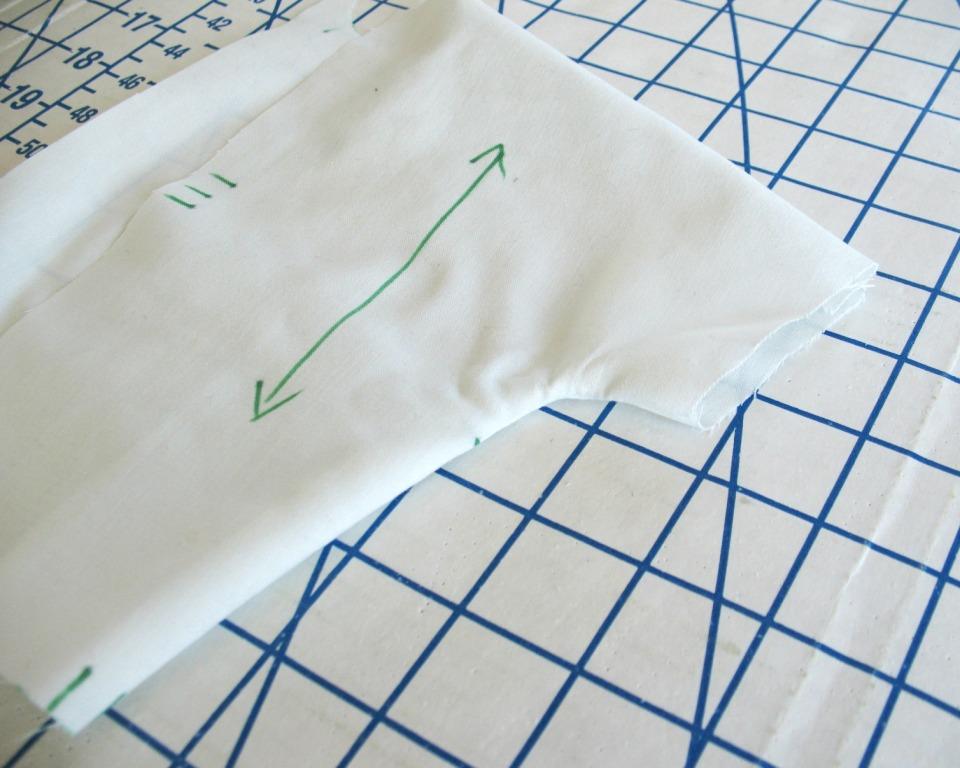
At this point, pressing that seam open along the curve is going to be next to impossible.  And when you turn the garment right side out, this is what you get. 


The larger the seam allowance, the worse the pulling will be.  It doesn’t look pretty, and it is certainly not comfortable to wear.


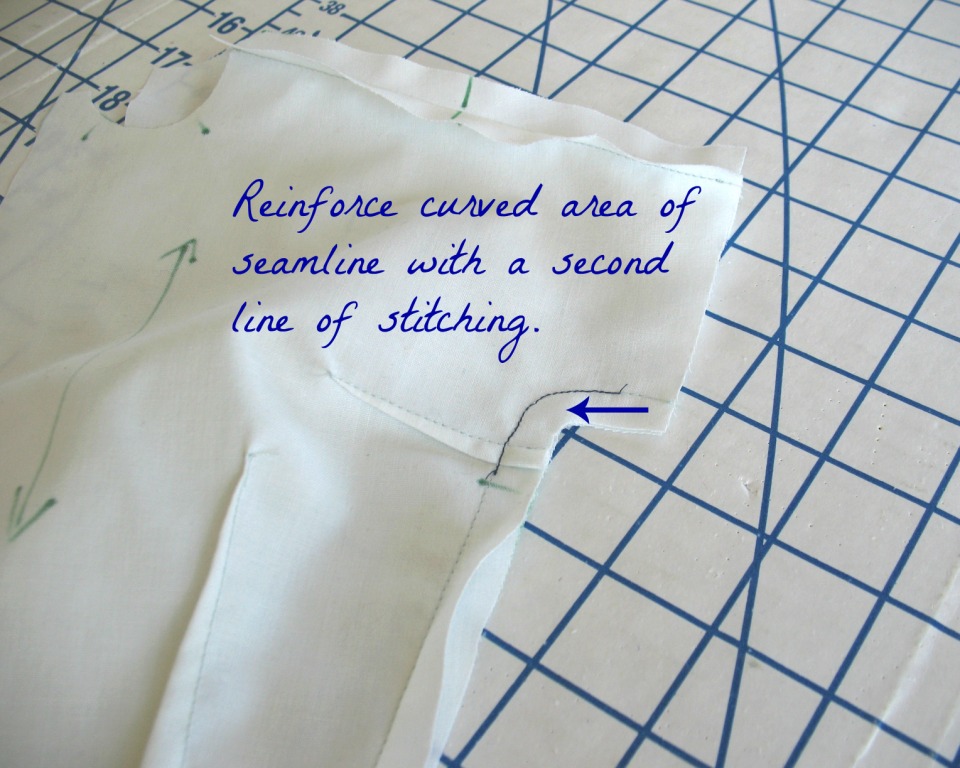
In many situations, a second line of stitching just inside the seam allowance is a great way to reinforce a seam.  However, if you need or want to press your seam allowance open (as in the case of a side seam) this method will not work.  Instead, stitch directly over your first line of stitching using a small stitch length.  It is not necessary to reinforce the entire side seam, just the curved area that will be clipped.


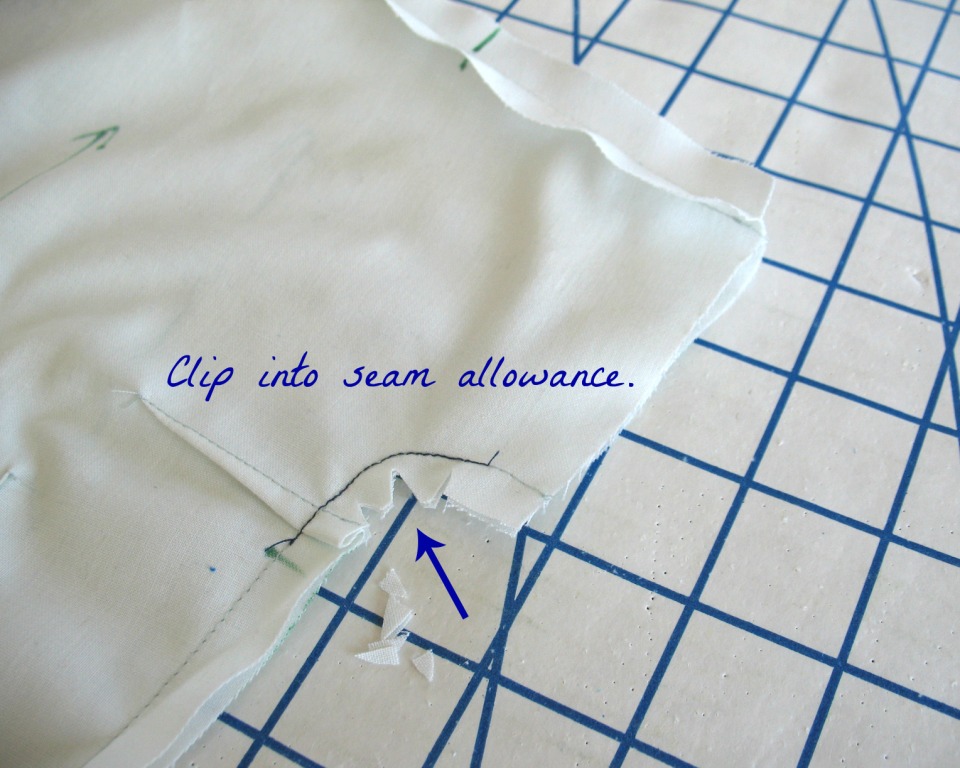
Now it is time to clip into your seam allowance and release the tension so the fabric lays flat.  Make sure not to clip past your stay-stitching!  Some fabrics will require cutting closer to the seamline than others.  Wools, for instance, tend to be quite malleable under the iron, while a tightly woven cotton may require more cuts in order to lay flat. 


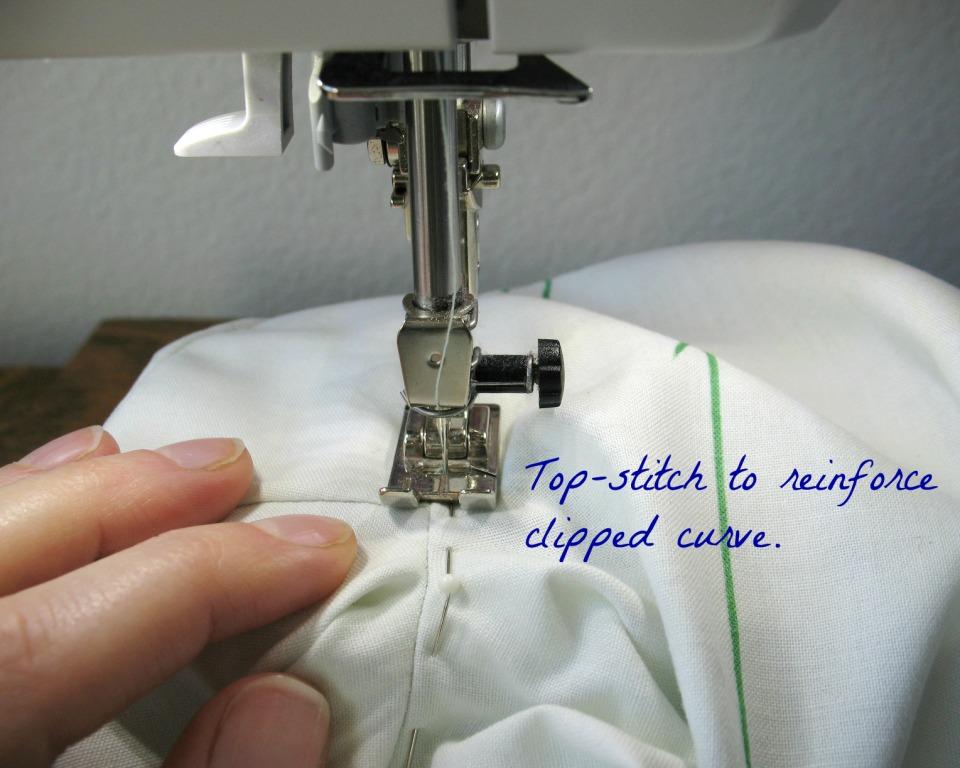
Clipping into the curved seam is essential, but it weakens the integrity of the fabric which can be especially problematic in an area that sees quite a bit of movement.  To reinforce the clipped area, I like to top-stitch the curved section of the seam.  In many cases, the stitches will sink right into the fabric and are virtually invisible, although they can end up being visible on certain fabrics.  However, most of the time this area will be covered by your arm, and without a gusset, this type of sleeve has excess fabric to allow for movement that will fold and create shadows, making that small bit of top-stitching disappear.  Or, I suppose, you could even make the top-stitching a design feature and continue it all the way down the seamline! 

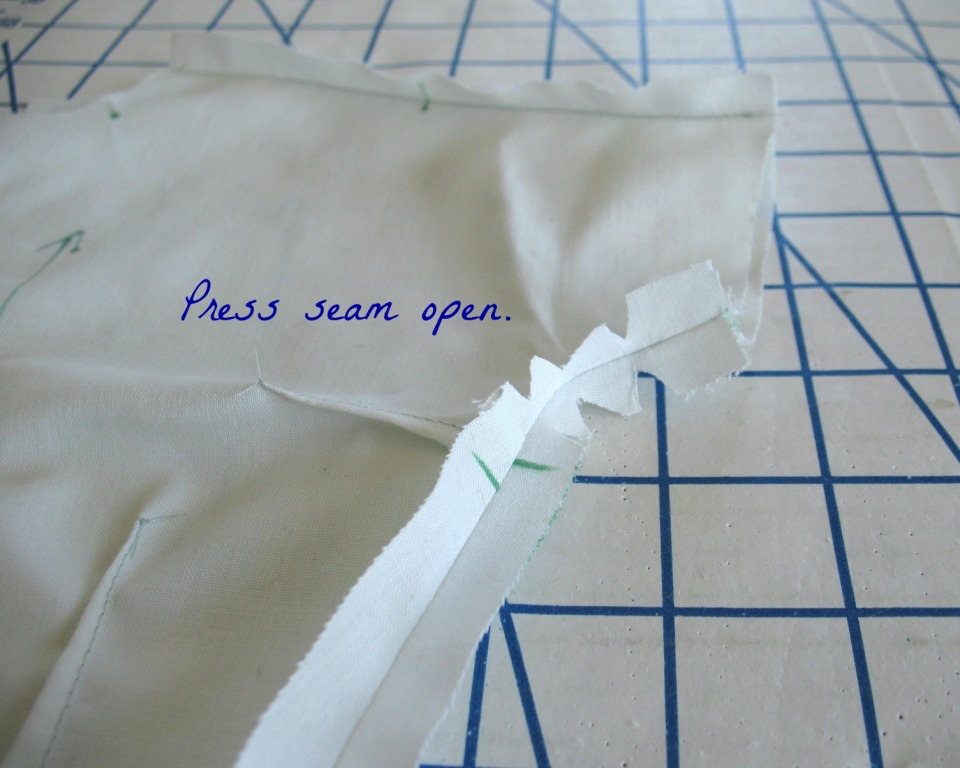
Press the side seam open – which should be easy to do once those cuts are made!  (A tailor's ham or sleeve board can be very helpful to press those curved seamlines.)


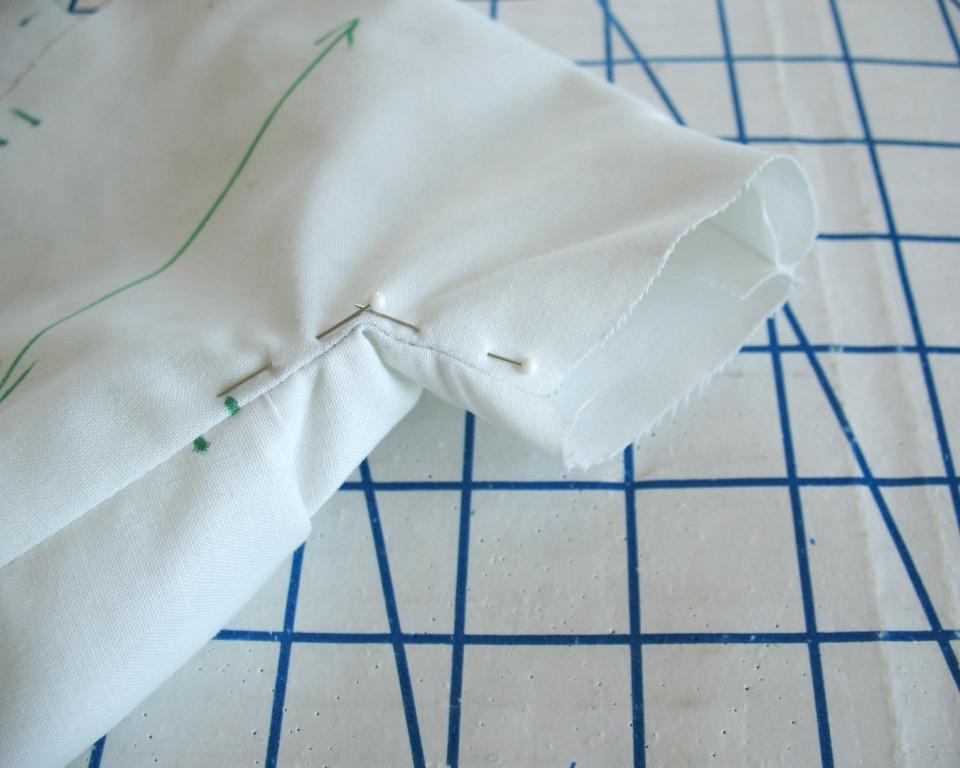
Now the side seam can lay flat along the curved underarm area.


Pin the seam allowances in place from the right side of your garment, making sure to catch all the bits of clipped fabric on the wrong side.


Top-stitch along the curved edge to reinforce the seamline.


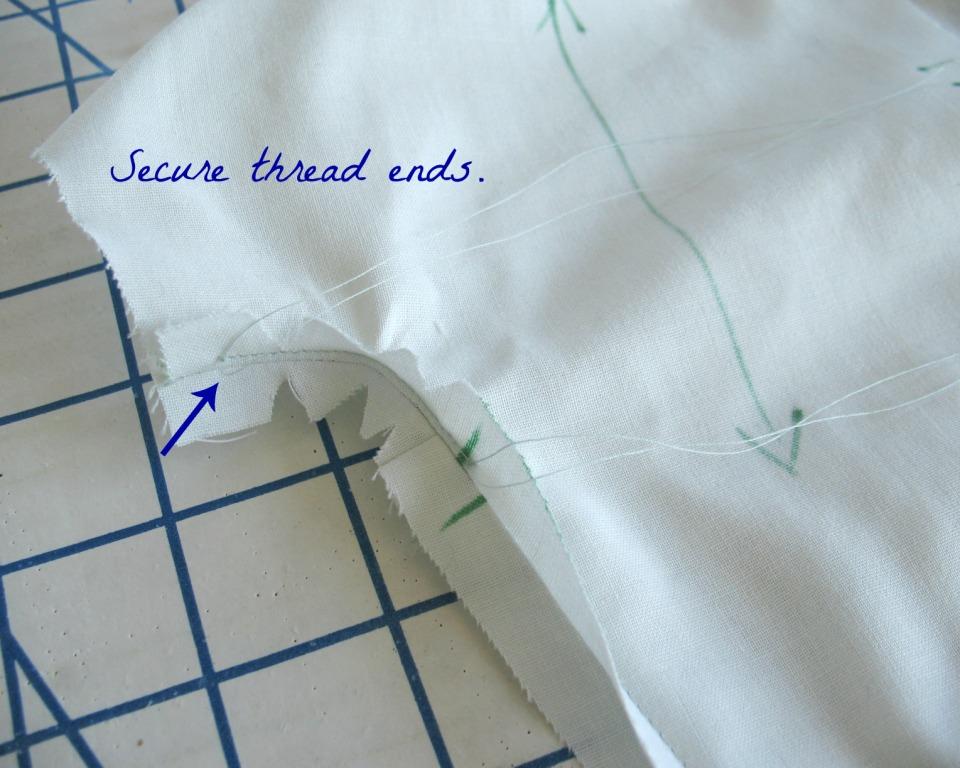
If you are machine stitching, make sure to secure the thread ends on the wrong side of the garment – you do not want that line of stitching to come undone!


The finished product should look something like this.


I like to add a second layer of protection which covers the clipped edges (less direct friction on those raw edges will slow down the fraying process).  It also helps to reinforce the line of top-stitching, especially on a loosely woven fabric.  I often use a strip of rayon seam binding for this purpose.  Twill tape would also work.  For this dress, I used a small scrap of silk organza that was handy.  The added piece of fabric will also keep the seamline from pulling open.


Depending on the garment and/or my fabric choice, I will hand stitch with a pick stitch or use the machine for this added line of stitching.  Depending on the curve of the pattern pieces, it can be much easier to manipulate the fabric by hand, which also happens to make the stitching line less visible.  Generally, my lining fabric gets a machine application and my outer fabric gets hand stitched.  But the choice is yours! 

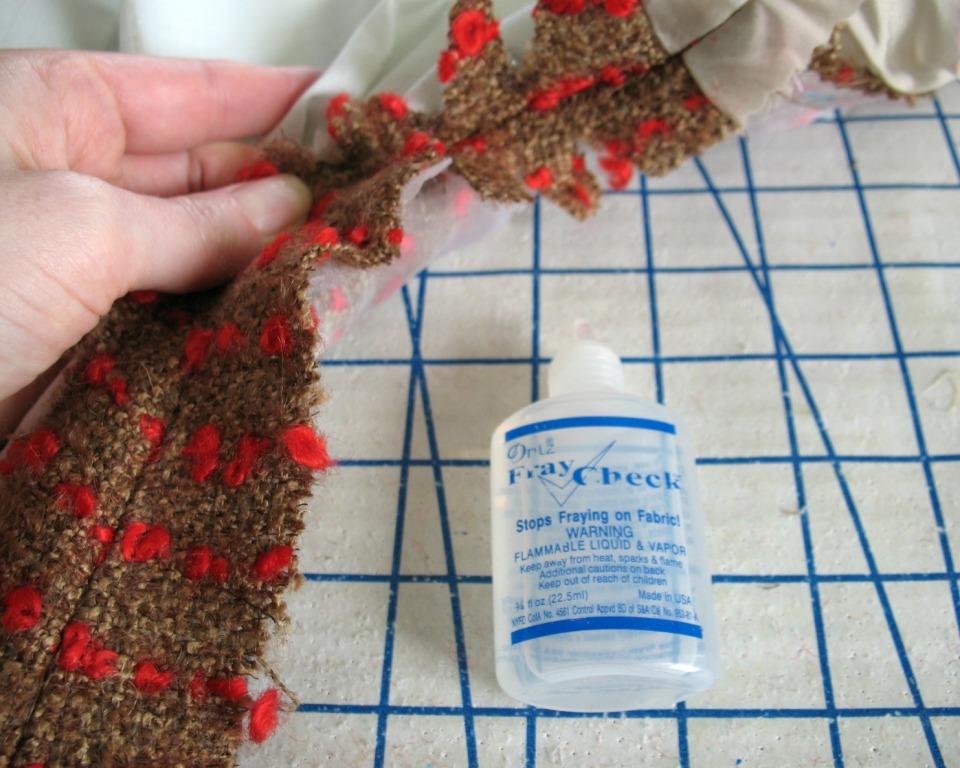
Because the fabric for this particular dress is very loosely woven and has a tendency to fray, I treated the base of each clip with a spot of Fray Check.  I would not recommend doing this, however, if your garment does not include a lining.  The Fray Check can create a rough edge to the fabric as it dries and would be rather uncomfortable on the underarm area without the coverage of a lining material.


A scrap of fabric or paper placed behind the clipped seam will keep the Fray Check from getting on the rest of your garment while it drys.


I like to repeat the top-stitching process on my lining as well, eliminating the layer of added organza or seam binding from the equation.  The lining is also an excellent chance to practice the technique before working with your fashion fabric.


And that is one way to reinforce a kimono sleeve (or any clipped seam that needs some extra security, for that matter)!


[The fabric for this dress was received in exchange for my contributions as a Britex Guest Blogger.]


Monday, February 23, 2015

Beautiful Bouclé


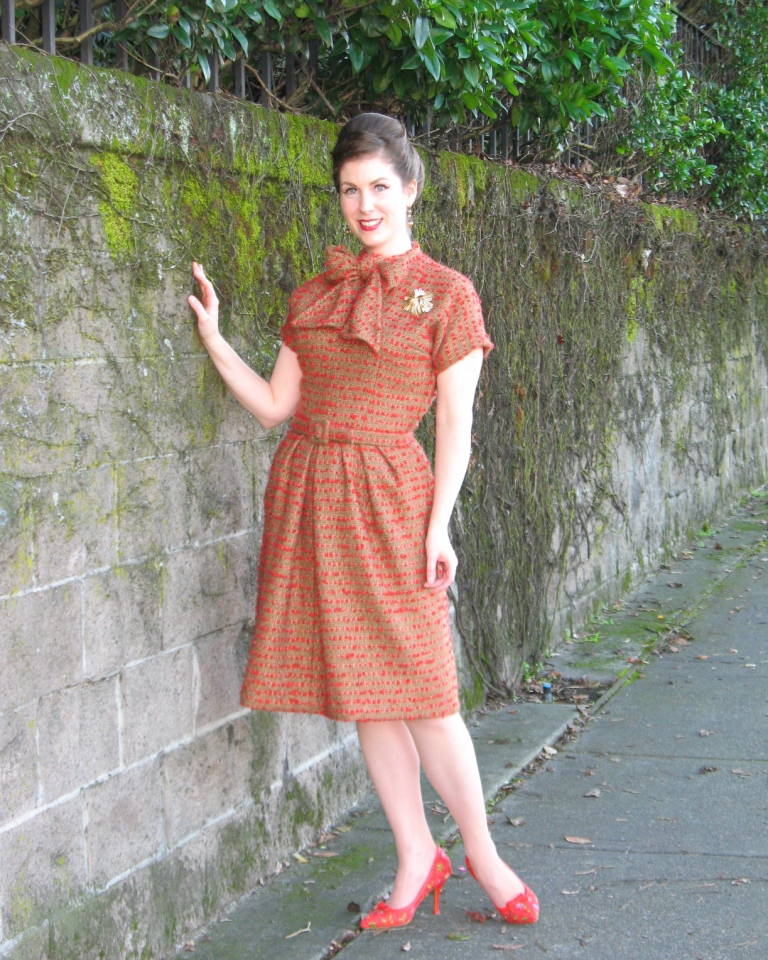
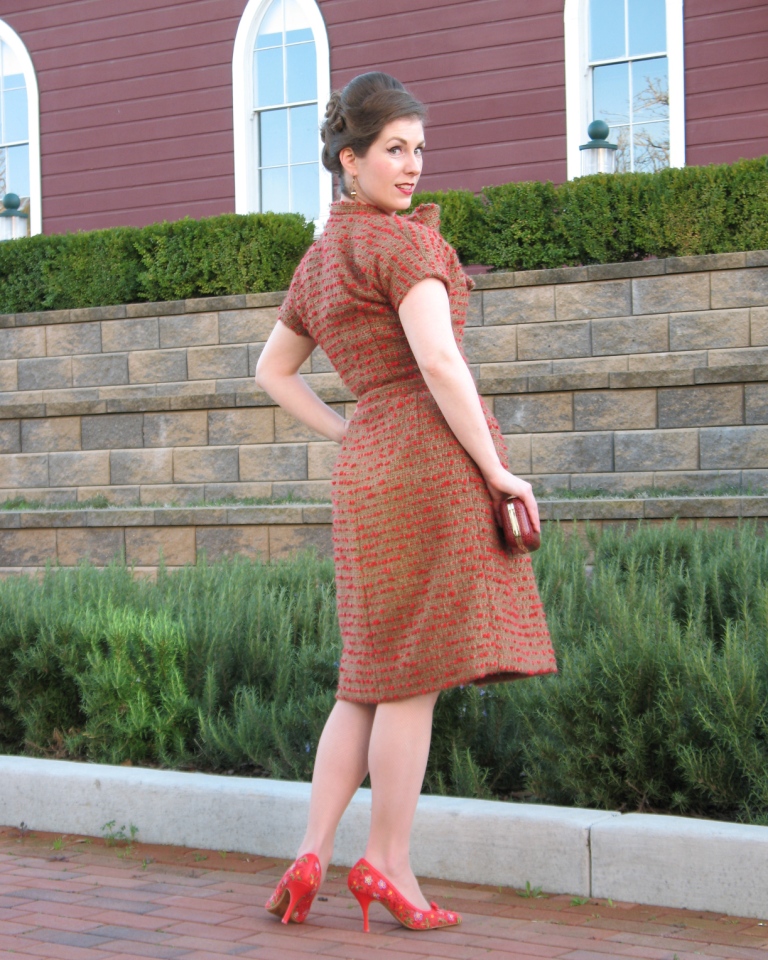
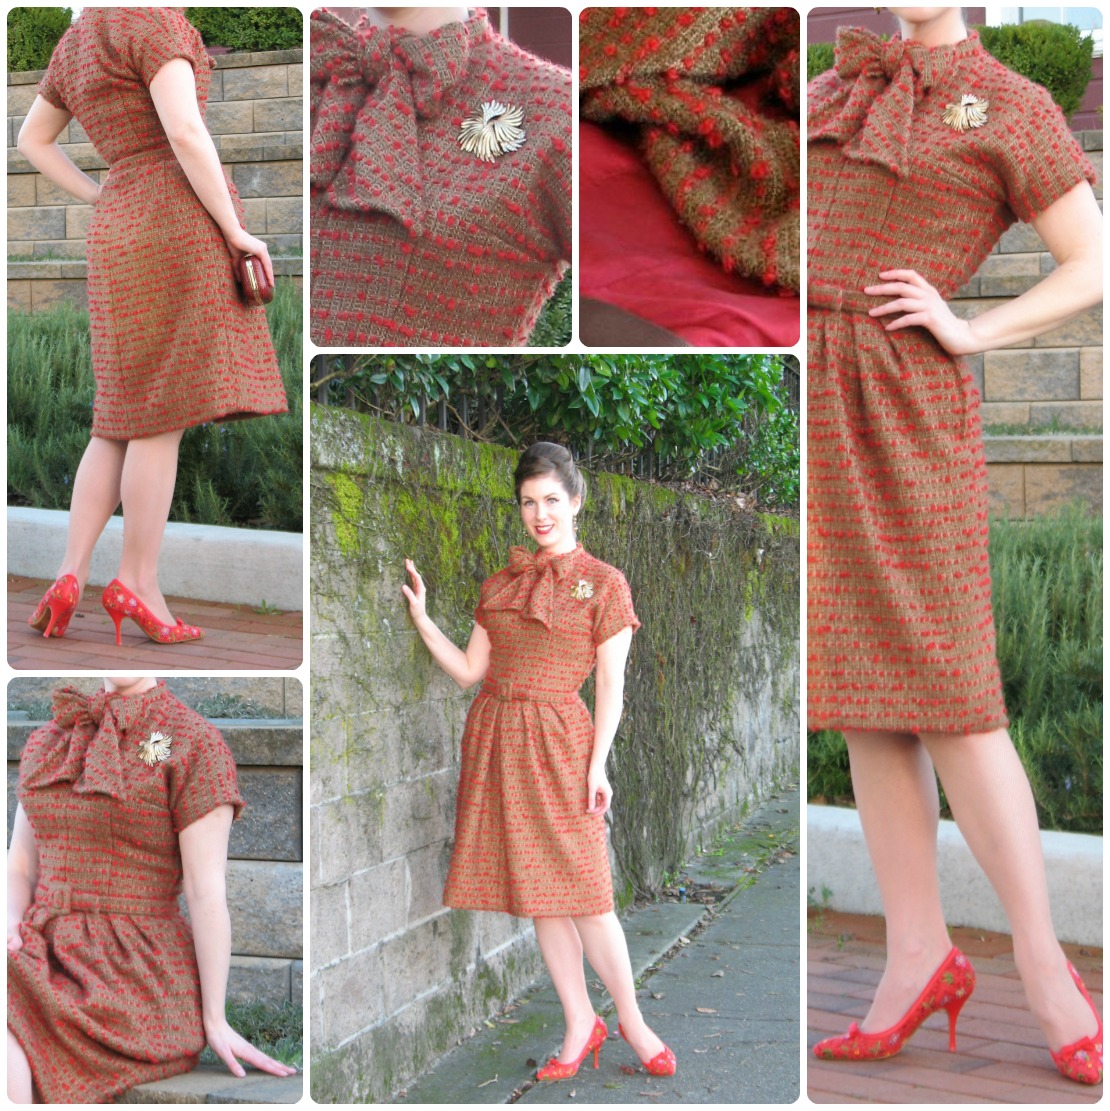
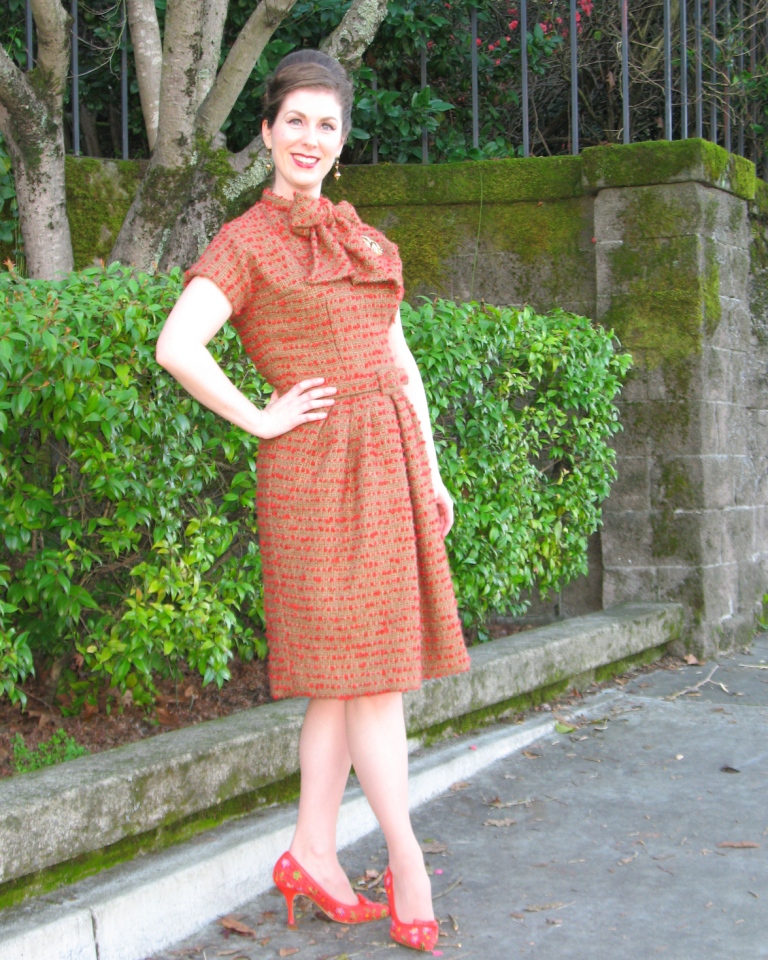
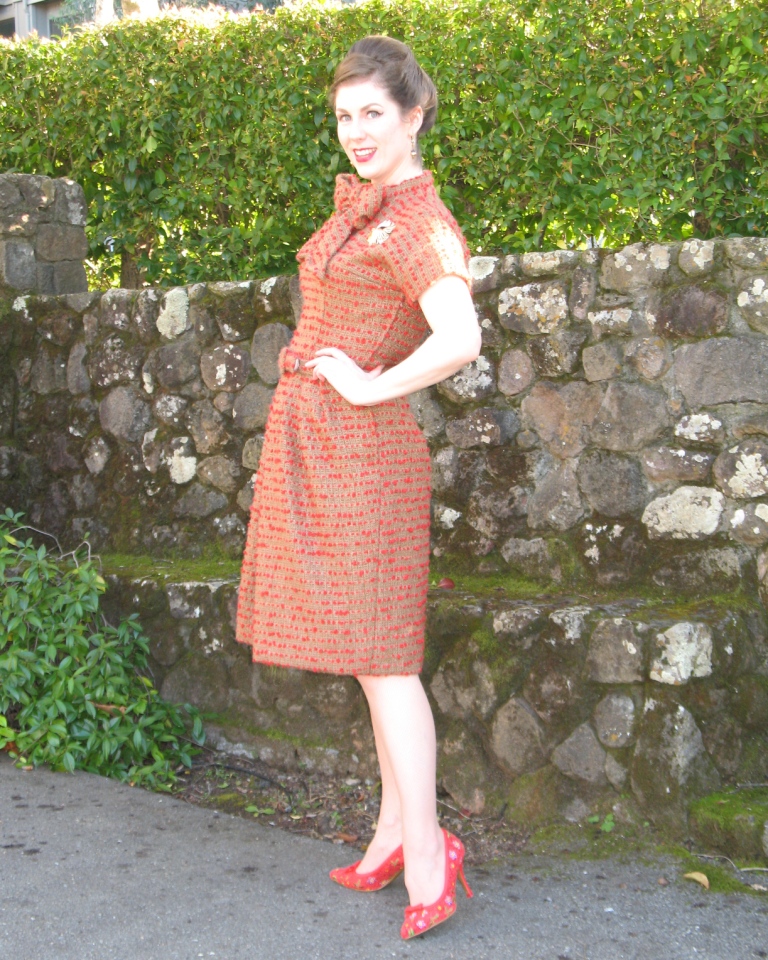
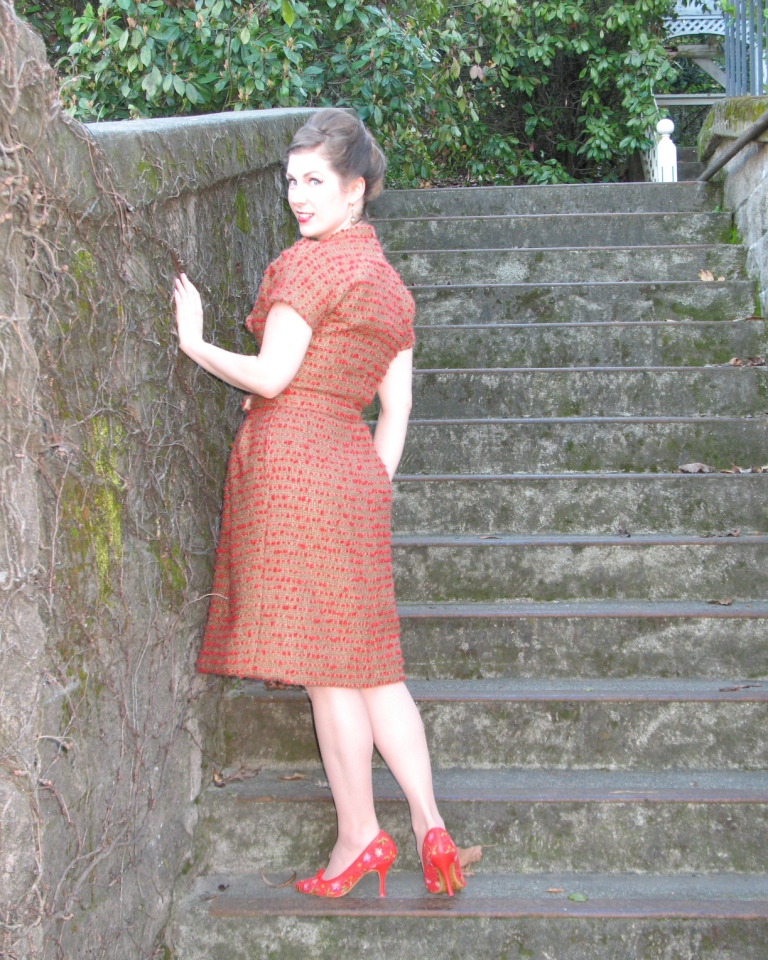
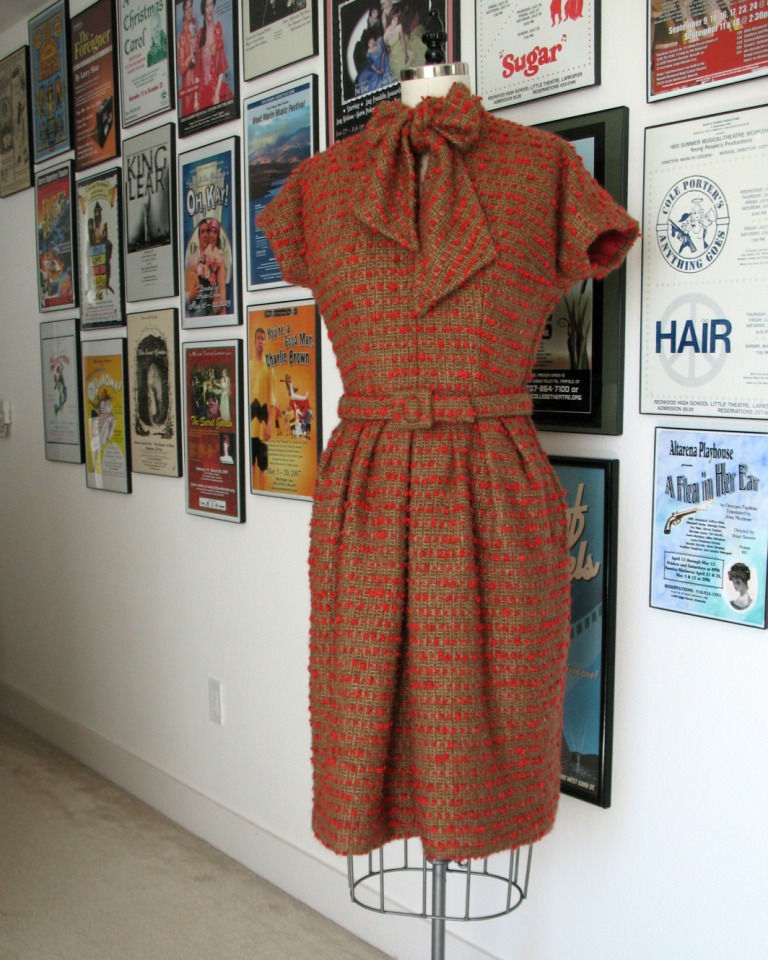
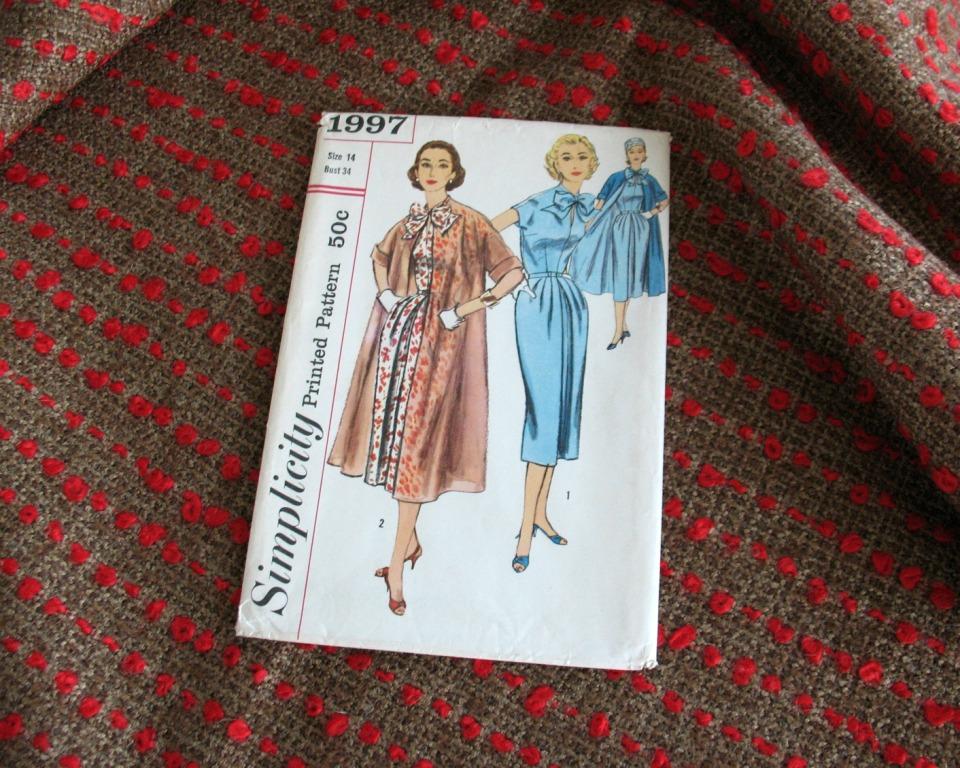
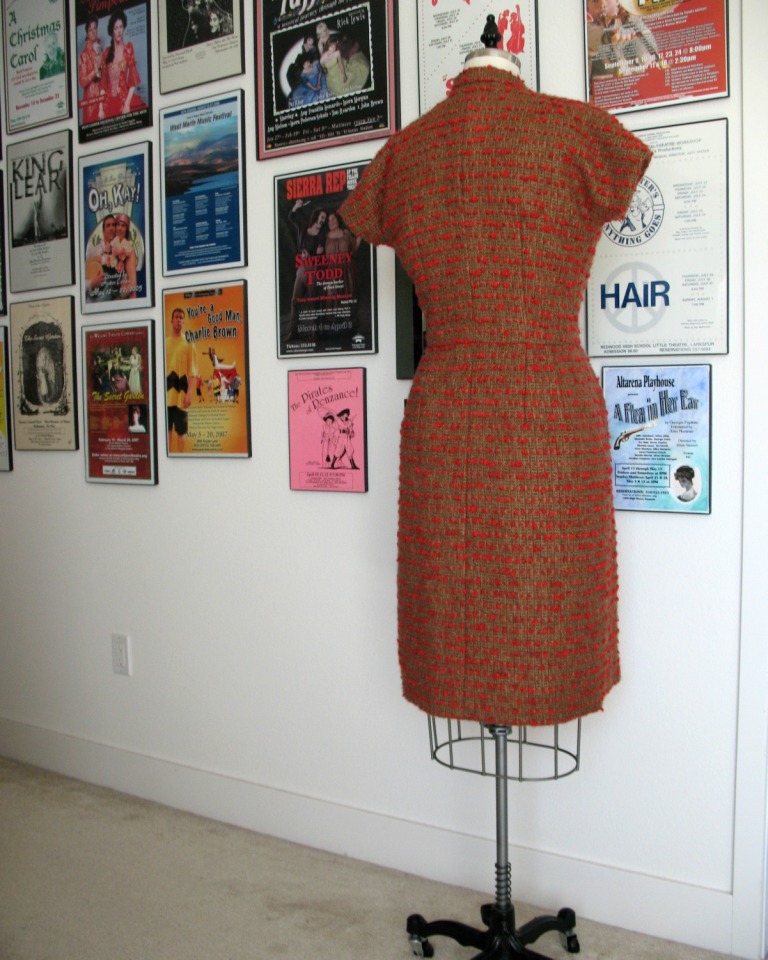
Simplicity 1997 is a pattern that was never put away - I always meant to make another version.  And here we are (even if it took longer than I was expecting!).  


I did manage to make a skirt along the way, but it has taken quite a while to get to the dress.  Now that it is finished, I really can't say why I waited so long.


Well, that is not entirely true.  I think I was waiting for this fabric


That is not to say this was the easiest thing I have ever made.  The loft of the bouclé made attaching the ties to the neckline challenging.


(By the way . . . the trick to tying a bow with thick fabric is to pull one side of the tie until it hangs down a few inches below the other and use that longer tail to wrap the second tie - it took a few tries, but I finally got it!)


This dress definitely needed a matching belt.  But making a buckle and belt from a thick textile is not as easy as I had hoped.  The saving grace is that the fabric presses beautifully.


And miraculously, it is not itchy at all.  Overall, it was worth all the extra effort it required.  And now I have a new dress that I love!


But the next project is going to be nice and quick and simple!  


Dress & Belt:  Made by me, Simplicity 1997
Shoes:  Miss L Fire, “Dame
Earrings:  Shadows
Brooch:  Vintage
Minaudière:  Banana Republic

[The fabric for this dress was received in exchange for my contributions as a Britex Guest Blogger.]

Friday, February 20, 2015

Summertime Simplicity

Simplicity has released their latest collection, making me question my choice to squeeze in one more wool project before the weather really turns - is it summer already?  


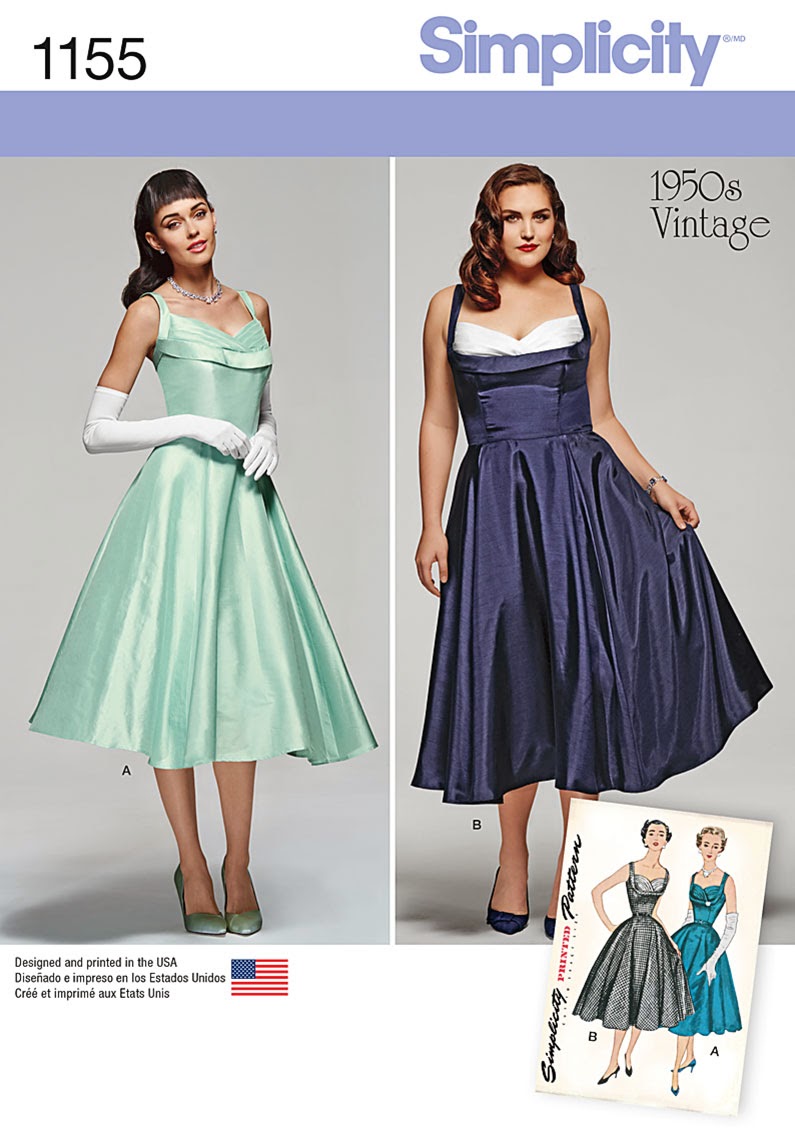
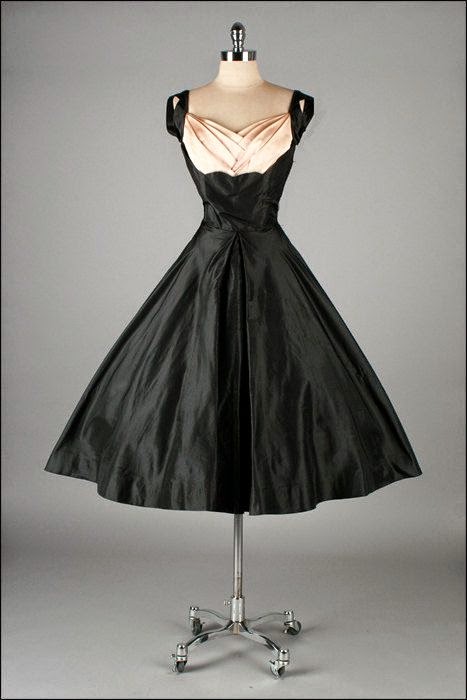
And it would seem that the shelf bust is incredibly popular this year (Butterick has two “modern” versions produced for their Patterns by Gertie line if this one does not thrill you).  I went looking for the original, and this is what I found:


Interestingly enough, the original design includes sleeves.  I cannot understand why they would not have reproduced that detail.  


Well, the back treatment is my answer.  The straps are the problem.  The original Simplicity 4704 is full coverage through the armholes and back.  And wait a minute . . . the strap treatment on the front of the bodice is different, too.


Perhaps Simplicity has morphed two different patterns?  But the original 4704 artwork is included on the new reproduction, right down to the checkered print (it looks like they just photo-shopped the sleeves out).


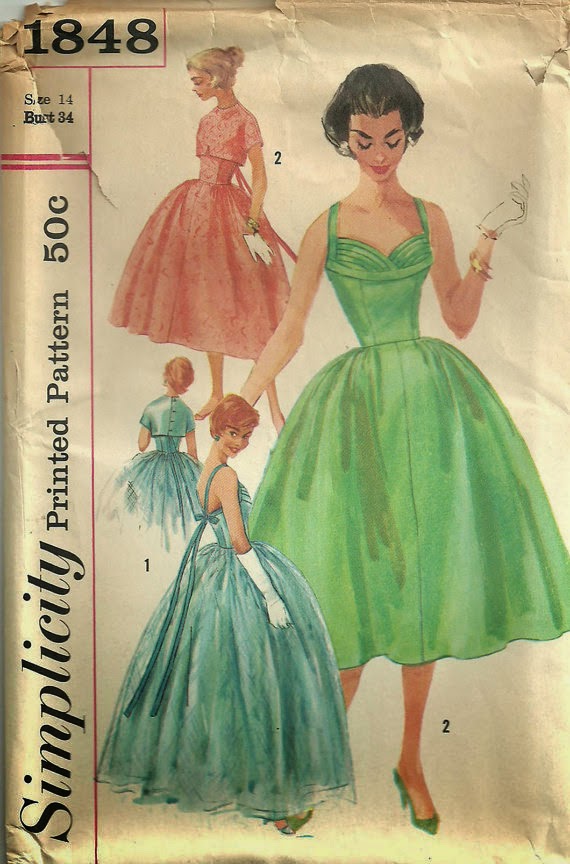
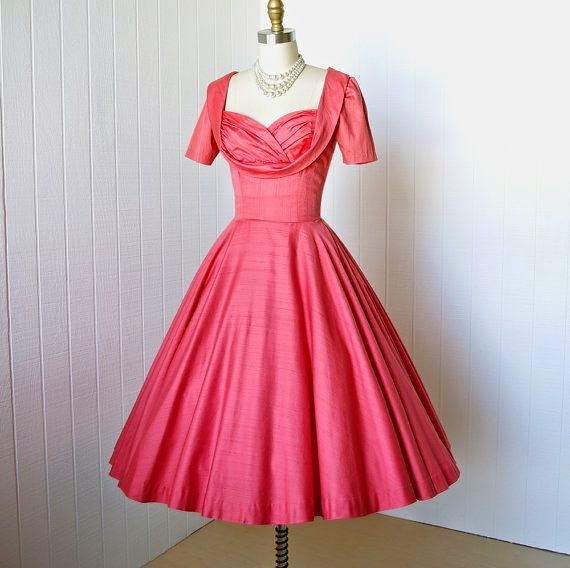
But wait . . . the original design looks a whole lot more like Simplicity 1848.  So why is Simplicity 4704 included on the new cover art?  What is going on here . . . and where has my cute bolero pattern disappeared to?  Also, they have changed the skirt.  Why?  Perhaps the full length version used too much pattern tissue for one design, but why add gores to the short version when neither of the vintage versions do?  What exactly were they trying to reproduce?


So it would seem the answer to the age old vintage reproduction question, “do they alter the design?” is a resounding "YES."  I am not sure I like this answer.

There has also been some controversy about the seam placement falling above or below the actual bustline on this style.  The contention is that if that seam does not sit below the bust it looks like a fitting mistake.  Well, I think the answer is less clear than that, and has to do more with the proportions of the actual person wearing the dress, and, of course, the dress itself.  


If you look at vintage versions of the shelf bust style, the bust area starts to look very large and matronly if the lady wearing it has significant assets, especially when the pleated/ruffled area is full coverage.  If you wish to minimize the bust, drawing a design line right through the bust and using a contrasting color can really help to accomplish this.   


I think the more successful of these designs incorporate some kind of draping or folds to disguise that bisected line that cuts across the bust.  This is missing from all of these reproduction designs (both by Simplicity and Butterick) and is, perhaps, what does not quite work on the larger model in Simplicity 1155, whose under bust measurement is significantly smaller than her full bust.


If, on the other hand, you often use a small bust adjustment, exaggerating this area might be something you want to do.  Wrapping that portion of you figure with a bias band of fabric will certainly accomplish this.  In this case, the seamline is placed right at the underbust, making a smooth lower bodice panel easy to fit without smooshing anything.  


The danger, I believe, lies in either extreme. Personally, I do not want to look flat chested in a 1950s design (a dress from the 20s is a whole other story), but I also do not want to look the prow of a ship with a bust that enters a room two minutes before the rest of me.  

What do you think of these designs?  Where should that seamline sit?  Thoughts?  Comments?  Would you make any alterations if you were drafting the pattern style lines for yourself?


But enough of the self busts!  What I would really like to see is a petal bust design, please!  


And by the way, there is a second vintage reproduction.  This playsuit set is adorable - very Roman Holiday.  The bra top design is somewhat similar to Simplicity 1426, but the whole look is wonderful.  Some may be disappointed that a pair of shorts is not included, but I really, really like this.  It is not groundbreaking, and not terribly complex, but the armhole cut on that shirt, the wide shaped waistband, and the pleats on the skirt just makes me happy.


There is even a jumpsuit design that I am strangely drawn to . . . if only my legs were six inches longer, I think I could pull that off . . .
  
But for now, I think it is time to spend some time with one of my unfinished knitting projects and a cup of tea.  Here is to a productive weekend!

[Click on image for source]

Thursday, February 19, 2015

Fabric Snob


My latest Britex project gave me the opportunity to work with some pretty amazing fabric.


I was lucky enough to receive a couple of yards of this yummy wool/mohair blend to play with.  Oh, how I love textured fabrics!  But they do present their own challenges.


The pattern I chose was familiar because I have made it before, so I jumped right into the project after checking that all the pieces would fit.


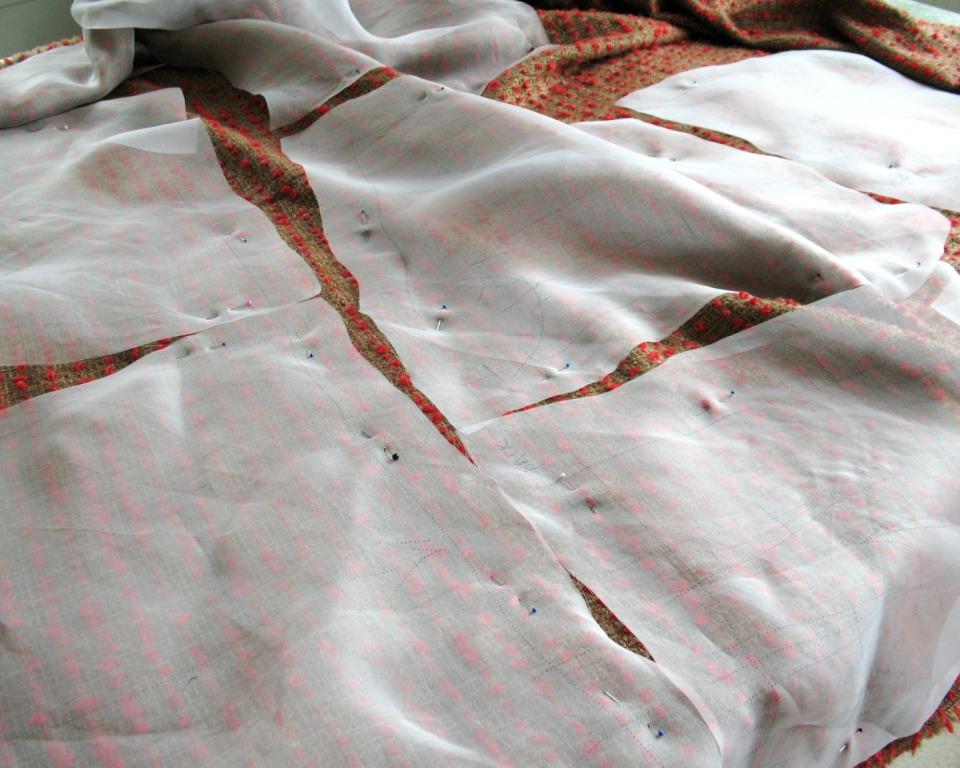
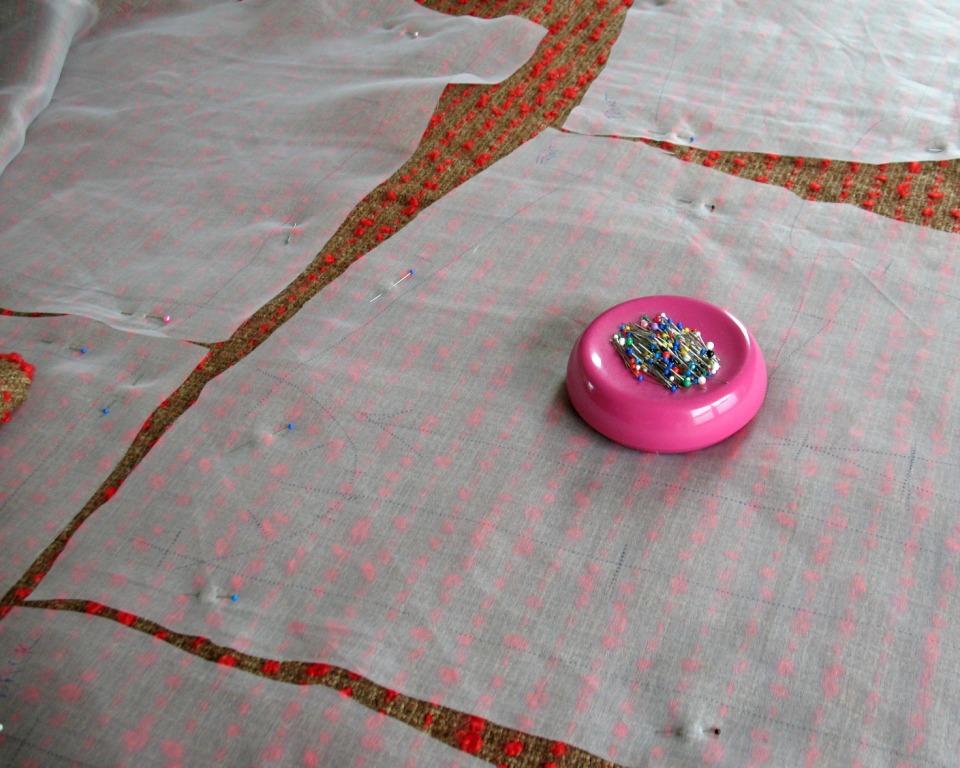
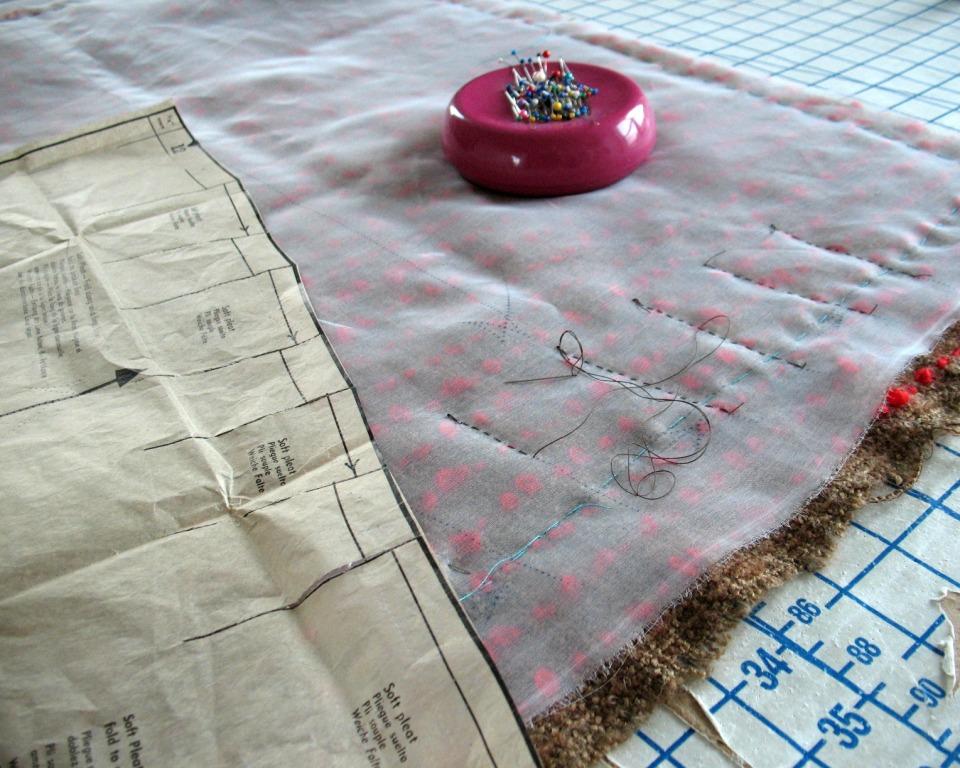
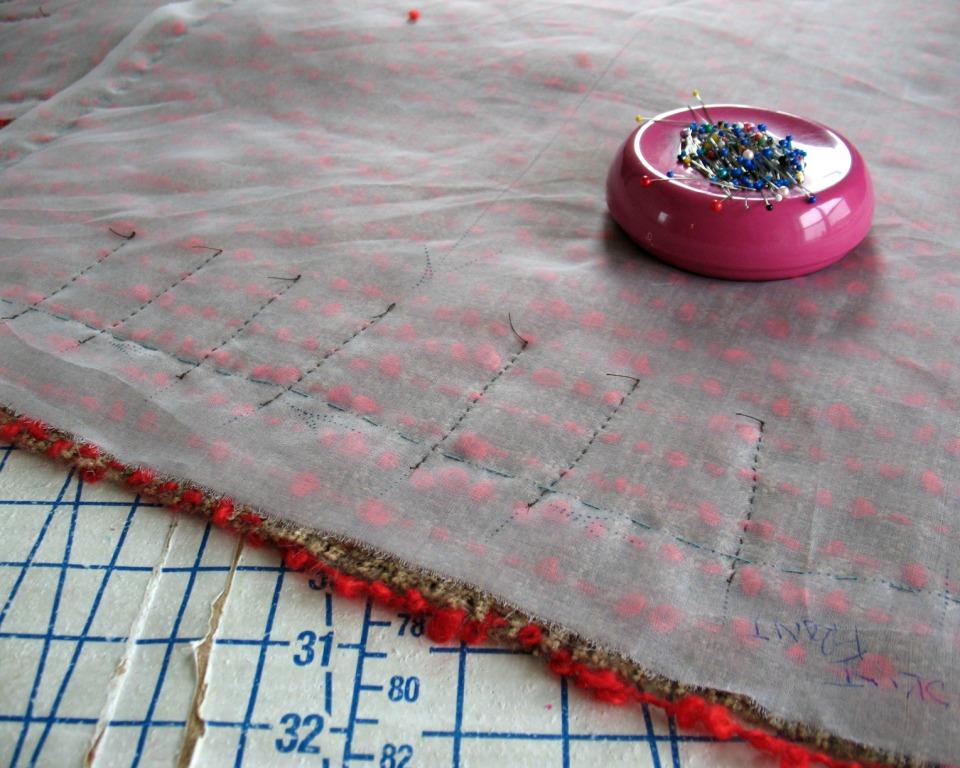
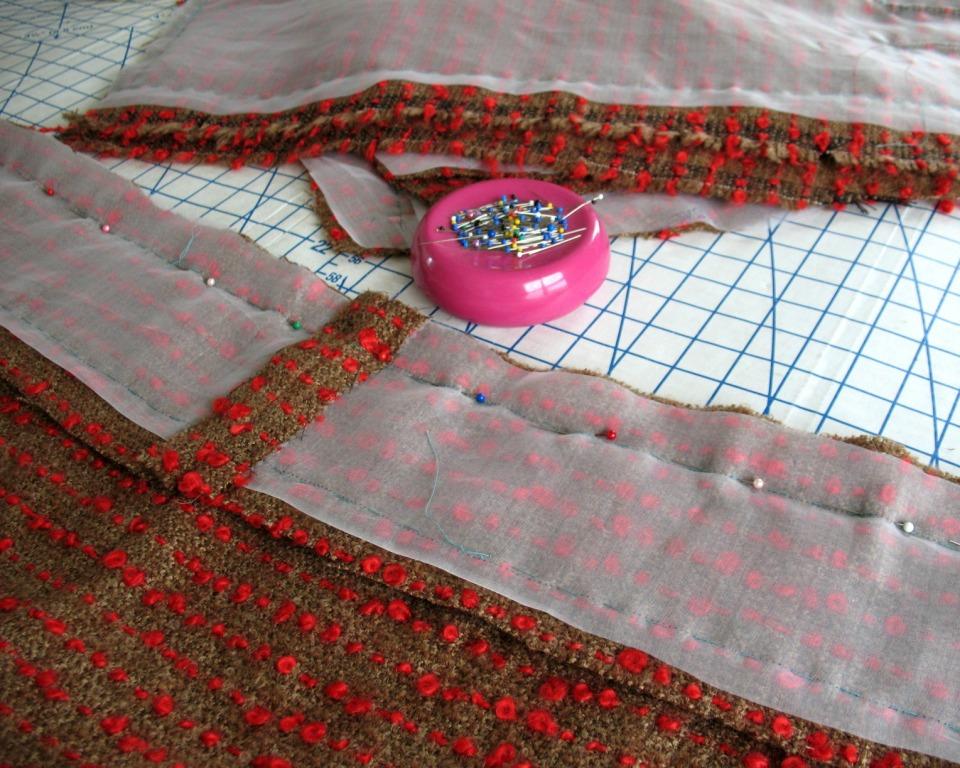
Simplicity 1997 is single sized vintage pattern (as so many of them are), and includes a printed stitching line.  Since I was going to underline in silk organza anyway, I decided to go all out and hand baste those stitching lines.  This gave me nice wide seam allowances - important when working with a loose weave since they like to shred apart at the cut edges.


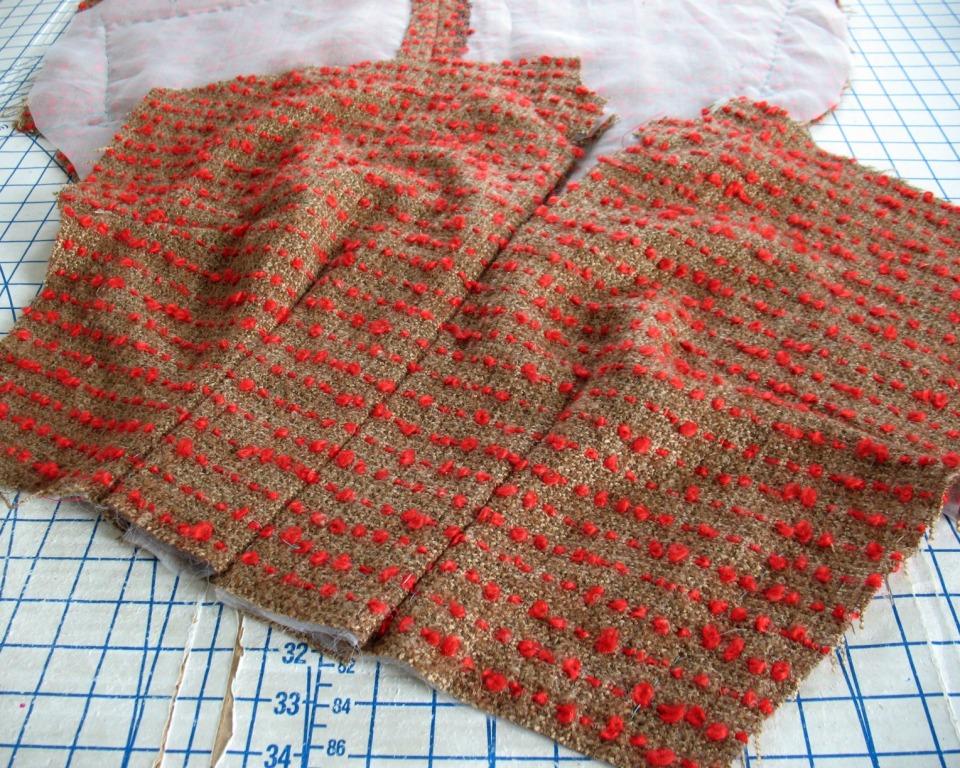
One upshot of a textured fabric is that stitches sink right into the fabric (although removing basting stitches can be a pain).  To keep the two fabrics from shifting along the pleats lines, I used a small pick-stitch.  Those stitches remain in the finished garment.


This fabric has a bit of a 1960s vibe, so I wanted to shorten this version of the dress.  Which is probably the first time I have done that to a vintage pattern!  In the end, I took off five and a half inches, which also helped to fit everything on my yardage.  


Because the skirt front is pegged, it is hemmed with a facing.  That meant that I had to decide on length before starting the project.  Thankfully, I had a finished dress to play with length.


The rest of the project involved a lot of hand basting and then catch-stitching a bunch of seams.  The fabric has quite a bit of loft, so that process was extra important for this particular project.


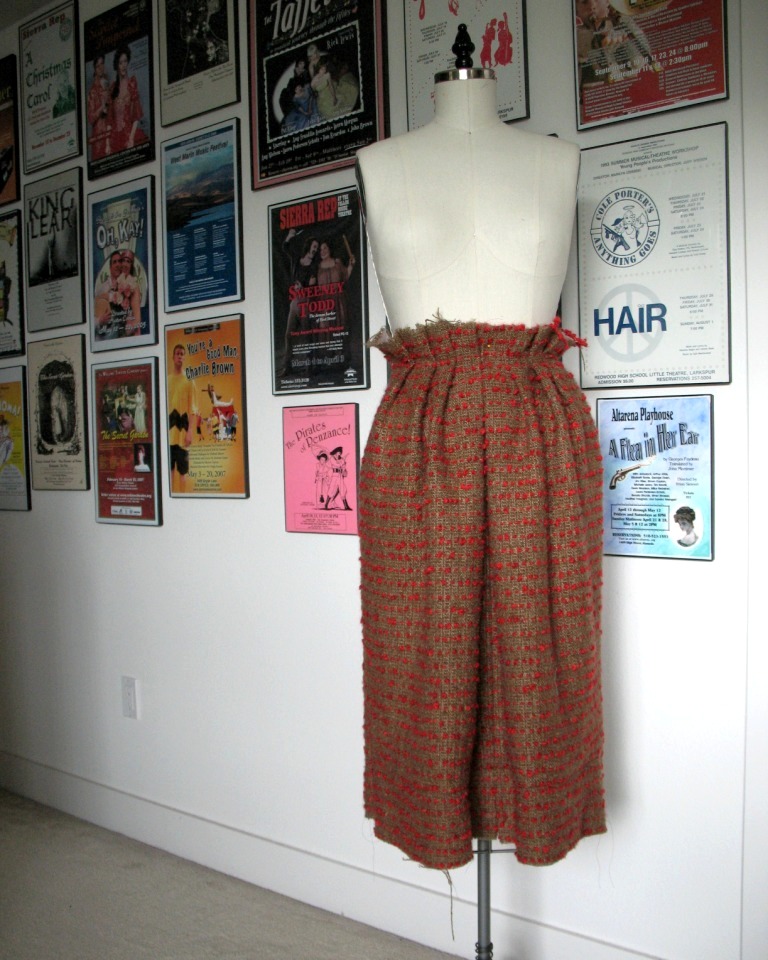
Keeping the bulk to a minimum was also a motivating factor.  There was quite a bit of grading of seam allowances.  I have to admit I was worried once I put the skirt on the dress form - that is a lot of fabric to corral into a waistline!


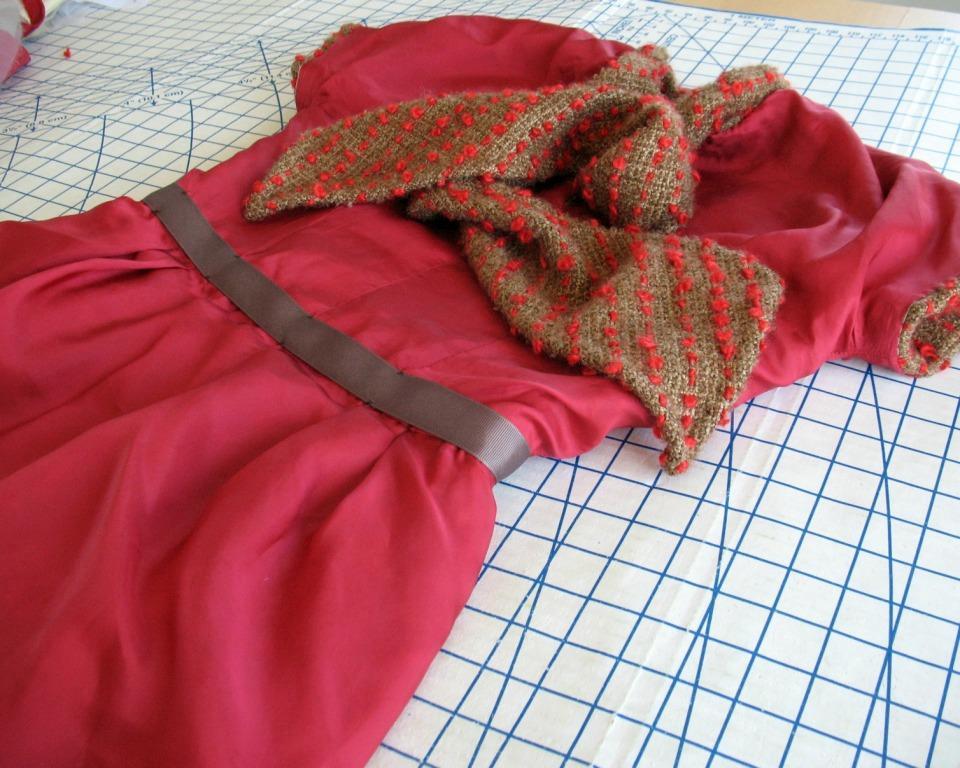
And, of course, a waist stay was the final bit of business to prepare the dress for its first outing!


[The fabric for this dress was received in exchange for my contributions as a Britex Guest Blogger.]