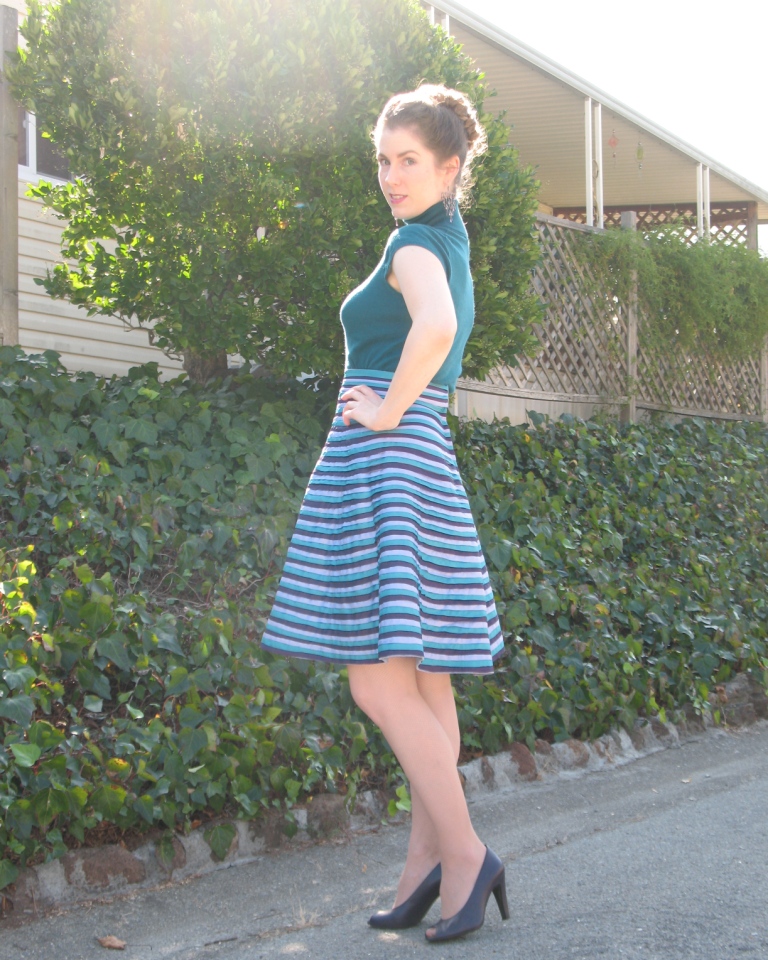
Do you ever come up with an idea for a project,
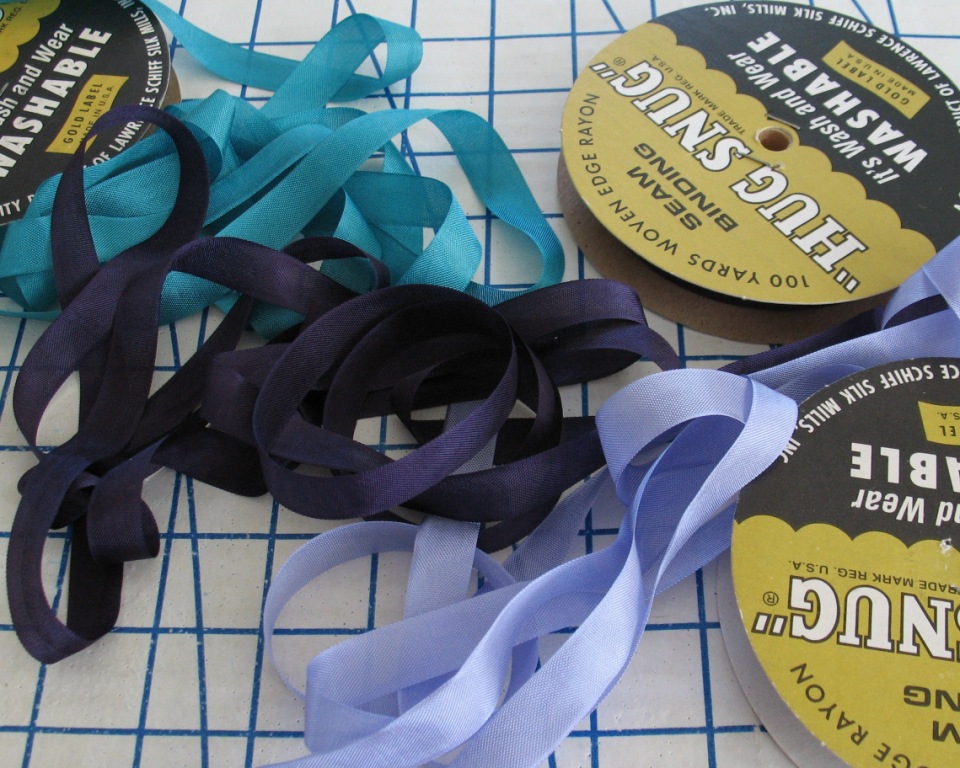
and years go by without doing anything about it? Well, this particular project (or a variation of) has been stuck in my head ever since I first laid eyes on
Hug Snug seam binding. And I finally found the motivation to get started!
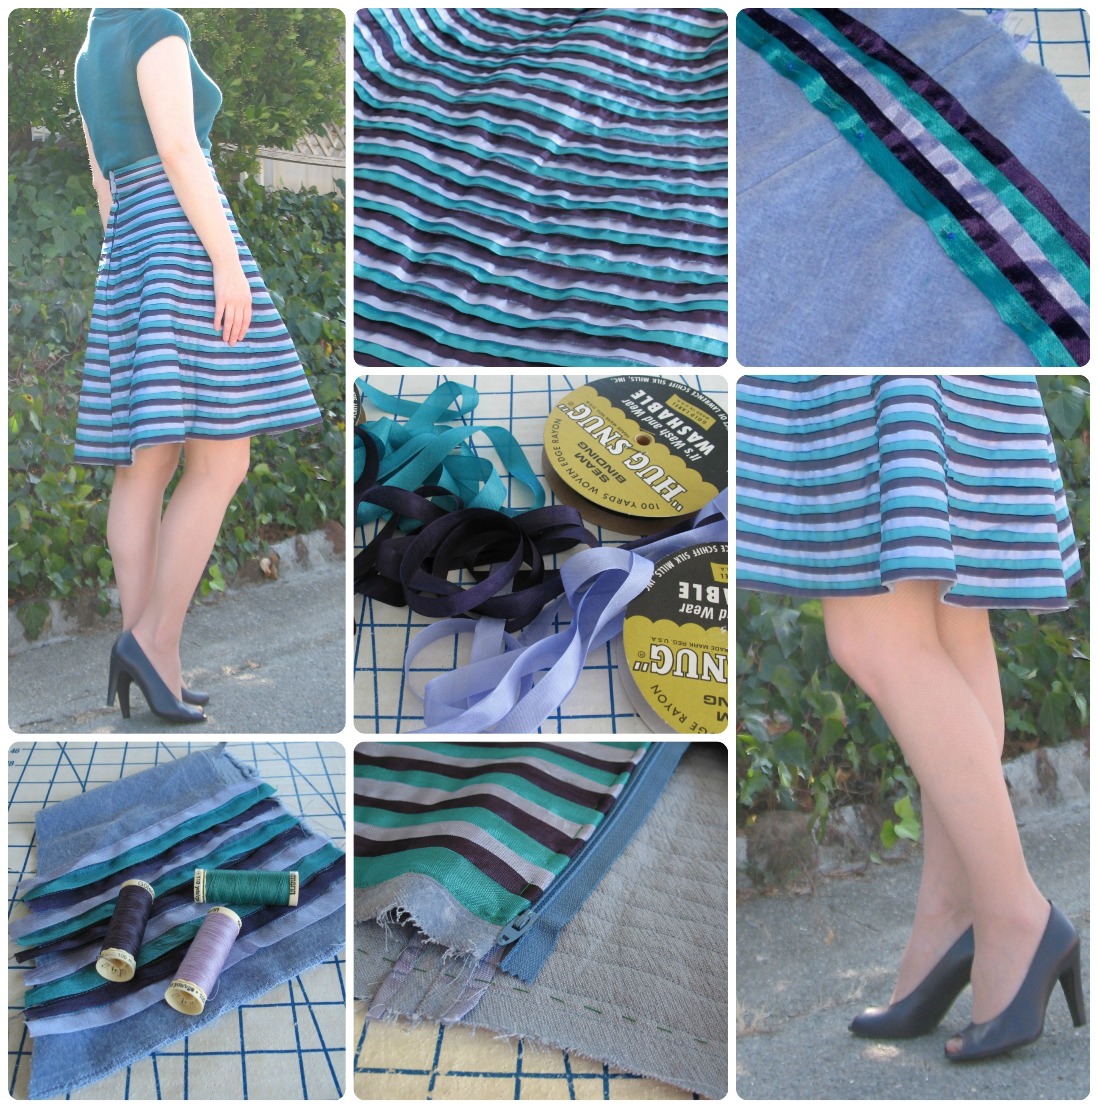
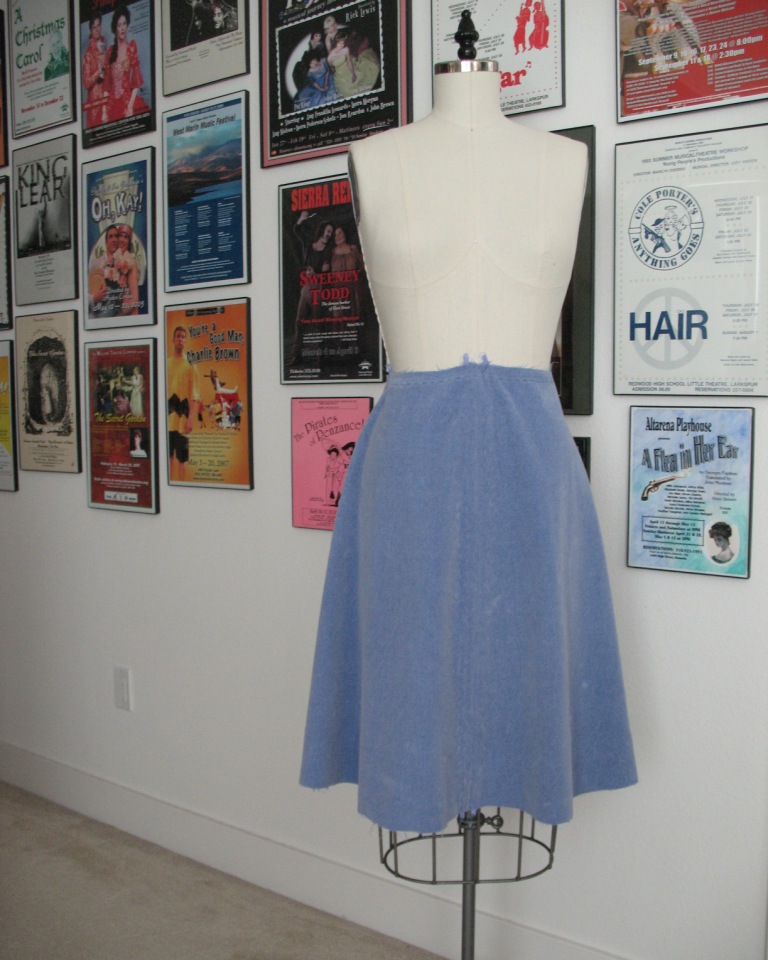
I chose a stashed cotton velveteen as the base fabric. I knew it was going to be a pain to work with the nap, but it was sturdy enough to handle a lot of top-stitching, and it had a few sections of squashed pile that made it less than ideal for a project where the fabric itself would be the focus.
I knew I wanted to use a simple skirt pattern as a base; Sewaholic's
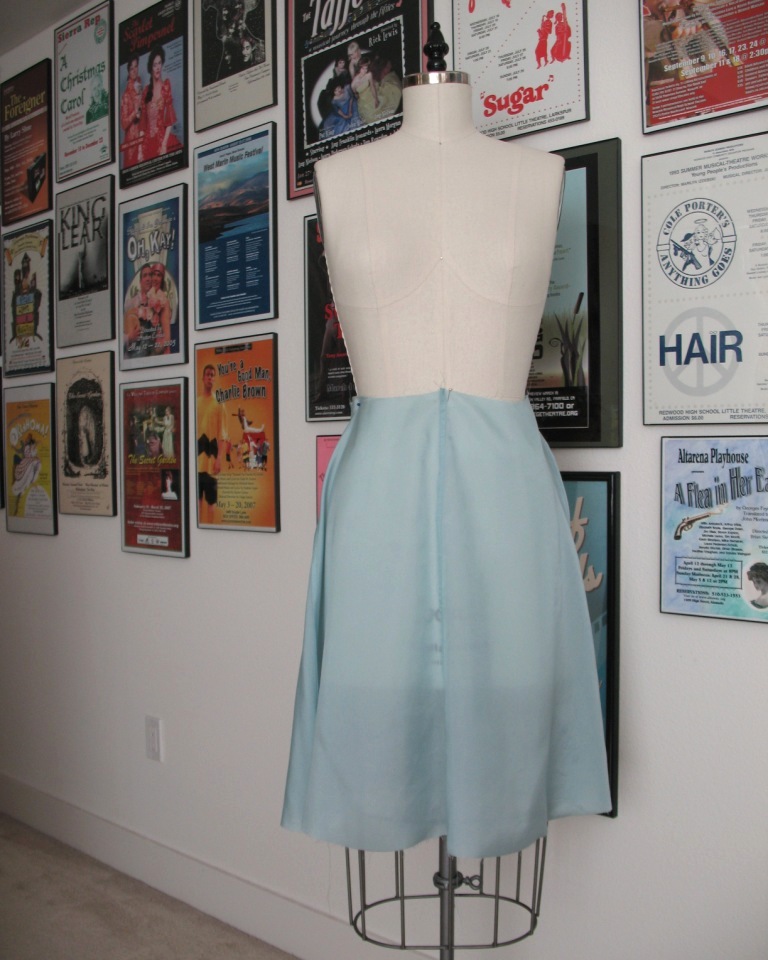
Hollyburn Skirt was an obvious choice. It’s always handy to have a muslin from a
previous version of a pattern. No prep work needed! I decided to eliminate the pockets (shock, horror!) to keep things a bit more streamlined.
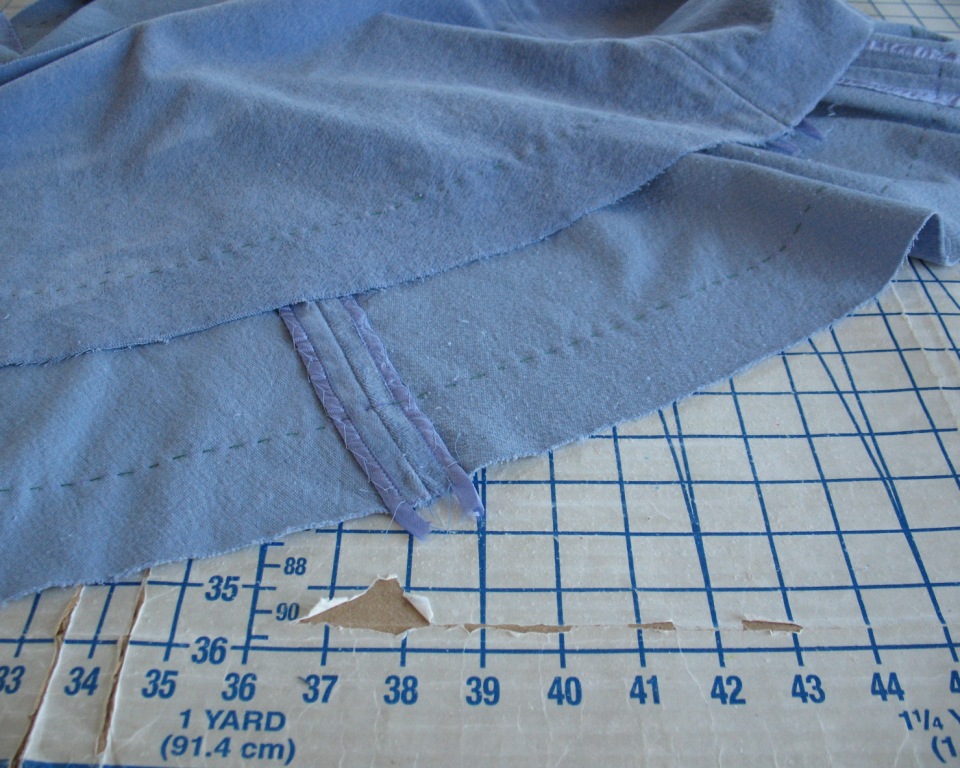
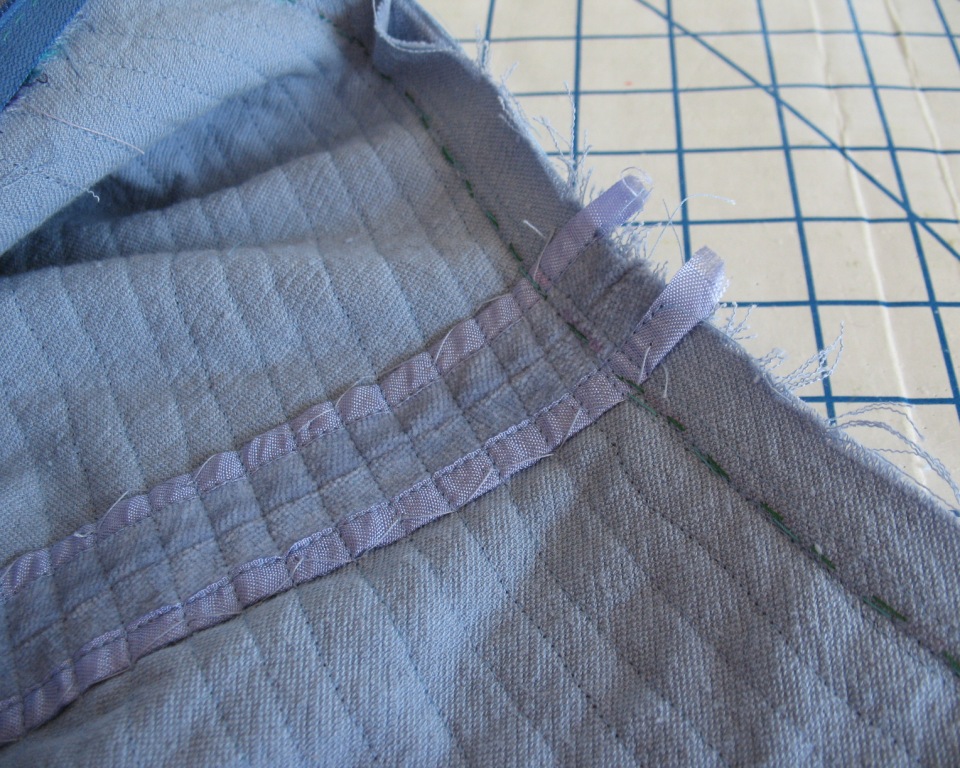
To keep the seam allowances out of my way, I catch-stitched them into place.
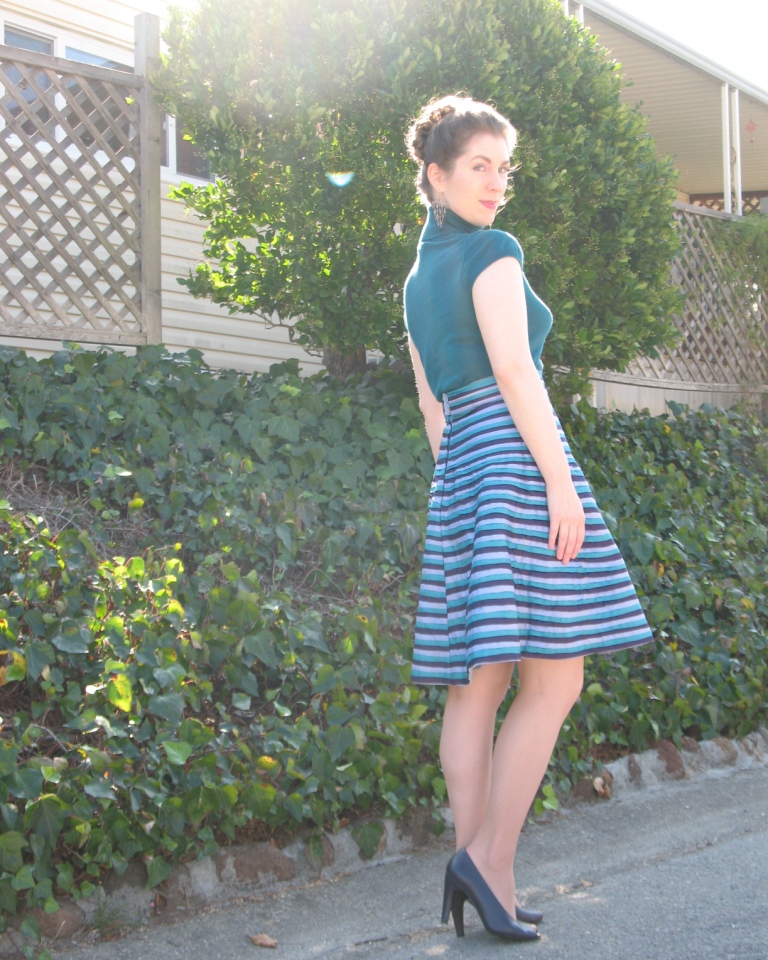
The skirt was constructed at the front and side seams, leaving the back open.
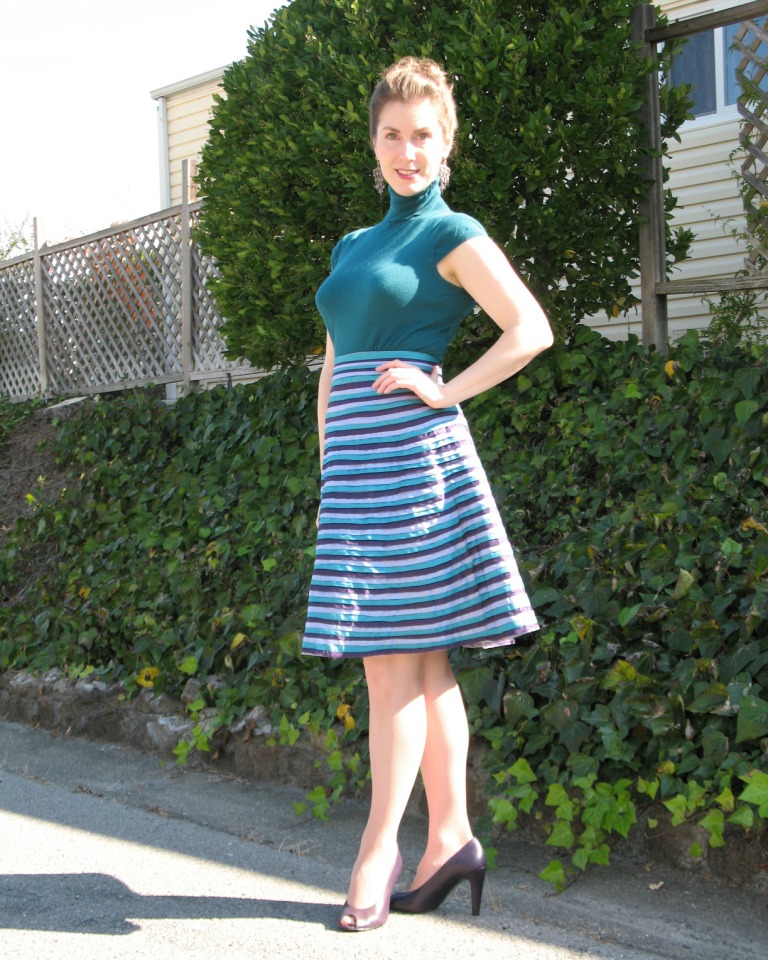
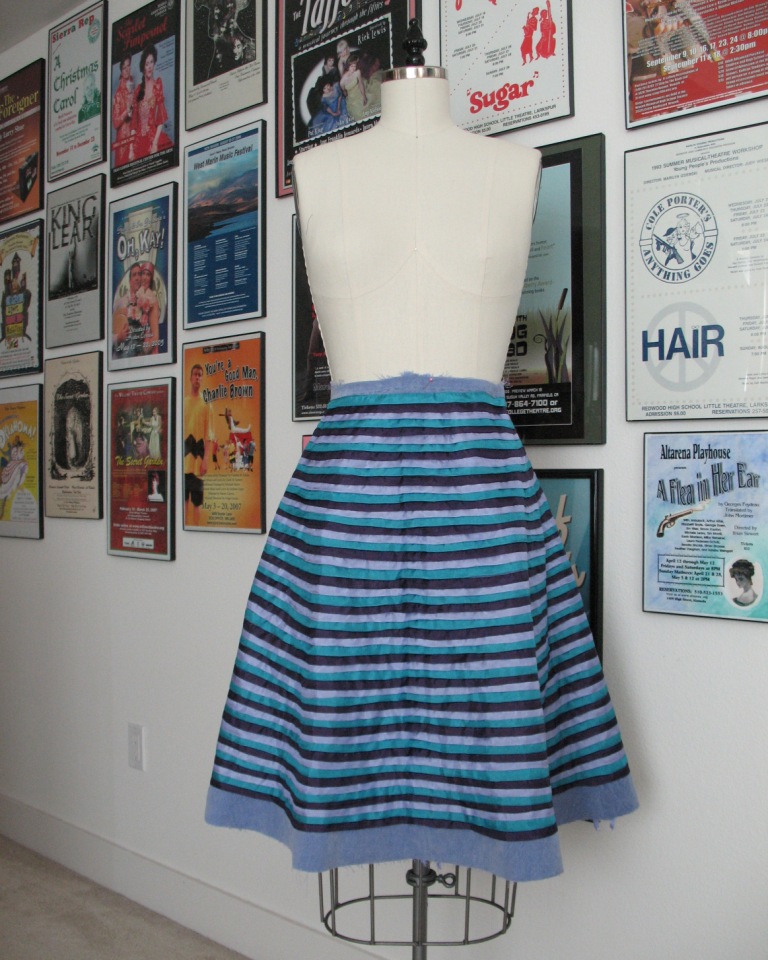
I did add 1.5” to the hemline, but I ended up trimming off some of that extra. Another Hollyburn is probably in my future, and if I have enough yardage, I plan on adding an inch or so to that version since I think this silhouette would look great hemmed at the knee.
Then came the fun part!
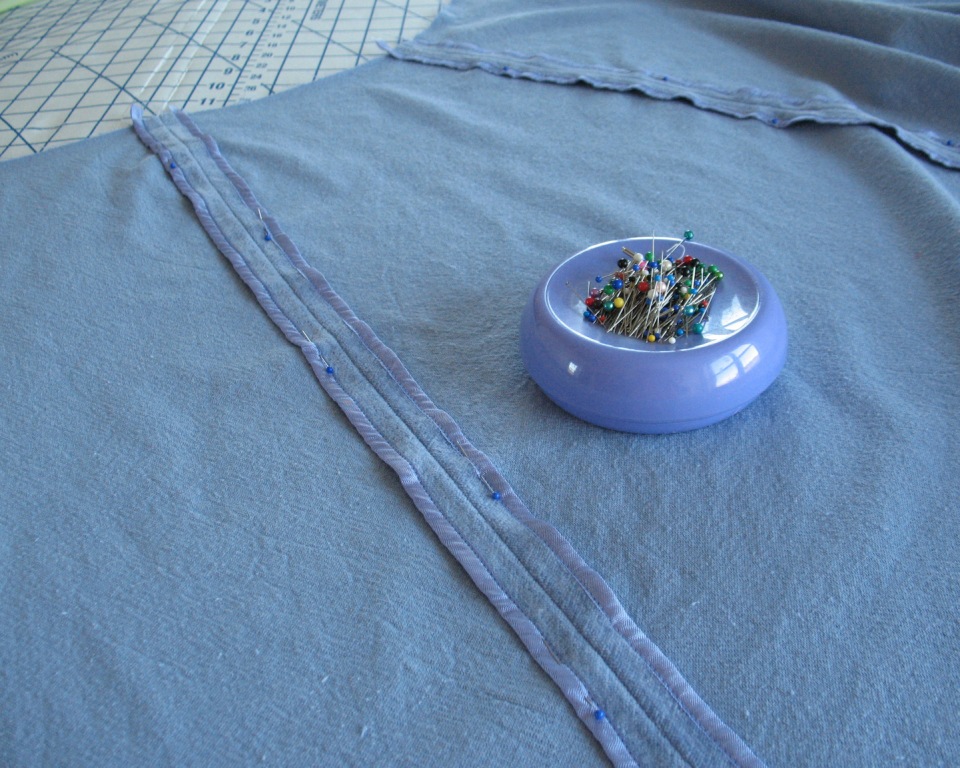
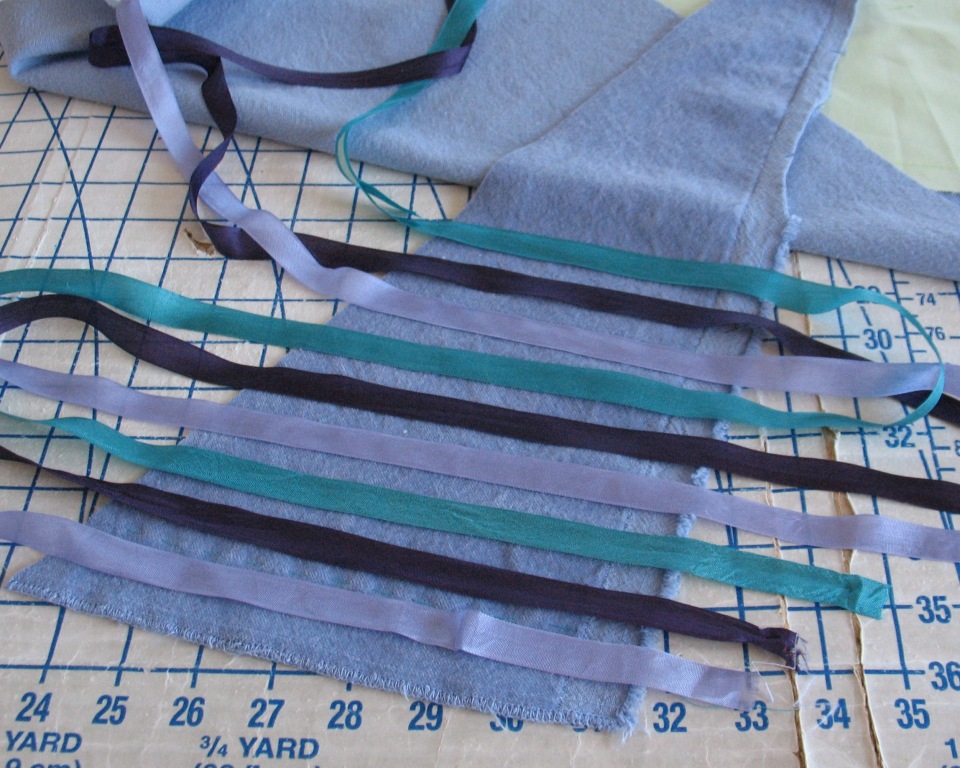
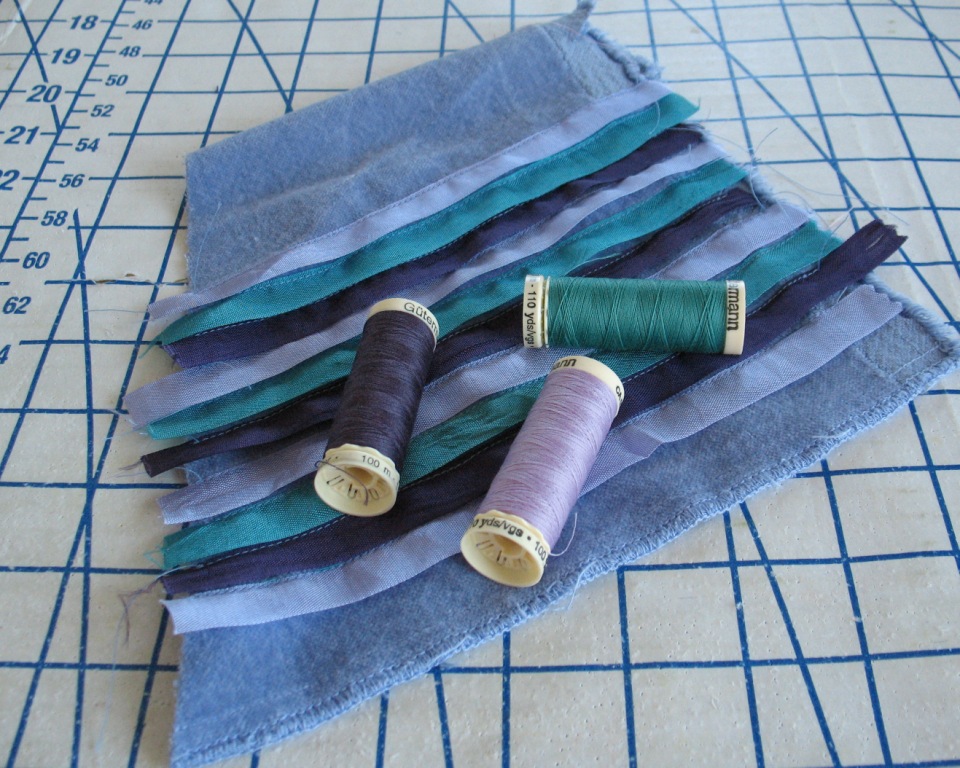
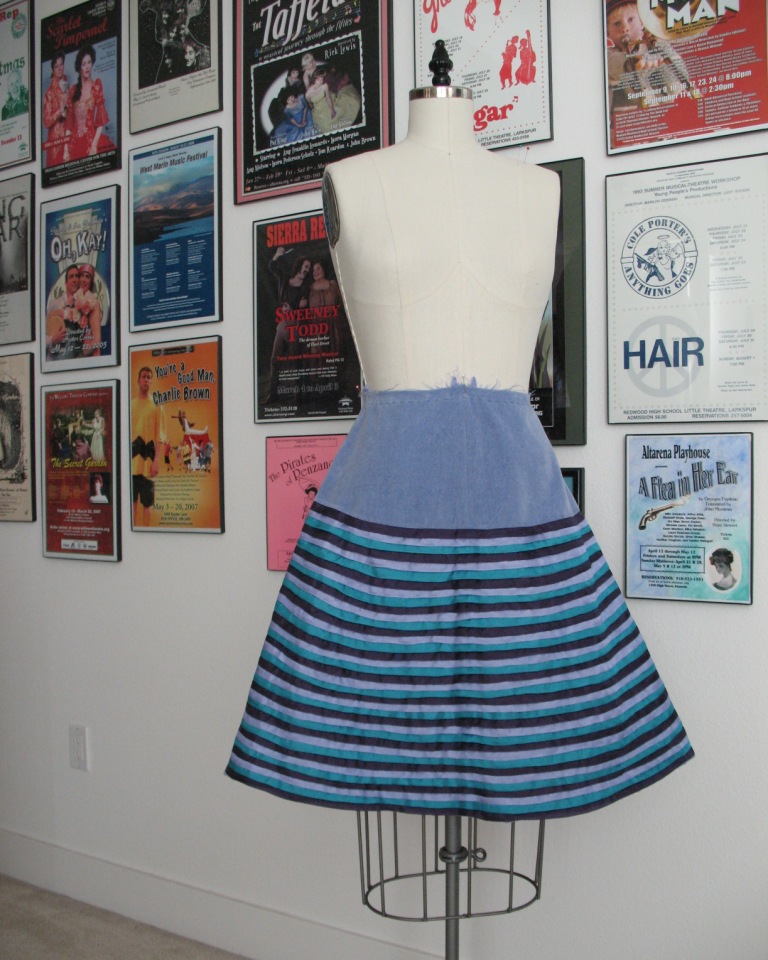
I originally intended to leave some of the velveteen visible through the stripes of seam binding. But what I visualized in my head did not look as good when I tried it out with a scrap of fabric.
Somehow, I did not have thread to match back to the seam binding. How does that happen with two racks full of thread?! But other than three new spools of thread, this project was made
entirely of stashed items. And I only had to travel a couple of blocks to the new sewing store right in my backyard to get them. Unfortunately, the only fabric they stock is quilting cotton which is easy to come by, and lots of poly tulle (which probably had something to do Halloween). Oh well, at least there is a convenient place to go for a last minute zipper or random bit of thread.
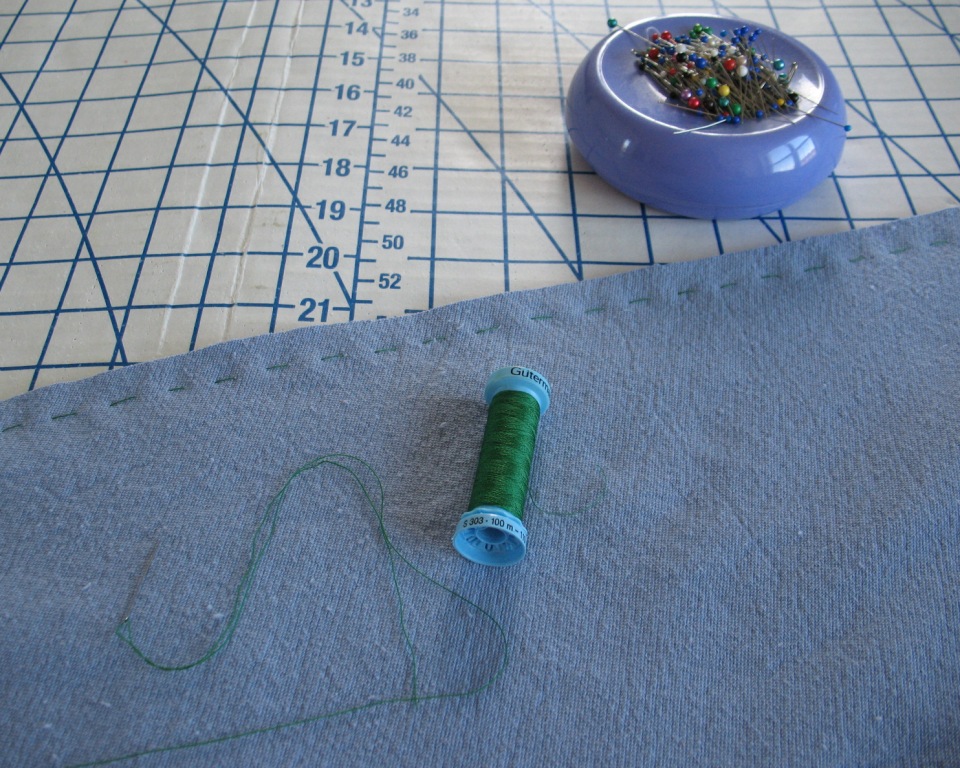
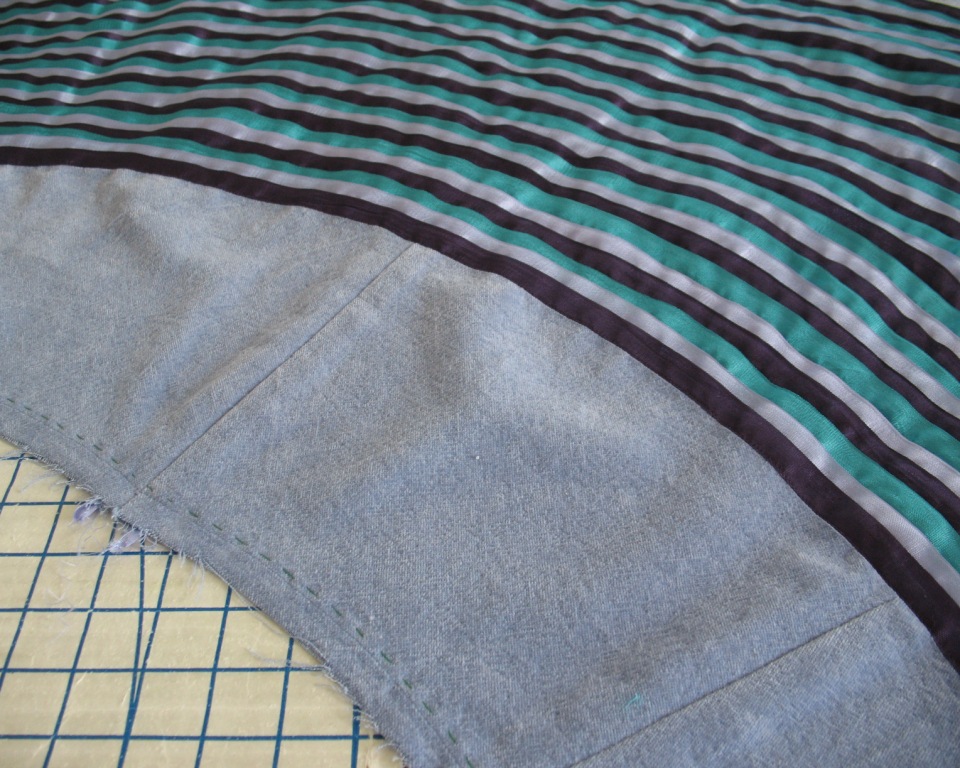
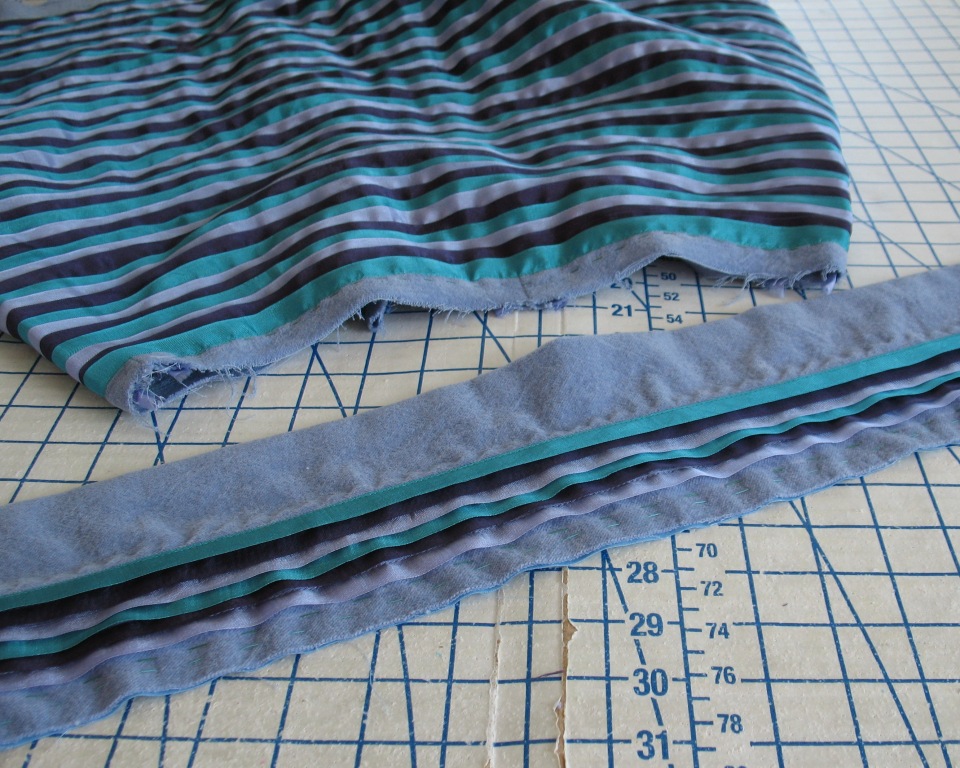
I started at the hemline after giving myself an even thread-traced line to work from, and went to town!
The rows are far from perfect. Between the nap of the velveteen and the bias bits there were a few frustrating moments.
And the jade green spool of Hug Snug is the first I have come across with major imperfections. The first five yards or so were too flawed to use. Something chewed through a section of the spool which was less than ideal - especially when I was working with long strips of the stuff. Thankfully, the flaws did not mar the entire 100 yards.
As an added bonus, because I started at the hemline each row became shorter and shorter as I went along. I think I may have given up had I started at the waistline and worked my way down!
In all honesty, the process was not nearly as tedious as I was expecting.
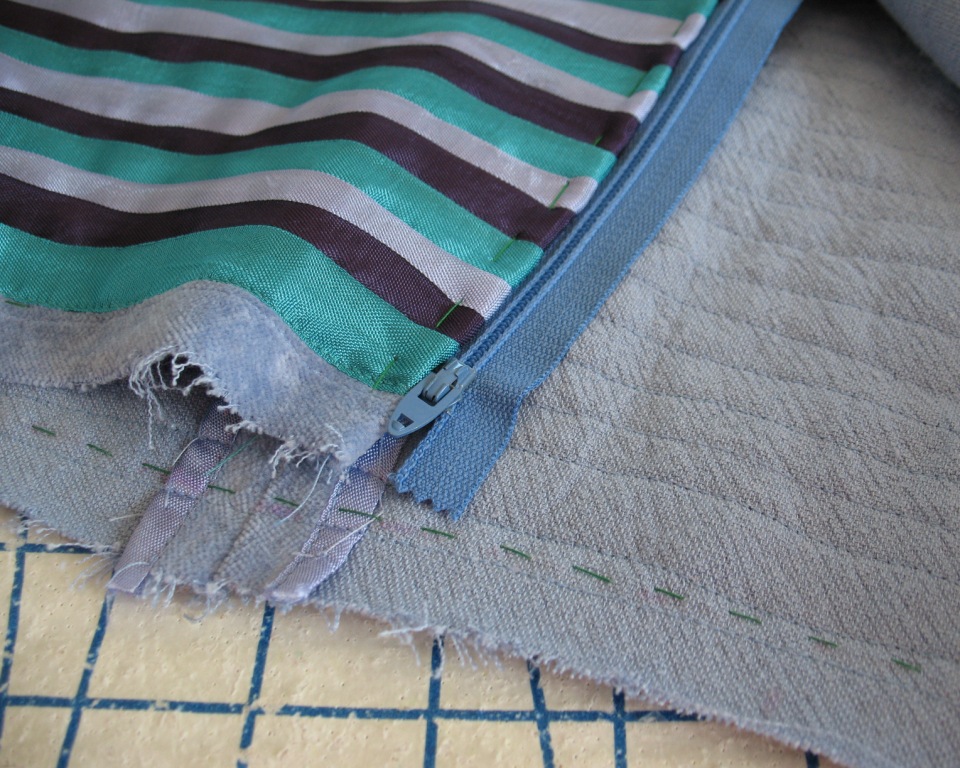
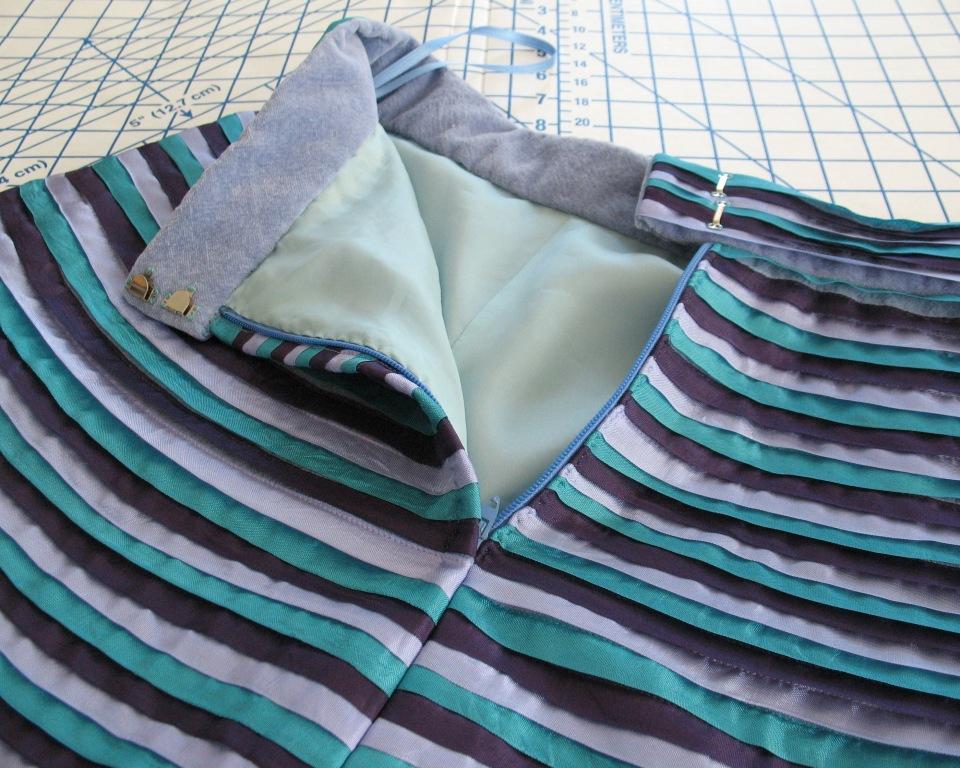
I found a vintage zipper in a drawer that was a decent match for the color palette.
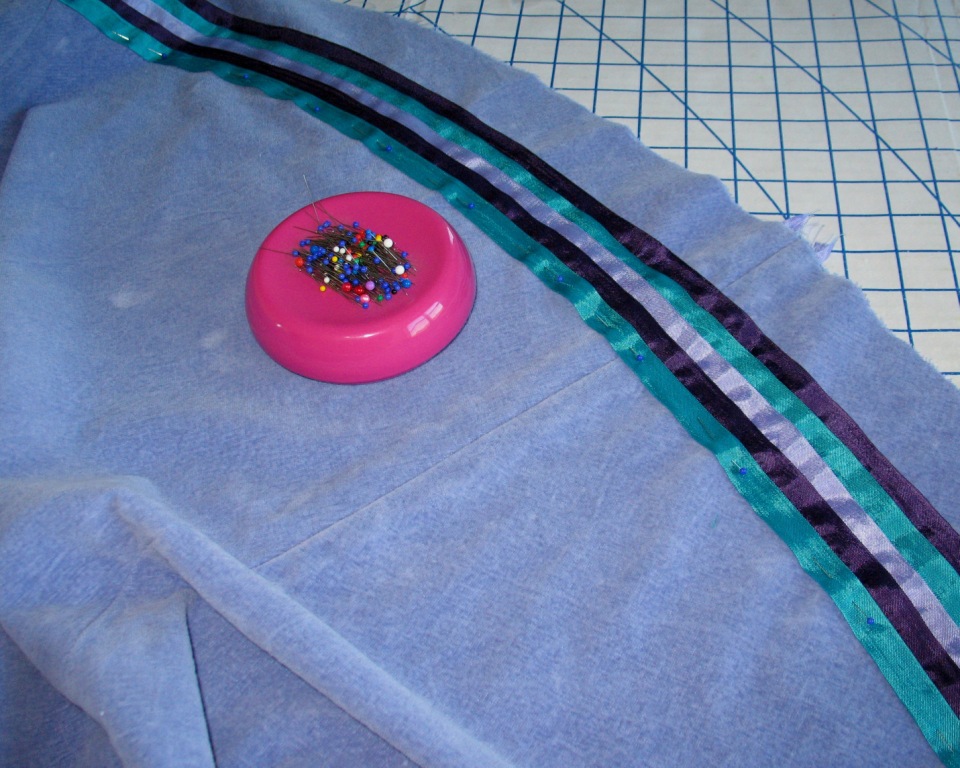
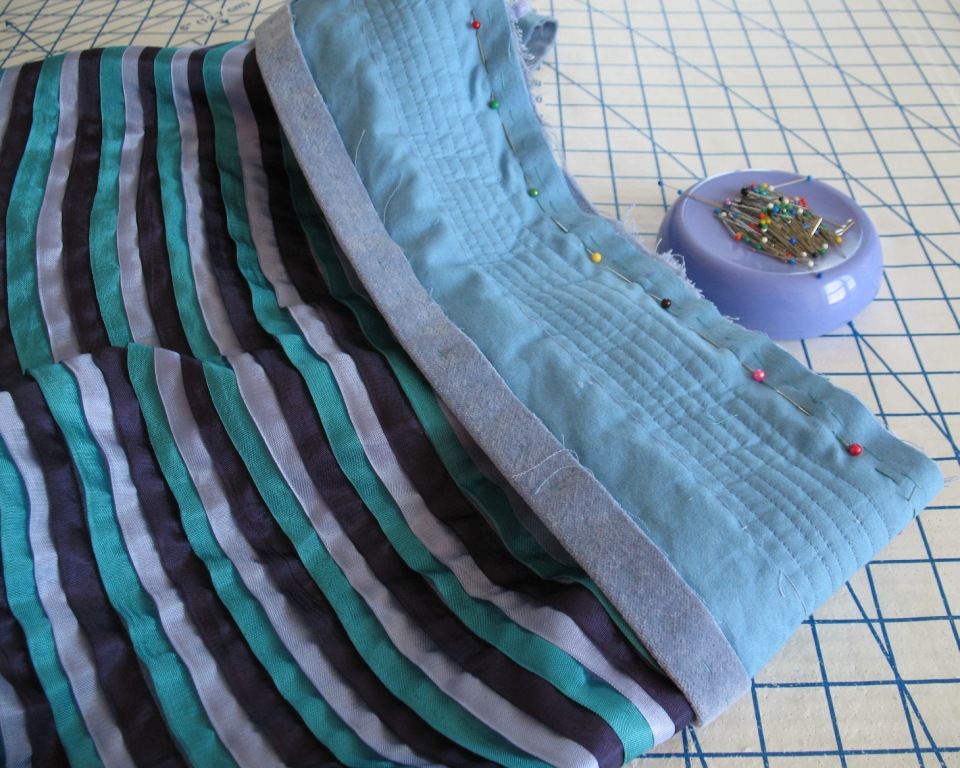
And I decided the waistband needed to be embellished as well - I thought a plain band would look silly next to all that ribbon!
An underlining of cotton was applied before I stitched on the seam binding.
The waistband was hand basted in place to make sure I did not catch any of the binding in that seam.
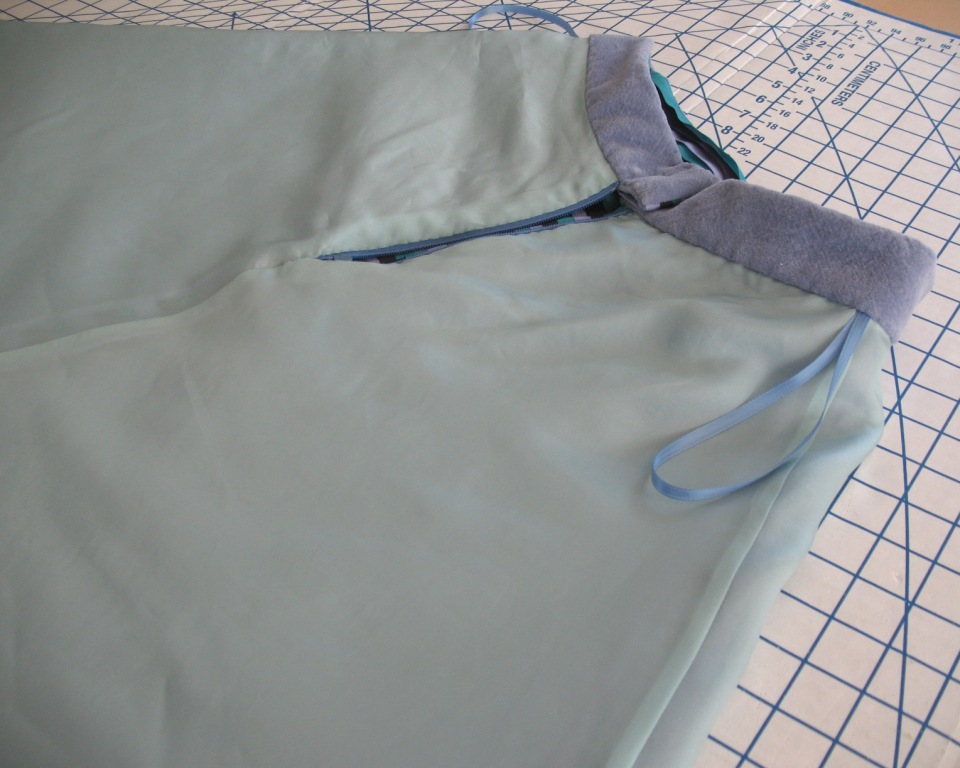
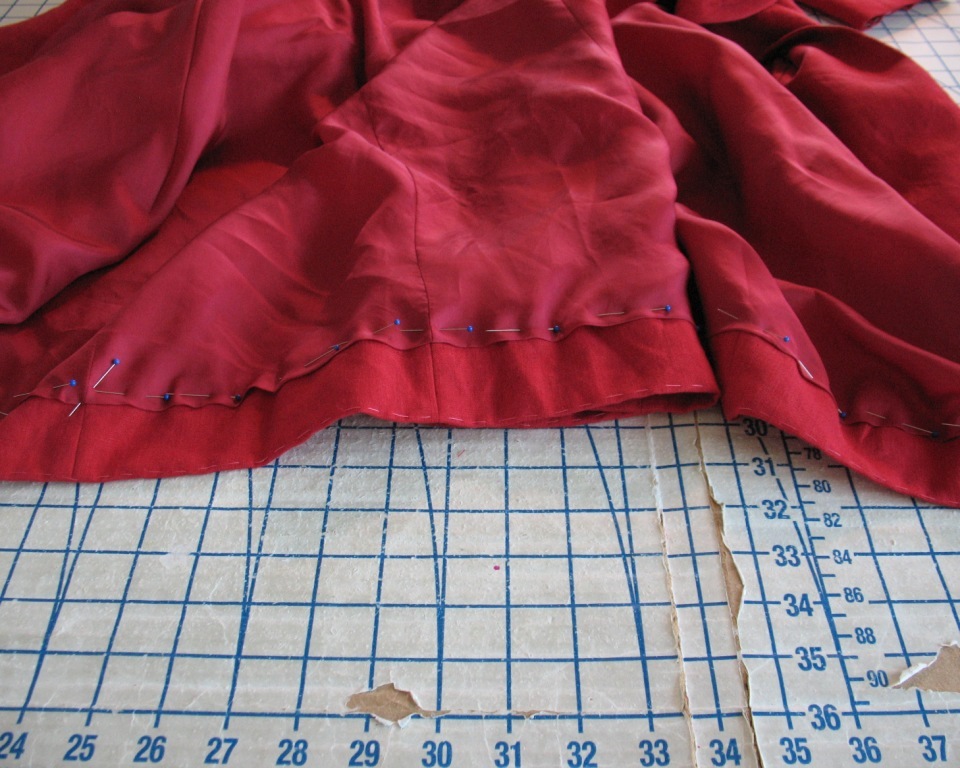
And a bemberg lining was added to make the skirt more hosiery
friendly since this is a winter-weight skirt.
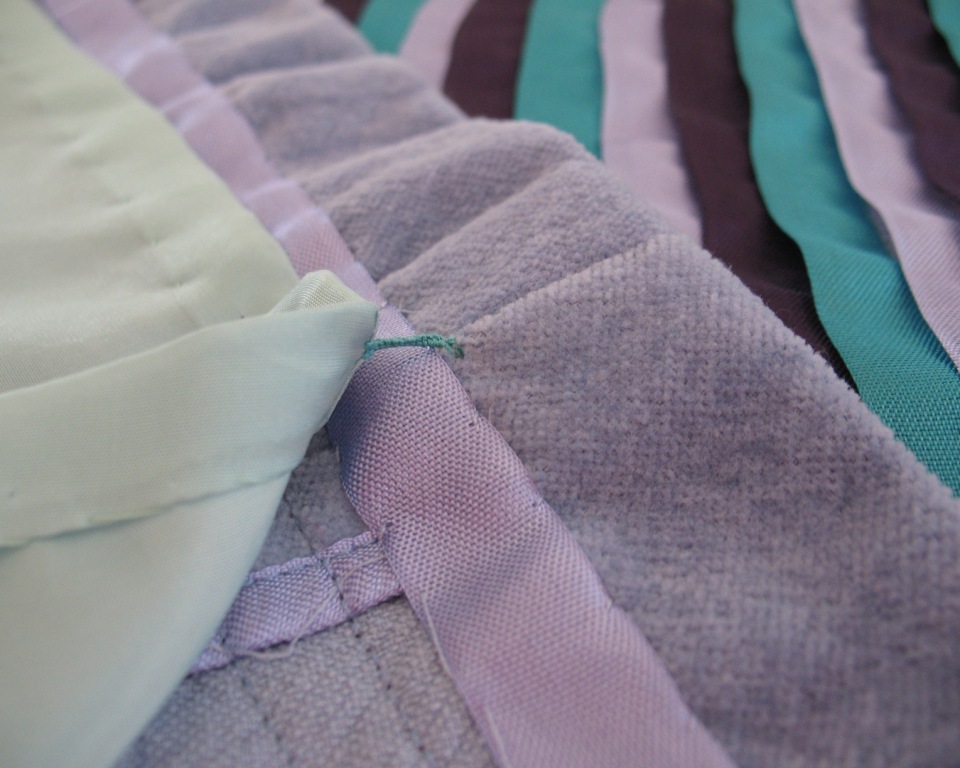
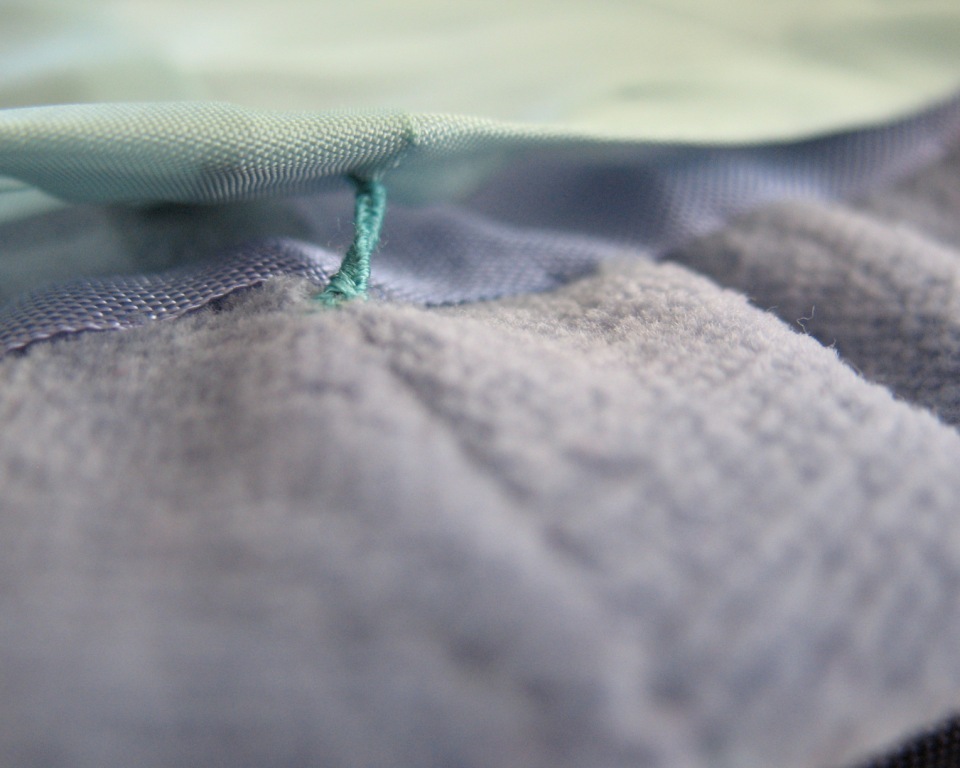
Because the bemberg has a significantly different drape than the velveteen, thread tacks were added at each seam to keep the lining from hanging below the skirt.
It is an extra step that makes a real difference.
Two thread hangers were added as well - the clips on a skirt hanger might smoosh or mar the ribbons along the waistband. (These were made from polyester ribbon; seam binding is not quite sturdy enough to carry the weight of an entire skirt, in my opinion.)
Is this skirt technical perfection? Absolutely not. But, even so, I would call my experiment a
success. And I have a feeling there will
be more seam binding as embellishment in my future.


