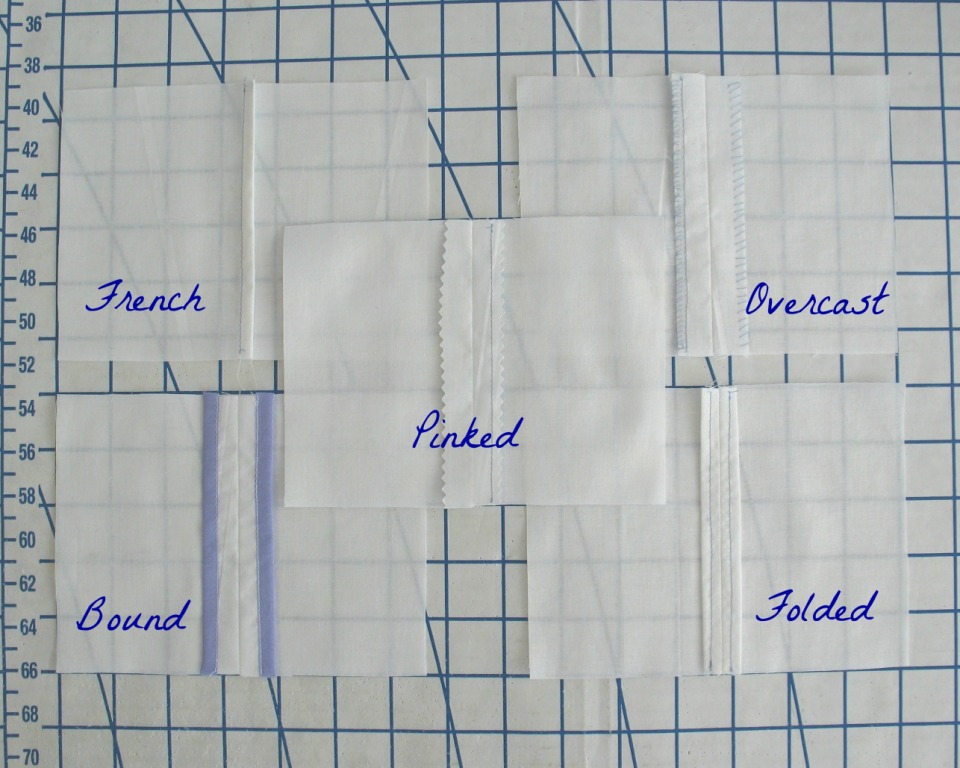
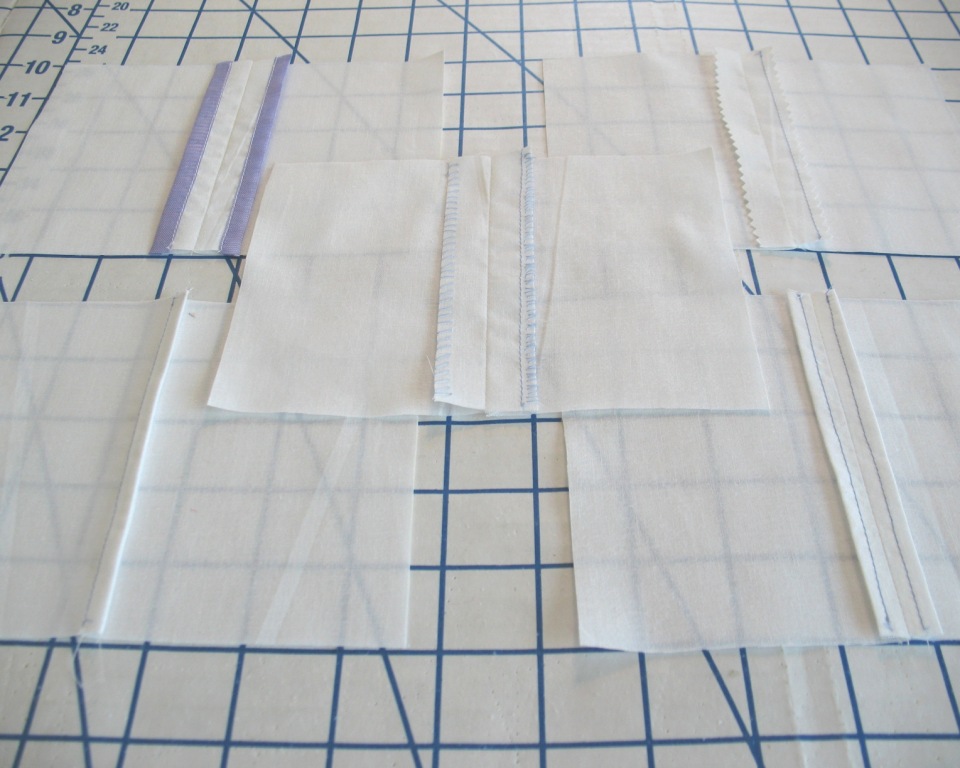
Special fabrics deserve special attention and seam finishes. There are many different ways to accomplish this, but I thought I would share a few of my favorites.
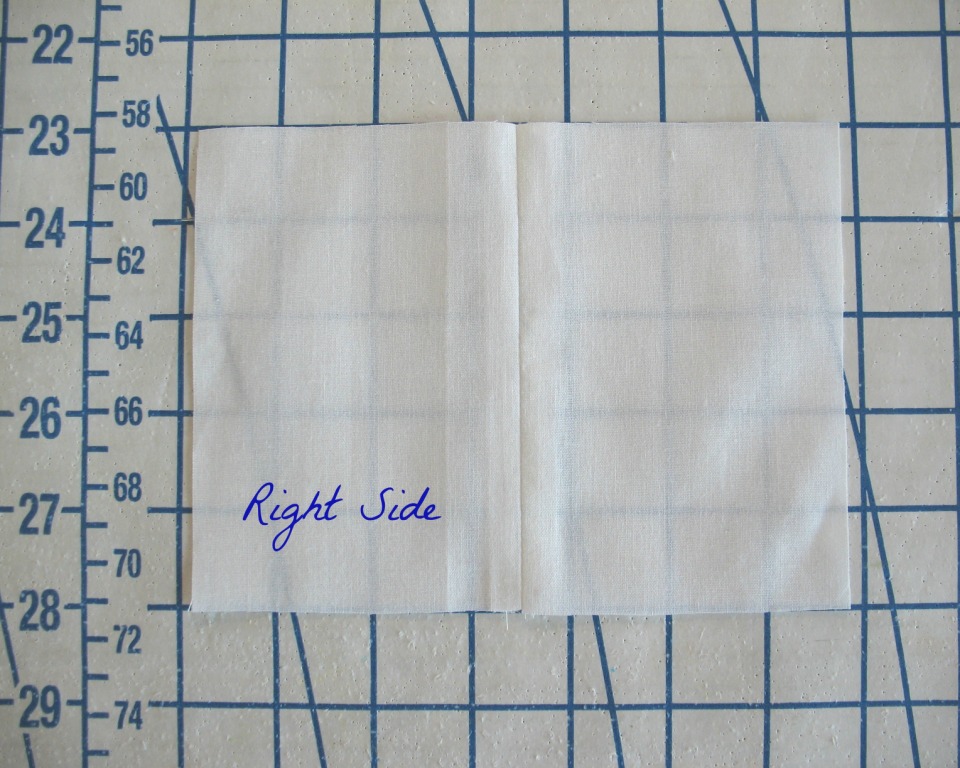
The five techniques that follow will be invisible from the right side of the garment.
All start with a basic seam (generally 5/8" in modern pattern designs) except for the French Seam.
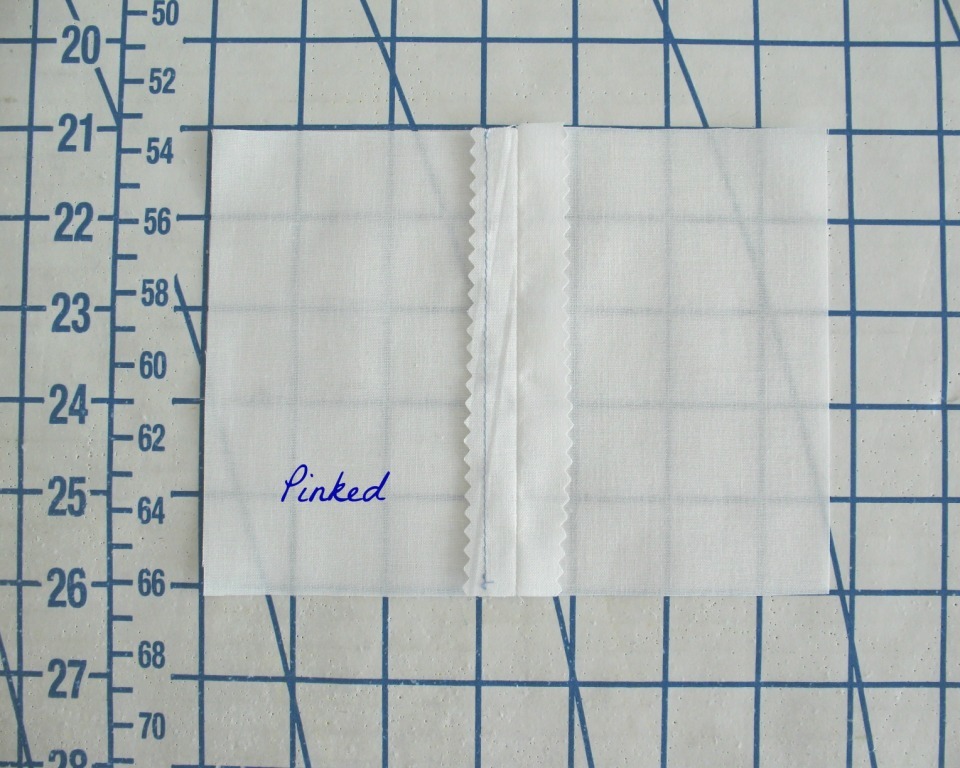
Pinked
One of the most basic ways to finish a raw edge is with a
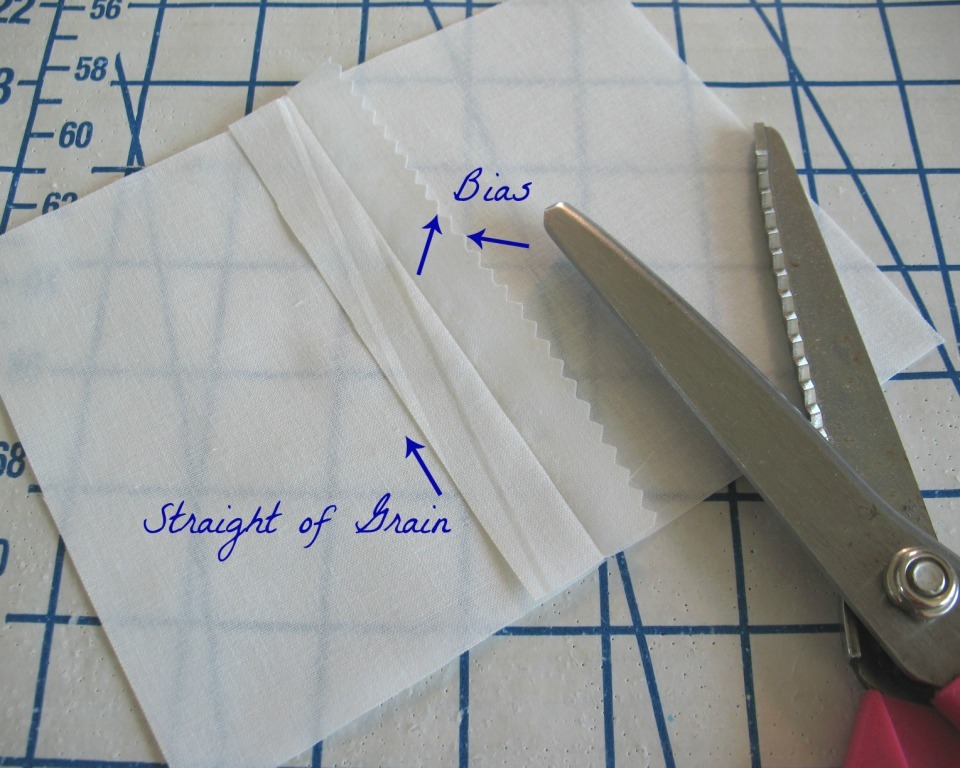
pair of pinking shears. Woven fabric is
produced by weaving threads together (warp and weft), which is why, if cut on the grain, you can peal a woven fabric apart – depending on the looseness of
the weave, this may be incredibly easy to do.
Pinking shears make tiny cuts into the bias, making it more difficult
for the edges to unravel.
If you doubt the viability of such a finish, check out a
well-worn vintage day dress. Quality of fabric certainly has something to do with the longevity, but from personal
experience, I can attest to the fact that the pinked edges will remain in fine shape, even when seams start to pull apart and other forms of wear and tear are clearly visible.
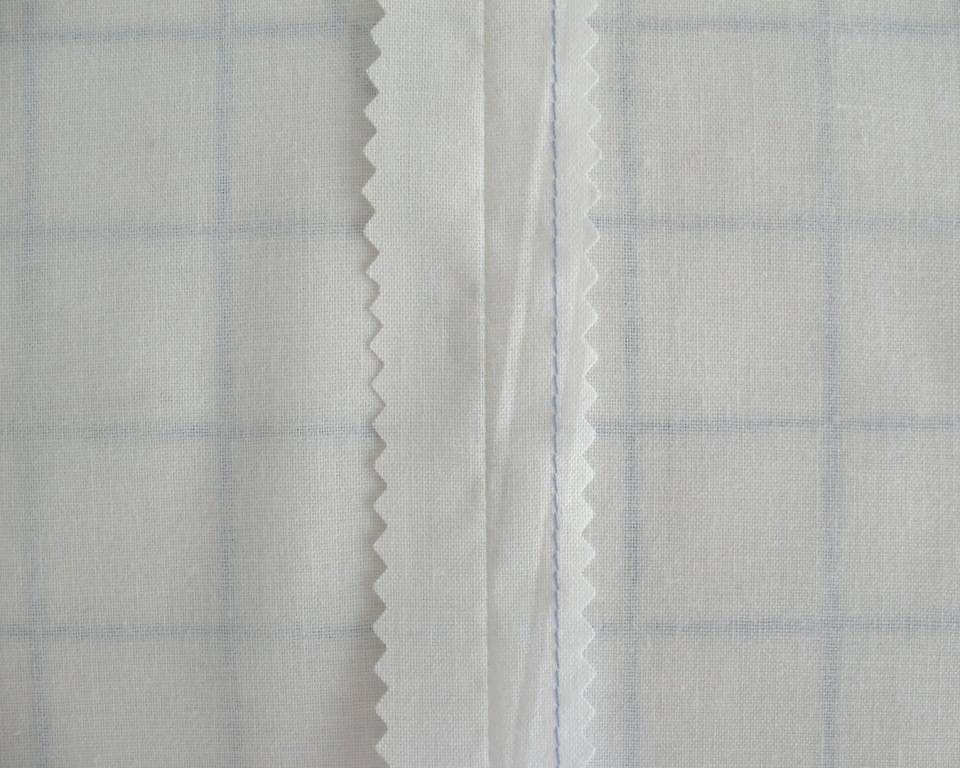
If you are not sure that pinking alone will keep your edges
from fraying, a line of stay-stitching will add another layer
of protection. (The stay-stitching should happen prior to pinking the edge.)
French Seam
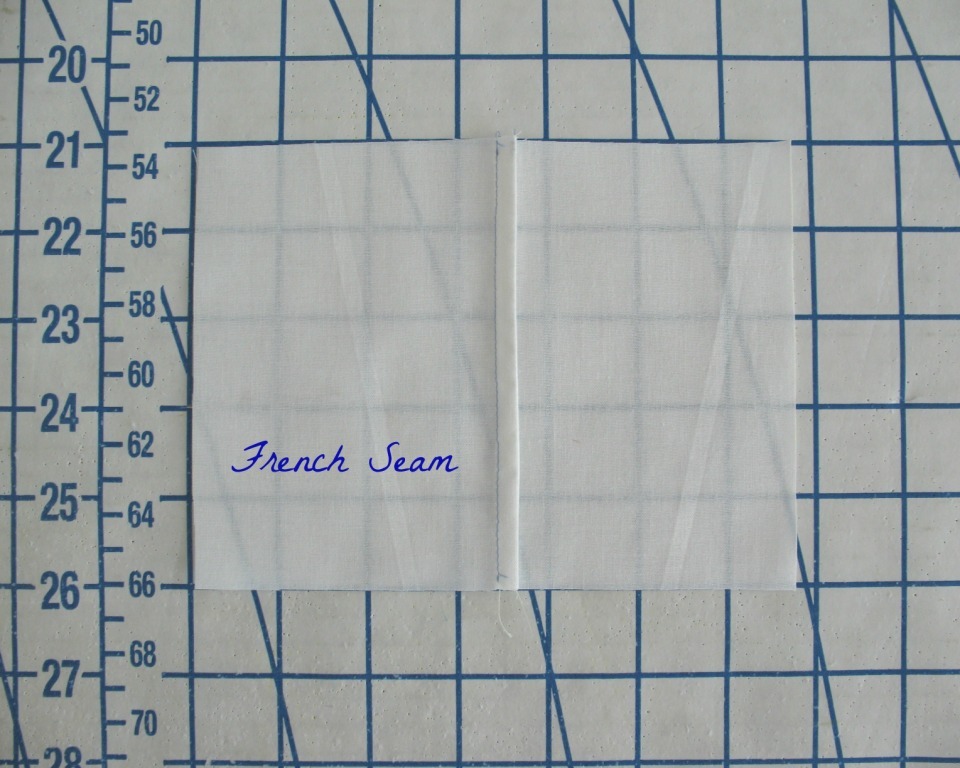
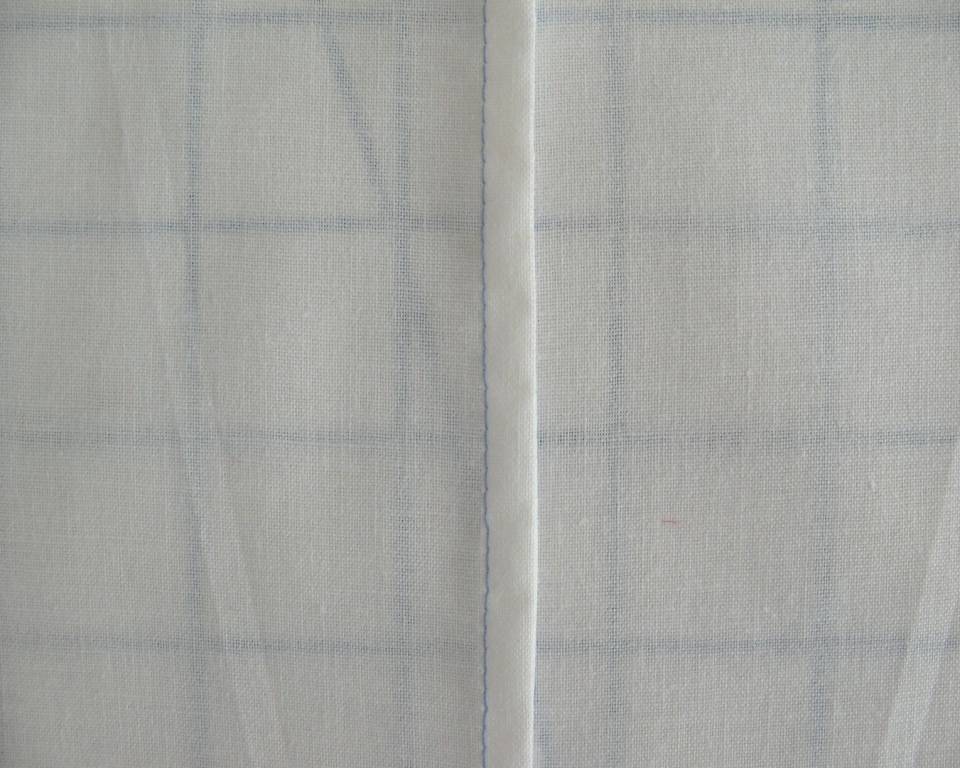
Provided your fabric choice is light to mid-weight, the
French Seam may be perfect for your special fabric.
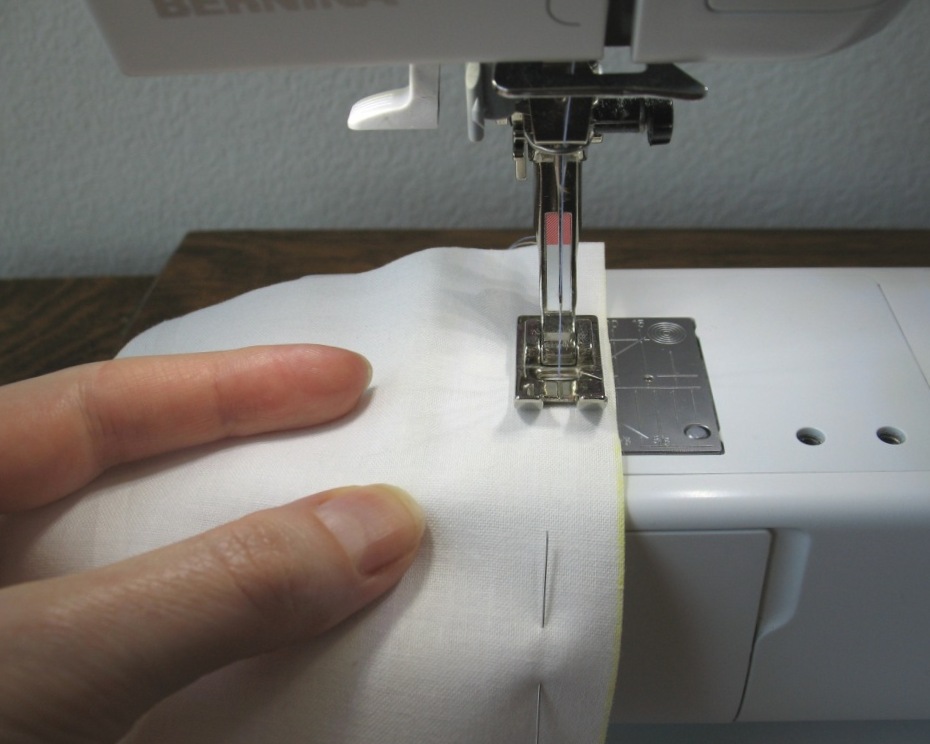
This technique is stitched twice, once to
stitch two pieces of fabric together, and then again to enclose the raw edge of
the first seam.
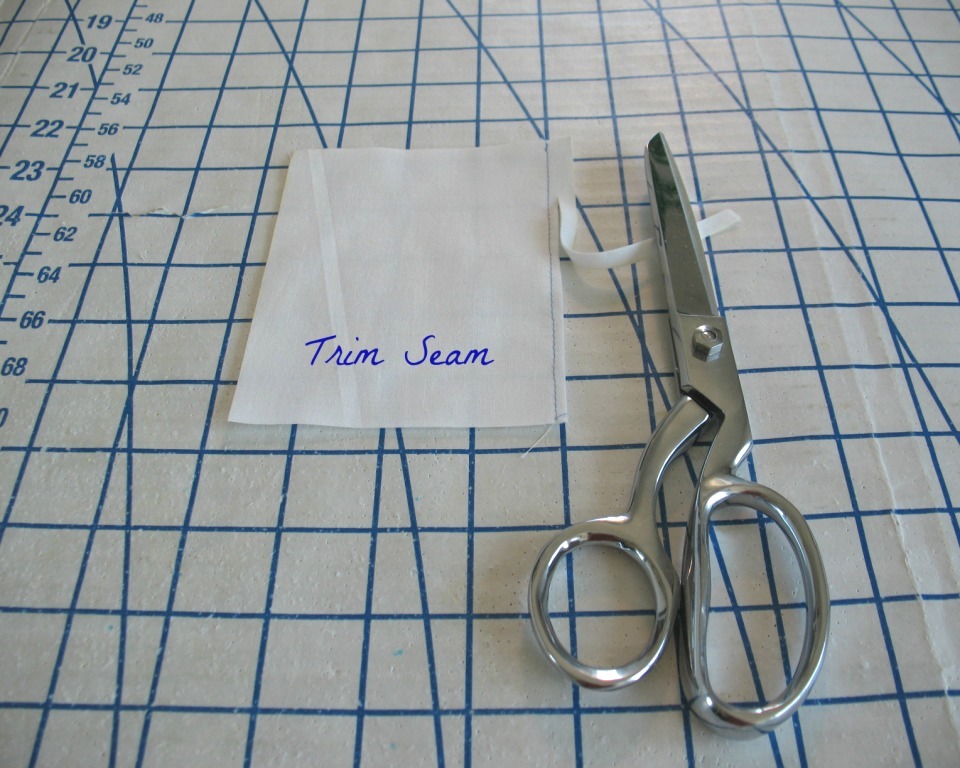
Some people suggest opening that first seam with an iron, but depending how delicate and/or slippery your fabric choice, it may be easier to push the trimmed seam to one side or the other. The first seam allowance plus the second seam allowance should add up to the allowance given on your pattern – make sure to account for turn of cloth, especially if your fabric is a mid-weight.
The most difficult part of the French Seam is wrapping your head around stitching something wrong sides together. No matter how many times I use the technique, it always throws me when I see raw edges sticking out the right side of my fabric after that first step!
Hand Overcast
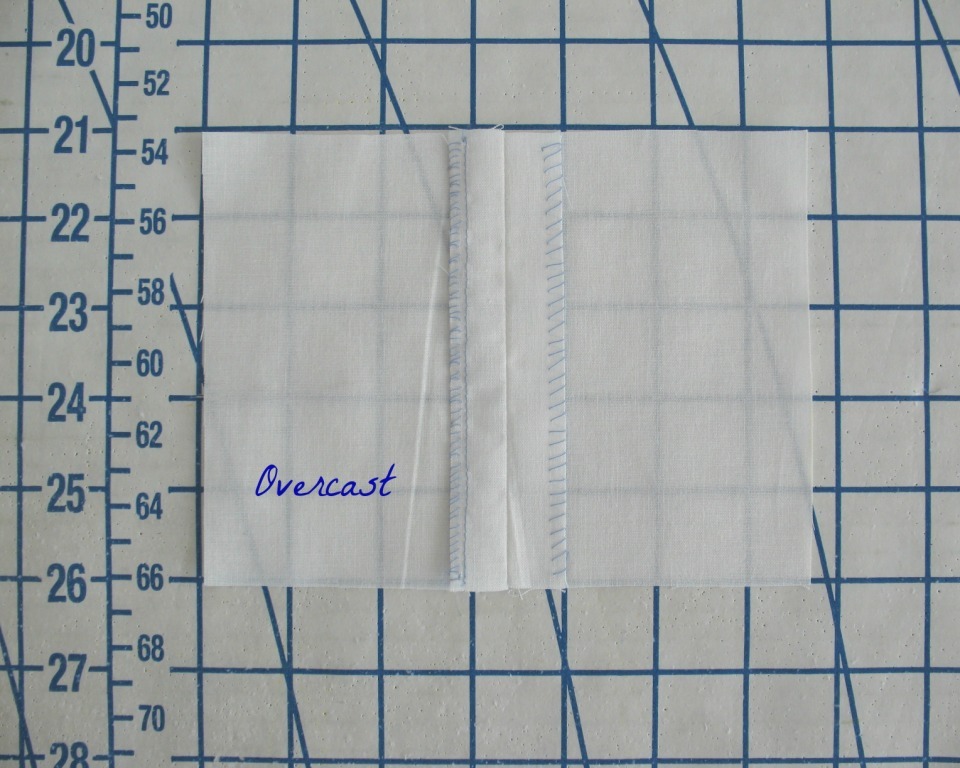
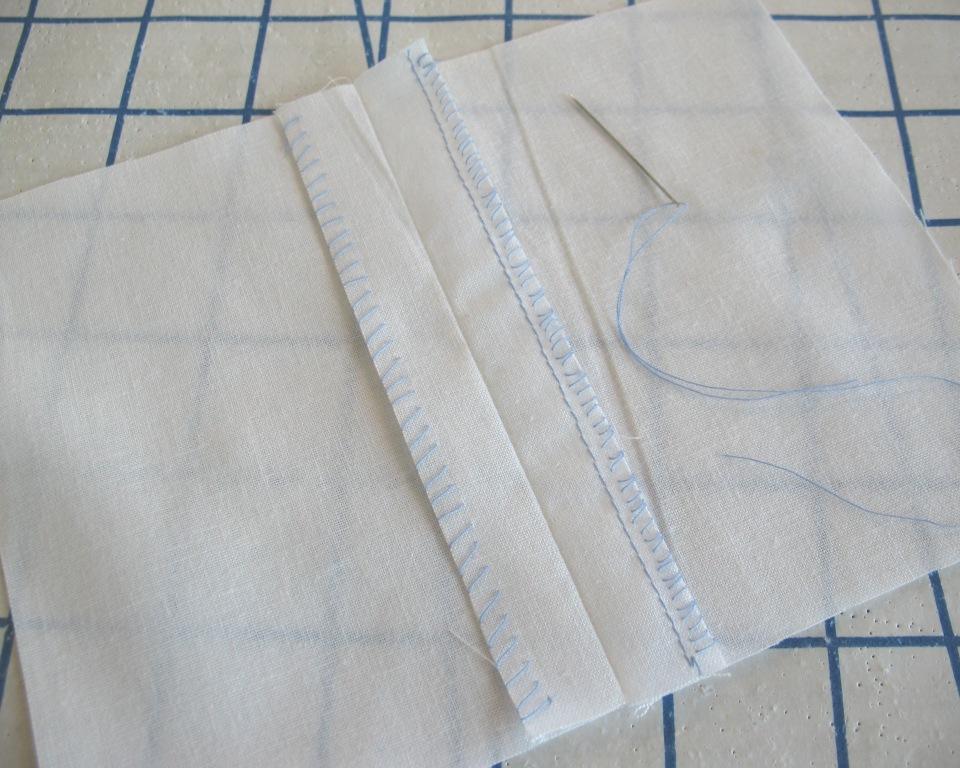
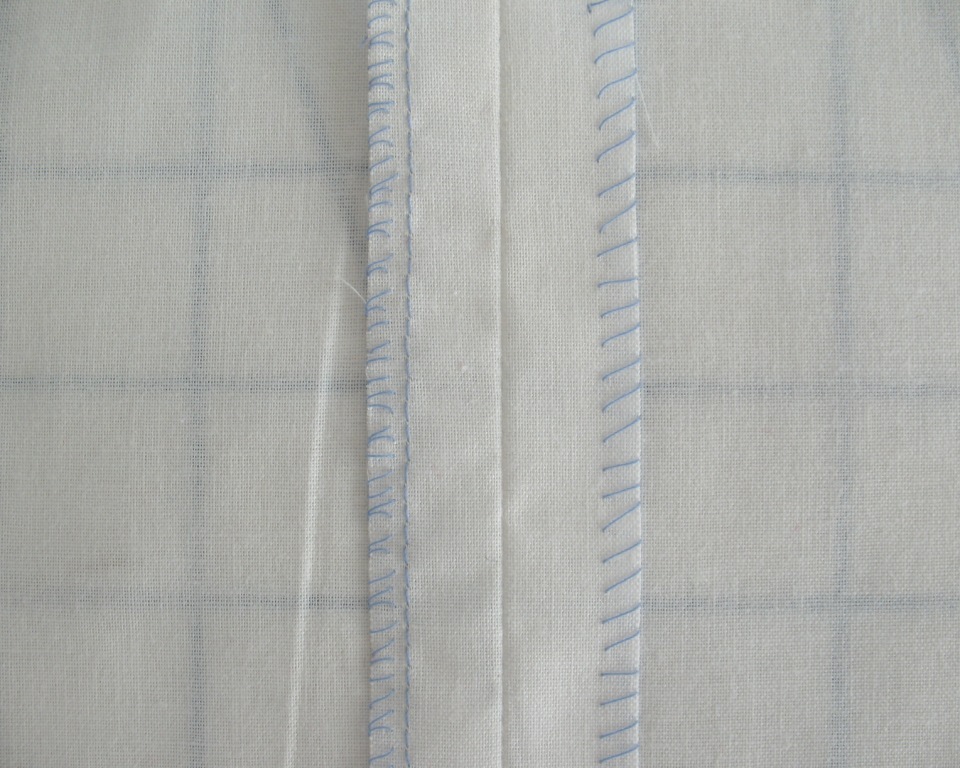
The couture version of a serged edge is hand overcasting.
This is especially
useful in a princess seamed garment that requires clipping. As with the pinked edge, an extra line of
stitching can add a layer of protection against the fray monsters.
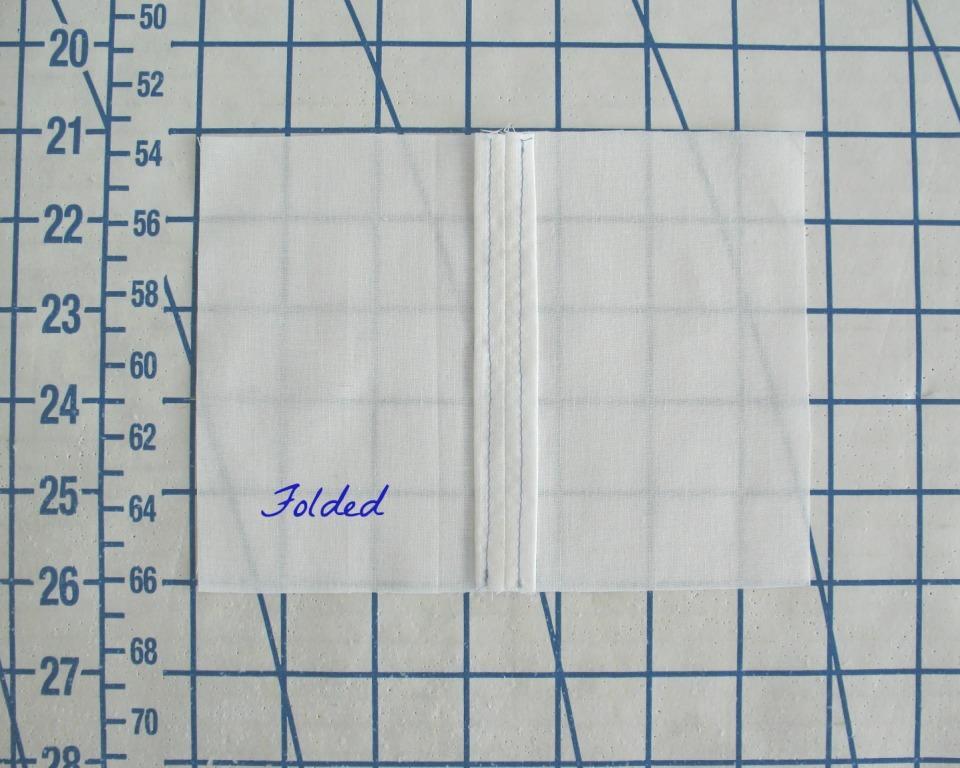
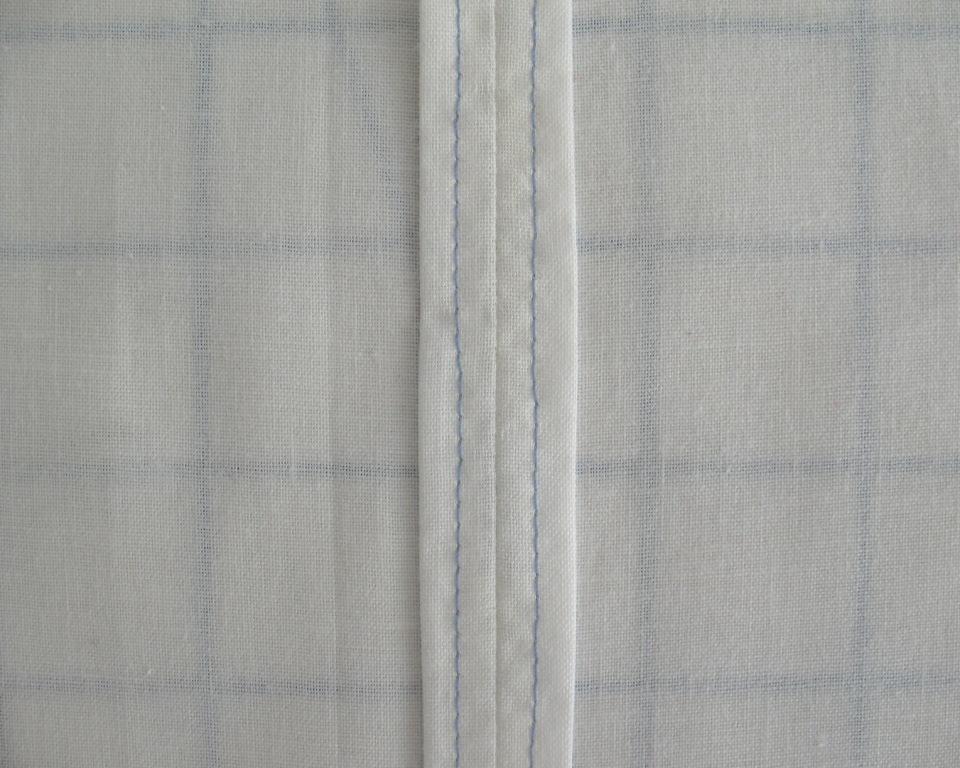
Another option is a folded edge. Press the raw edge under and run a line of
stitching to secure the fold.
If you wish to add a line of decorative top-stitching to your seams, you can stitch through both the fabric and the folded seam allowance and accomplish two steps in one.
Bound
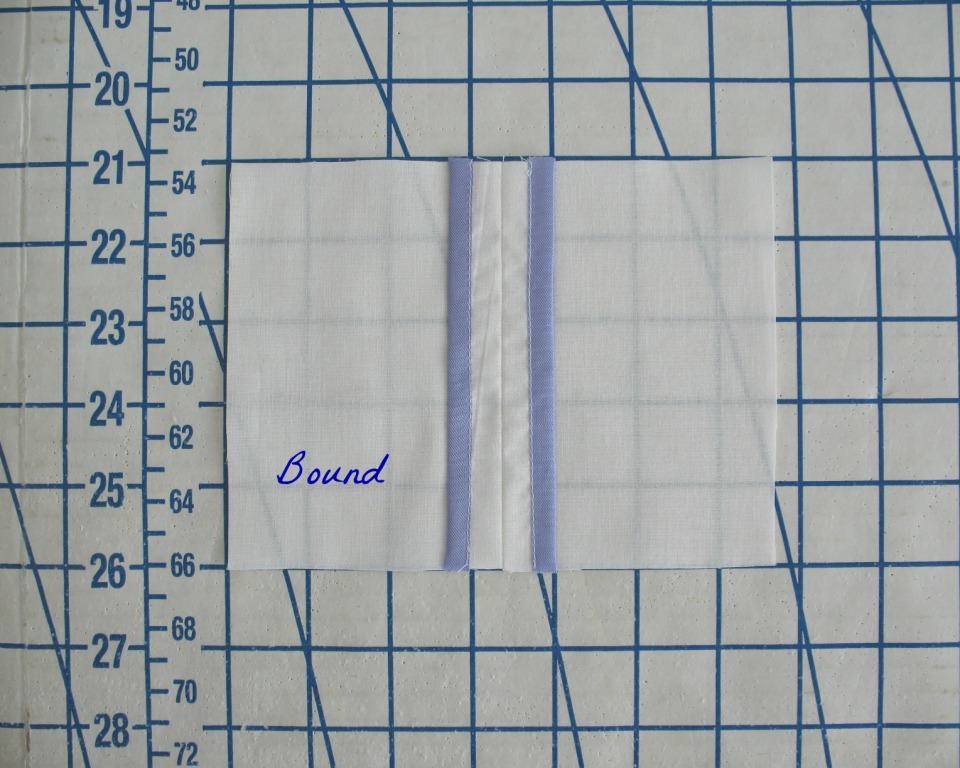
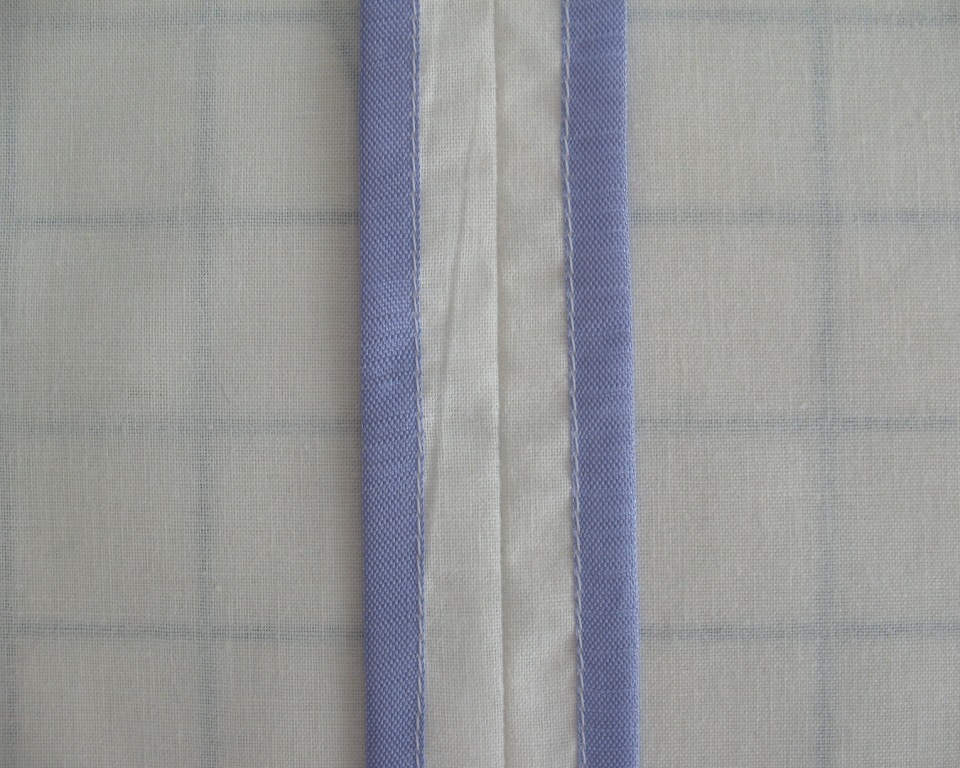
I think the stuff is
magic. If someone made me decide between
an ironing board (or any other vital piece of sewing equipment, for that matter!) and rayon seam binding, I think I would figure out a way to
make my table into an ironing board so I could hold onto my favorite sewing
notion.
Not only does it encase the raw edge with little to no added
bulk, it is so very pretty to look at! A detailed explanation of how to use this technique may be found here.
There are certainly many other choices for edge finishes,
but these are the ones I come back to again and again. Remember to test with a scrap of your chosen fabric to determine which option will work best for each specific project.
Do you have a favorite technique for finishing your seams?




Hi Laura,
ReplyDeleteGreetings from Australia! I'm a huge fan of you and your blog,and all the wonderful and amazing creations you continue to produce. I'm in awe of your sewing prowess AND what must be incredible time management to be able to pump out as many garments as you do!
Anyway, my question is - how do you finish your seams on curved edges? do you bind them? and what if you need to clip into the seam? Do you clip and them bind? Is that even possible? What about armholes? I'd love to see some pictures of this, as I never know the best way to deal with them - consequently, the insides of my garments are always messy and shameful.
I don't think it's possible to access rayon seam binding here in Australia - I've never found it in the shops, which is frustrating, as I know how frequently and highly you praise it!
Hi Pink Flamingo,
DeleteI am in Australia too and I couldn't manage to find a local supplier :( I purchased binding online from Zipper Stop, their pricing was good and shipping not exorbitant. And I LOVE the stuff. But I do like to support local suppliers so I continue to look for it.
Thank you, pink flamingo! I do bind curved edges - the rayon is easily pressed into submission, so the binding works. If clipping is required, I clip first, and then apply the binding while stretching the clipped area.
DeleteFor an armhole, I stitch the seam, stitch again about 1/4" in the seam allowance, trim, and then apply the binding.
I get quite a few questions about curved seams, so I may just have to take some pictures and write something up!
As far as suppliers, I have always had to buy the product online (no local store carries it). While I do not have to deal with international shipping, wawak.com stocks a fair amount of color choices and I have had excellent experiences with the company. Fabric.com has incredible color selection, but the price is higher.
The other option might be etsy sellers - you may have to purchase by the yard instead of the spool, but perhaps the shipping savings would make it worth while if you can find an Australian seller?
Happy sewing!
I have the same problem with French seams. Every time I do it my brain screams at me "no no no wrong waaay!" It's probably easier if one learns the technique earlier, so you aren't used to putting right-sides-together for years before you try it!
ReplyDeleteThe worst is when I use both french and standard seams in one garment - then I really have to think before I trim!
DeleteExcellent overview! (And no serger necessary)
ReplyDeleteI have days when I really wish I owned a serger, but I wonder how much use it would really get . . .
DeleteThe method of seam finishing I use whenever I am underlining each pattern piece with silk organza (or cotton batiste) is to catch-stitch the edges of each seam allowance to the underlining. It controls the seam beautifully, making it lay flat, and is, of course, invisible on the right side. I also am a big fan of rayon seam binding!
ReplyDeleteI love the catch-stitch option (one of the many reasons it is so great to underline - hemline stitches don't have to show and keeping seam allowances in place is easy to do!)
DeleteA beautifully detailed and photographed tutorial - the quality of your presentation is equal to any book I have perused on this subject. Kudos to you!
ReplyDeleteThankyou so much for this tutorial. I've often wondered if pinked seams would stand up to wear and I now totally want to bind the seams on my next project
ReplyDeleteHow do you finish a curved seam? I like the turning under-technique, bound edges are lovely, but I cannot get seam binding in Norway for some reason :/
ReplyDeleteThank you for posting this! I have read many sewing blogs and everyone talks about which finishing seams they use but nobody has clearly outlined the differences. This helps me a lot as I'm now not as nervous about trying my own project.
ReplyDeleteI'm glad to see you listed pinked seams, because I use these all the time (even though I have a serger), and it's nice to know I'm not alone! :) It's a personal thing - I also know people who hate them but I don't know - I just really like the look of them, and they do hold up really well over time. I've done lots of other seam finishes but this one is the one I use the most. I'm with you - French seams are great but they make my brain bend - haha! Would love to try bound seams but like others, I never see rayon seam binding around here - only yucky stiff polyester!
ReplyDelete