Not only can bias tape be used to encase a raw edge, it can
also be used as a hem finish. This is
especially useful in places where a facing might be unwieldy.
I was originally planning to use a rolled hem on the
sleeve edges of my Anna Dress. But I
decided to add a lining, and in the end, a bias strip was the better choice.
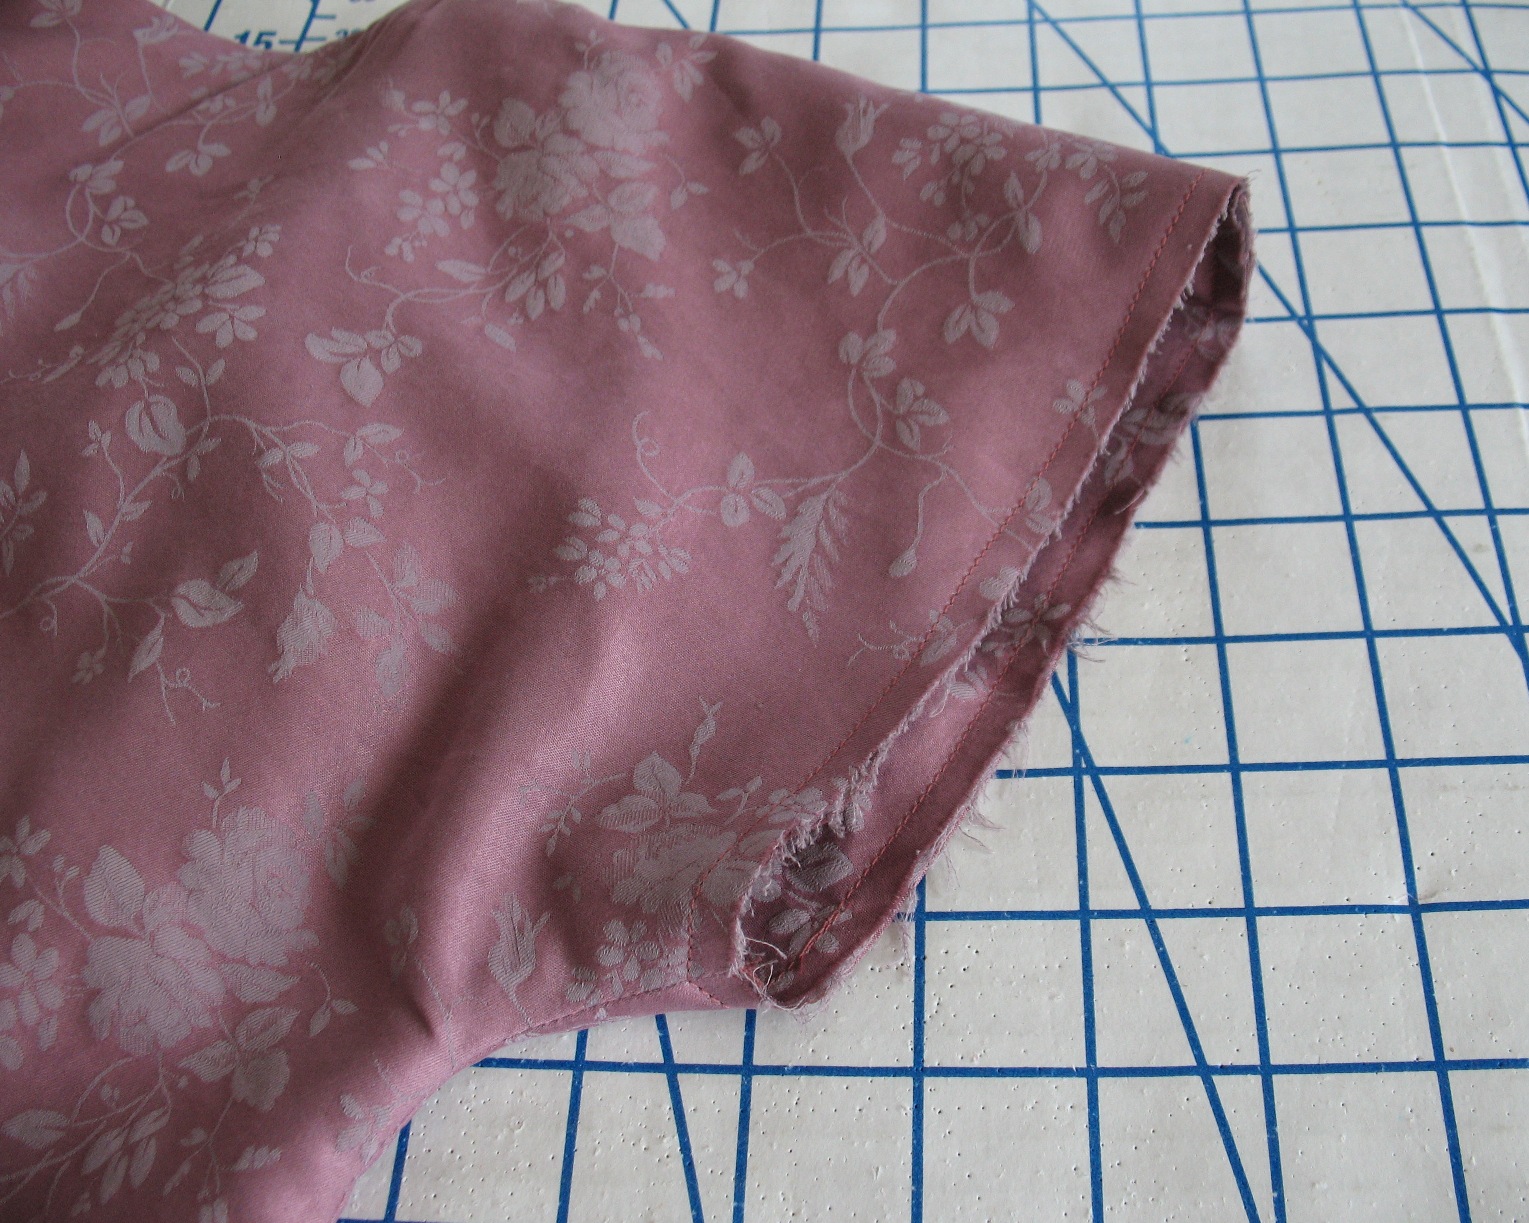
The first step is to baste the two layers together which will be treated as a single layer from this point forward.
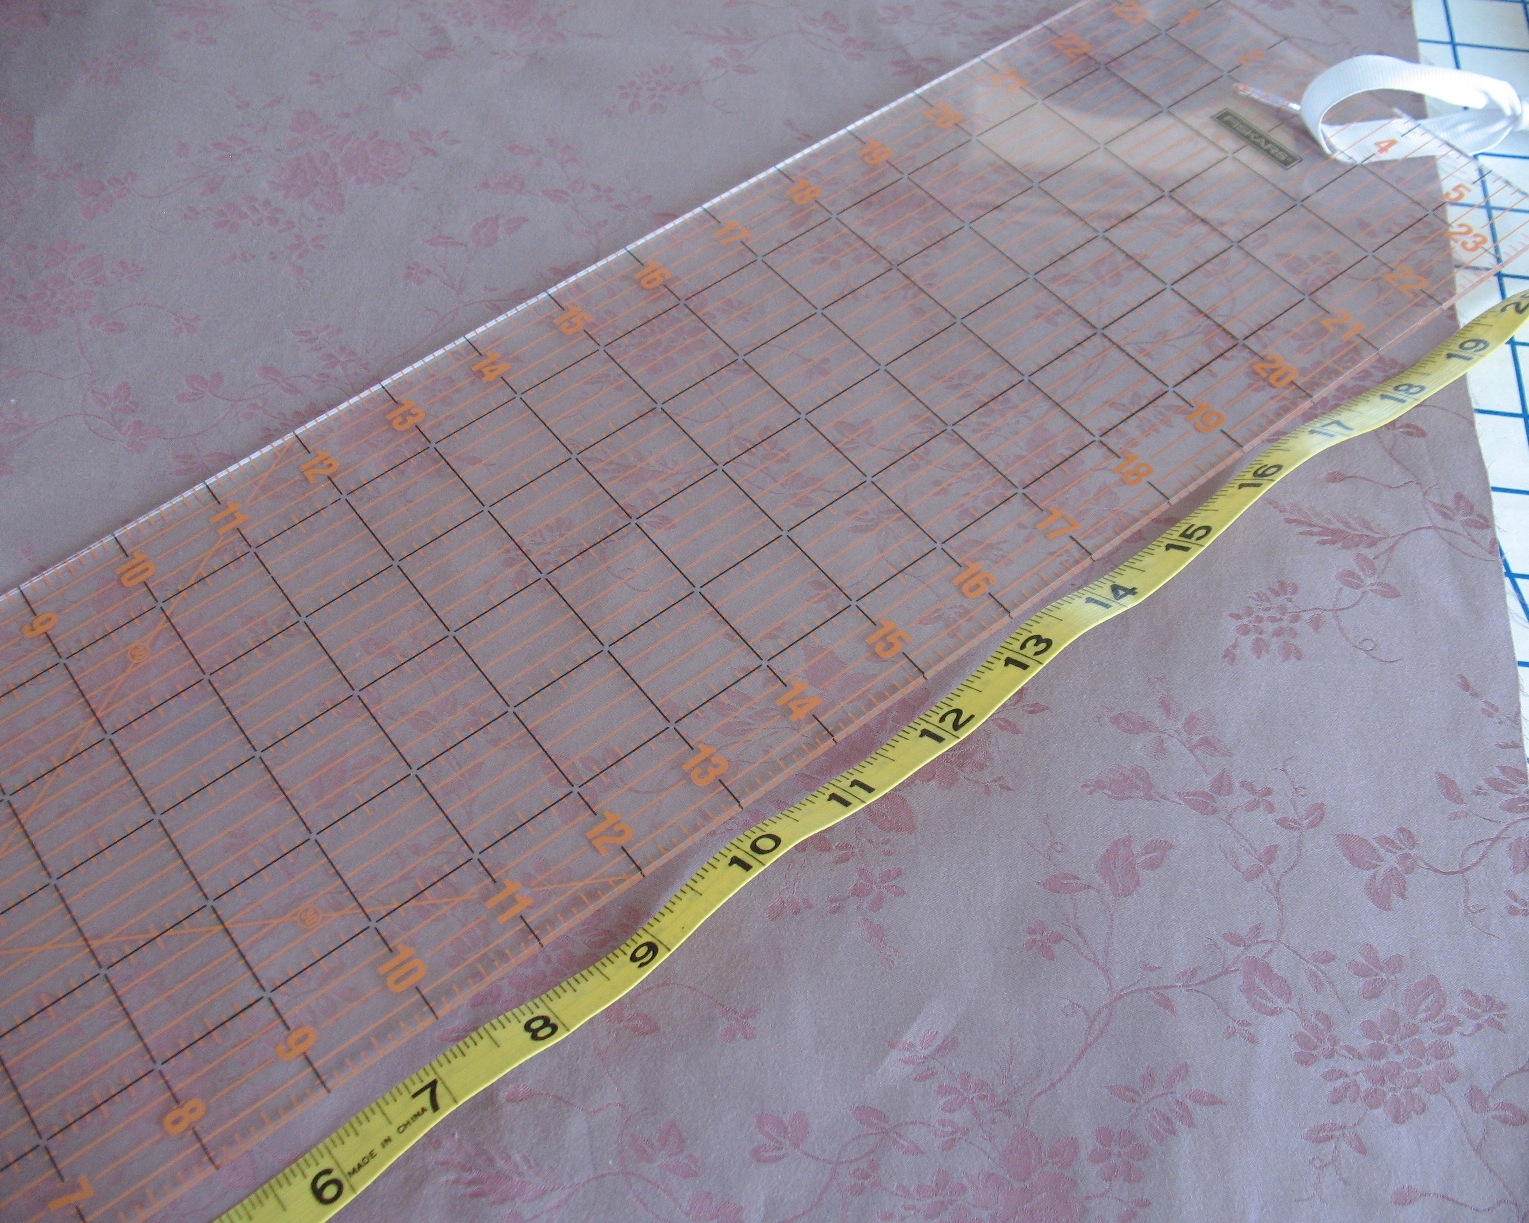
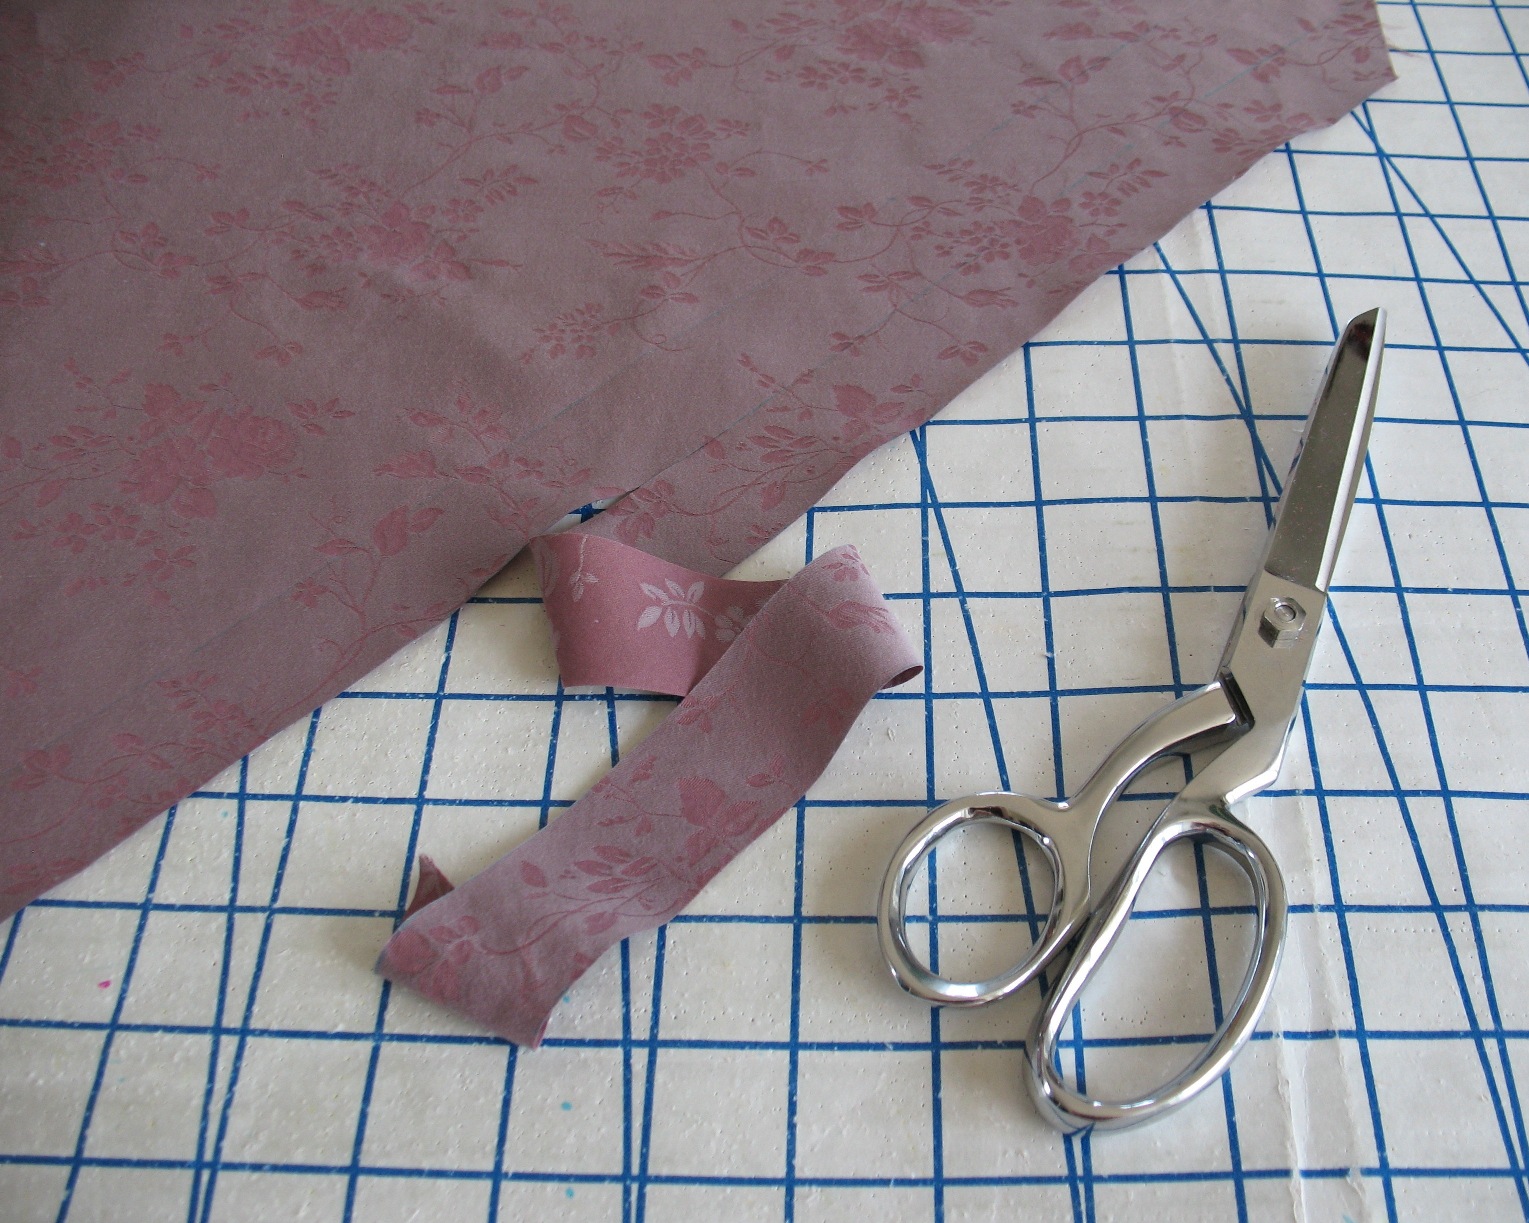
Then, of course, I need to measure and cut my bias tape. Make sure to cut a bit of extra length so you can stitch the two ends together.
Because the armhole is not extremely large, I was able to find a section of fabric that would provide a bias
strip large enough to accommodate the opening without having to piece strips together.
Since I am not encasing the raw edge, I do not need a very wide strip of bias tape –
there will only be two fold-overs this time, instead of the three required to encase a raw edge). One edge of the strip is then ironed. It is always easier to press your bias strip before applying it to your garment. These strips will have a tendency to stretch, especially if you have a large garment hanging off the edge of your ironing board and pulling at them while you try to press an even allowance.
I like to apply the bias piece to the right side of the garment because the first seam will be stitched on a machine and therefore provides a more consistent and sturdy edge for turning.
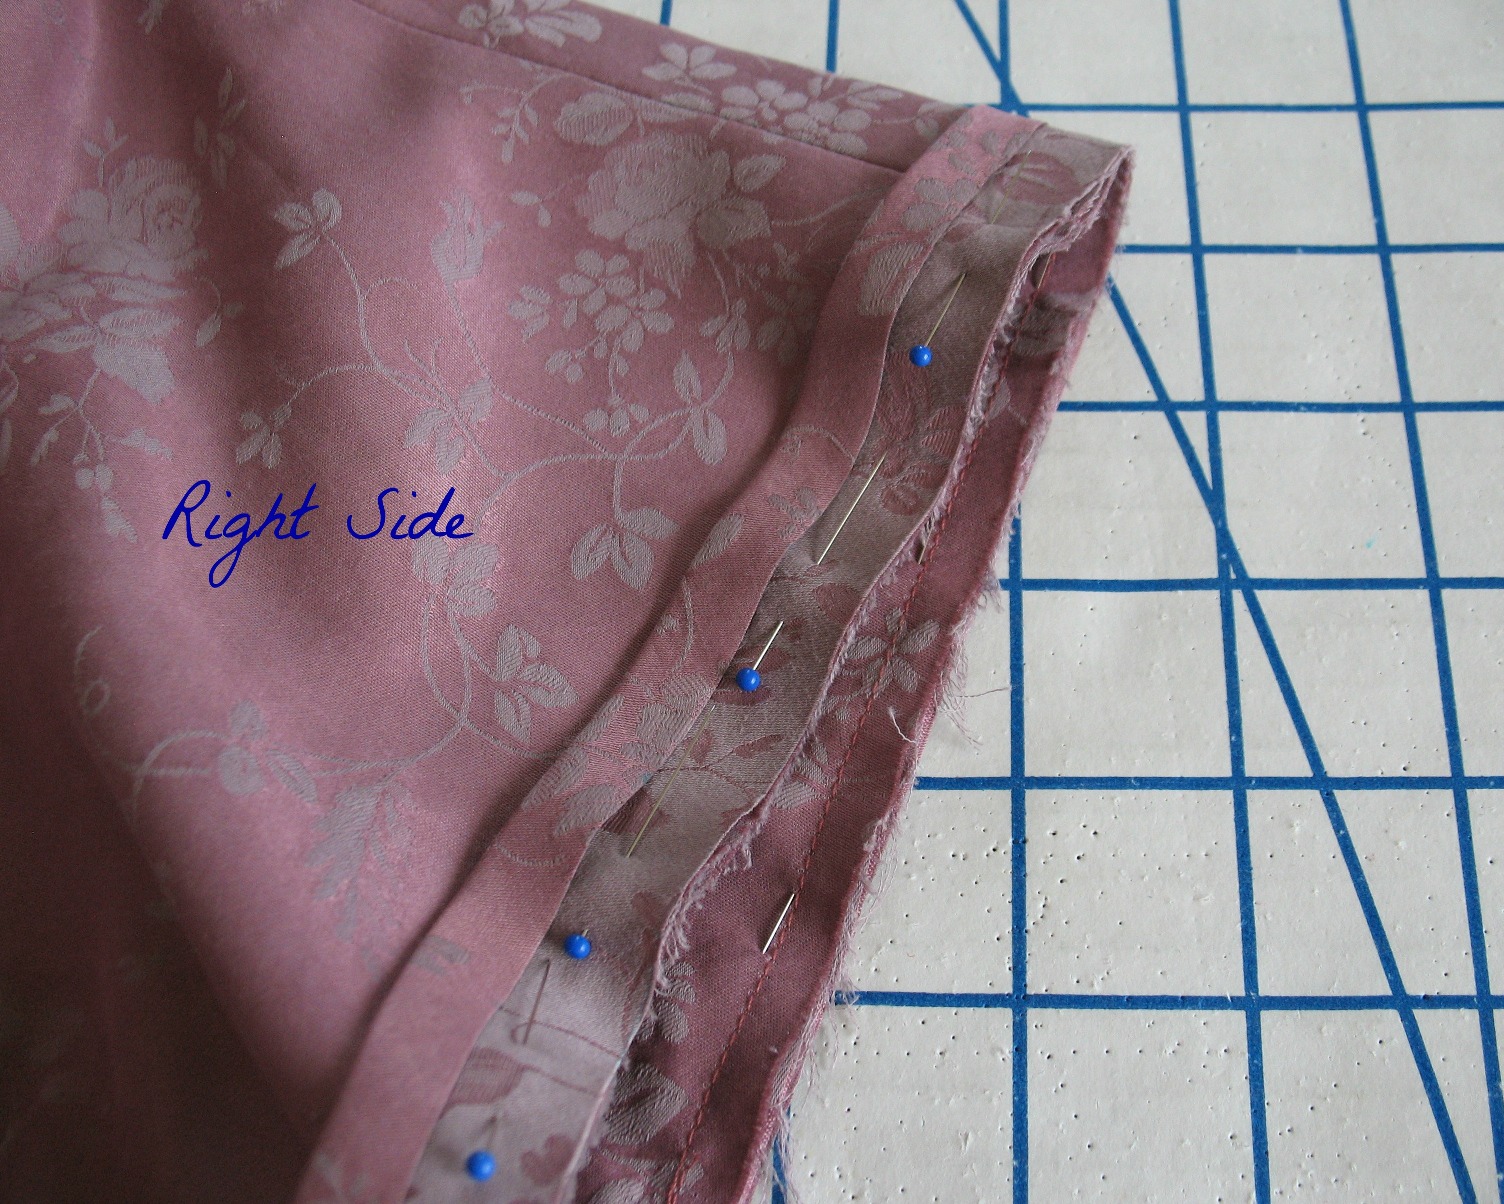
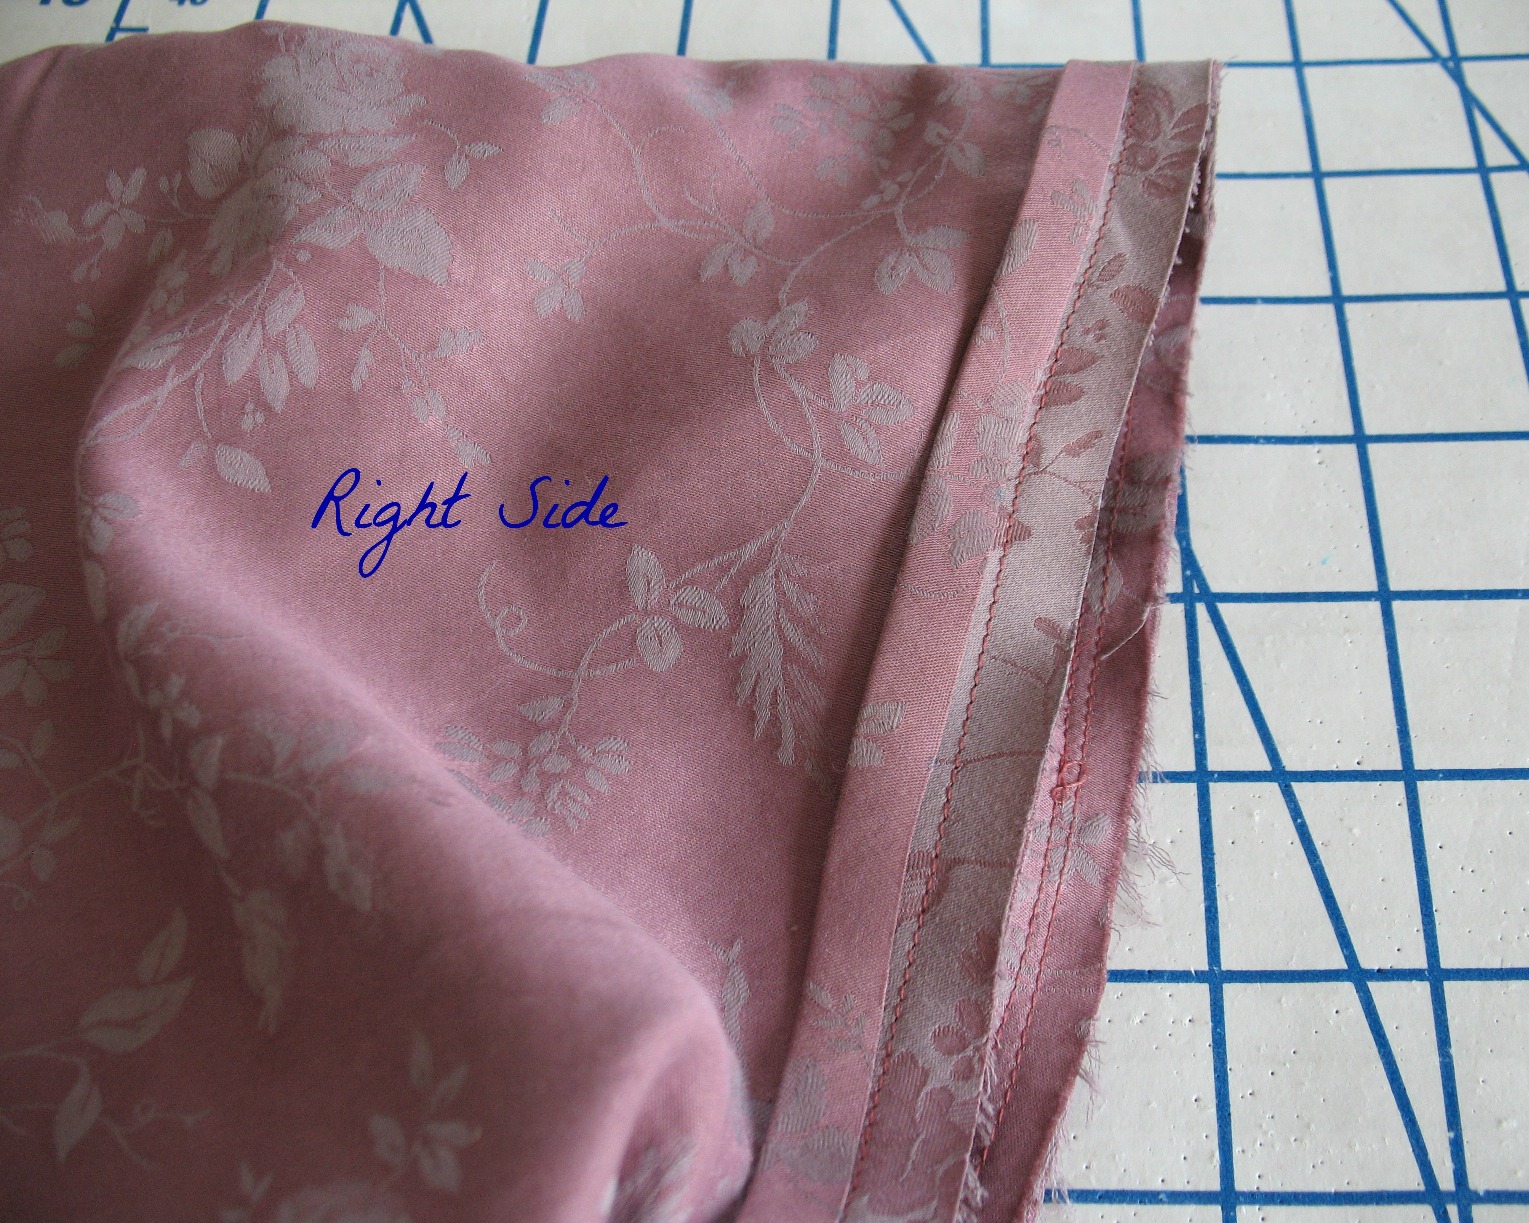
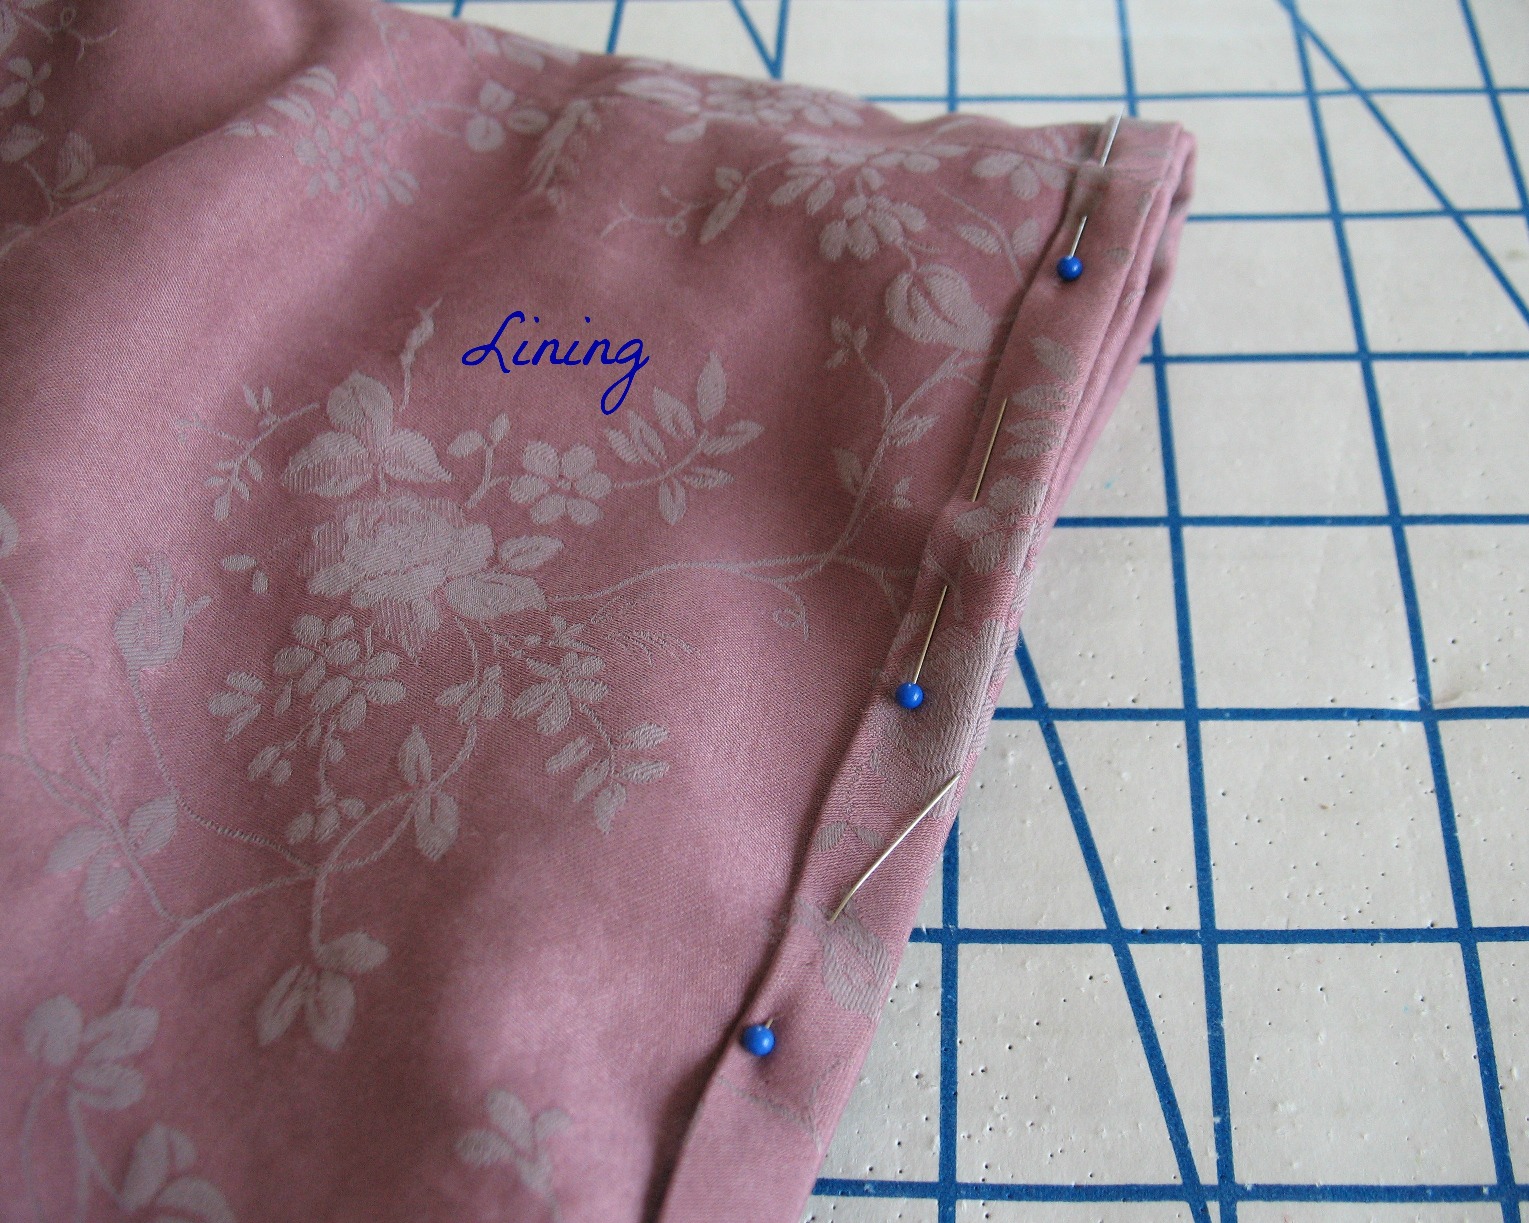
With right sides facing, the bias piece is pinned in place, raw edges matching, and then stitched down. (The seam allowance is up to you - just make sure to account for that measurement before cutting your bias strips.)
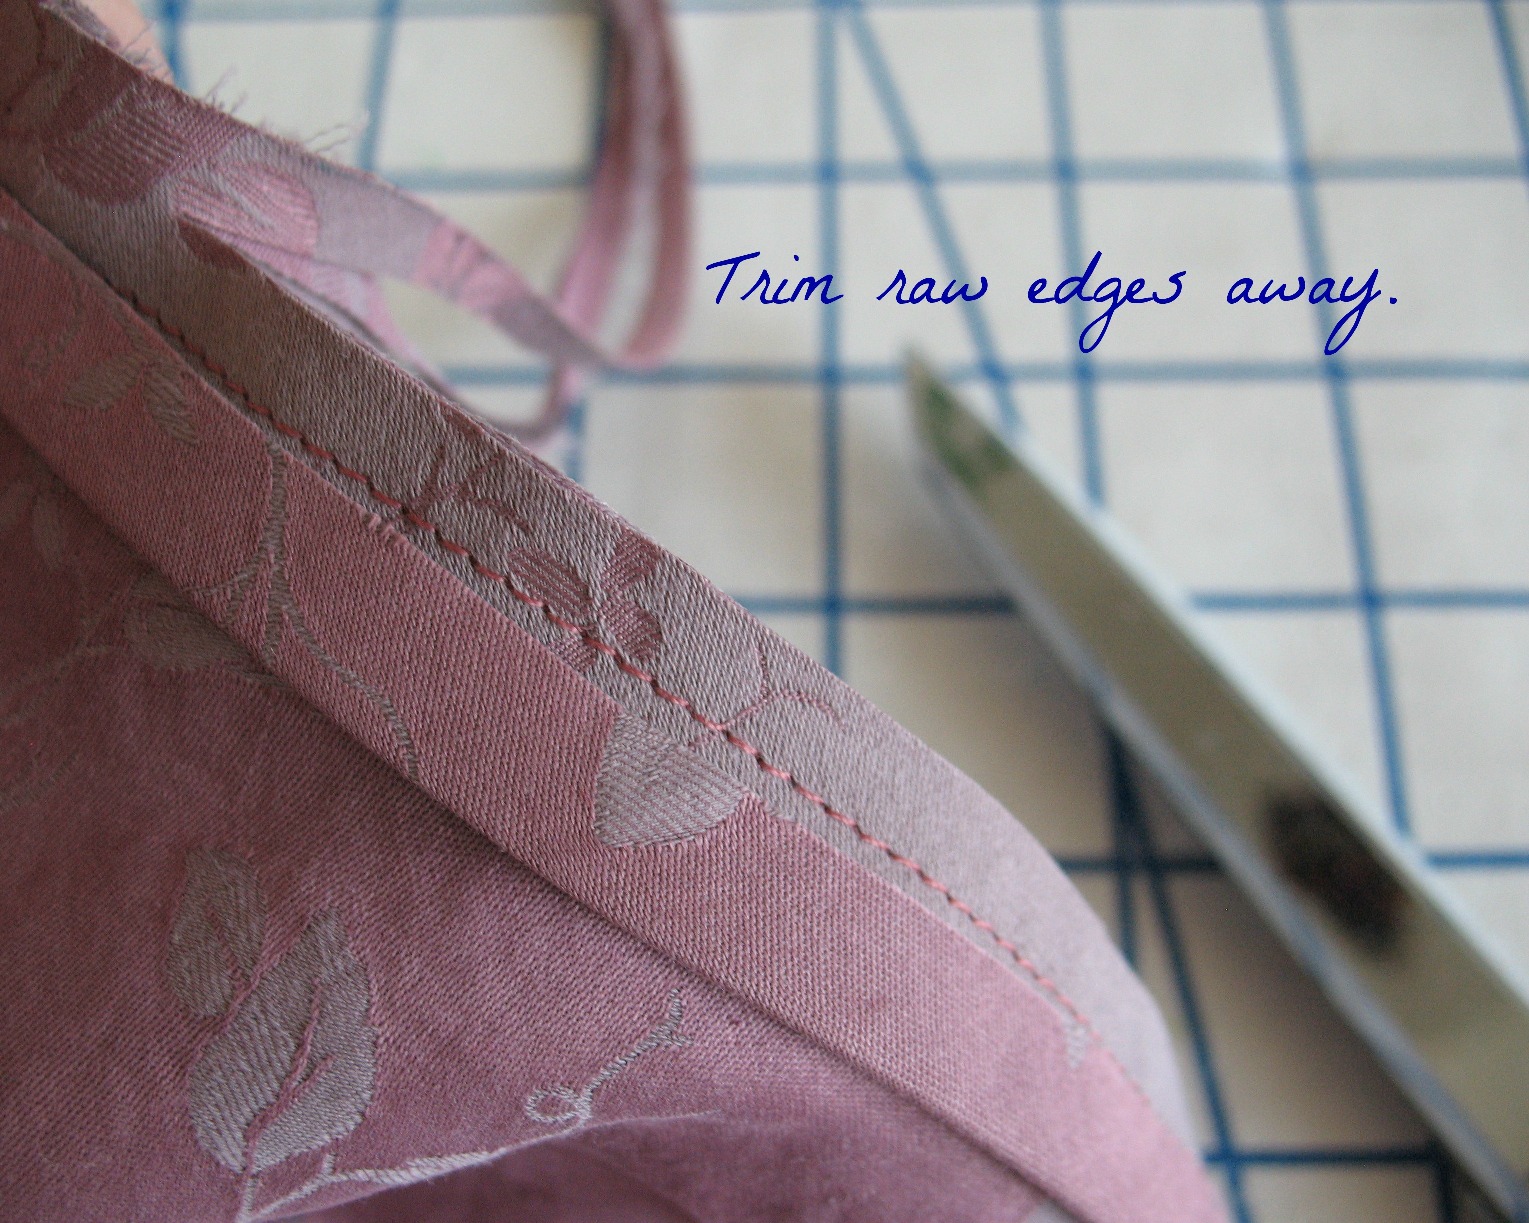
I like to trim the raw edges after stitching the bias tape
to the garment. Inevitably, the raw
edges get ratty from handling the garment during construction, and this is a
great time to trim those bits away so they cannot escape the confines of the bias tape once it is stitched into place.
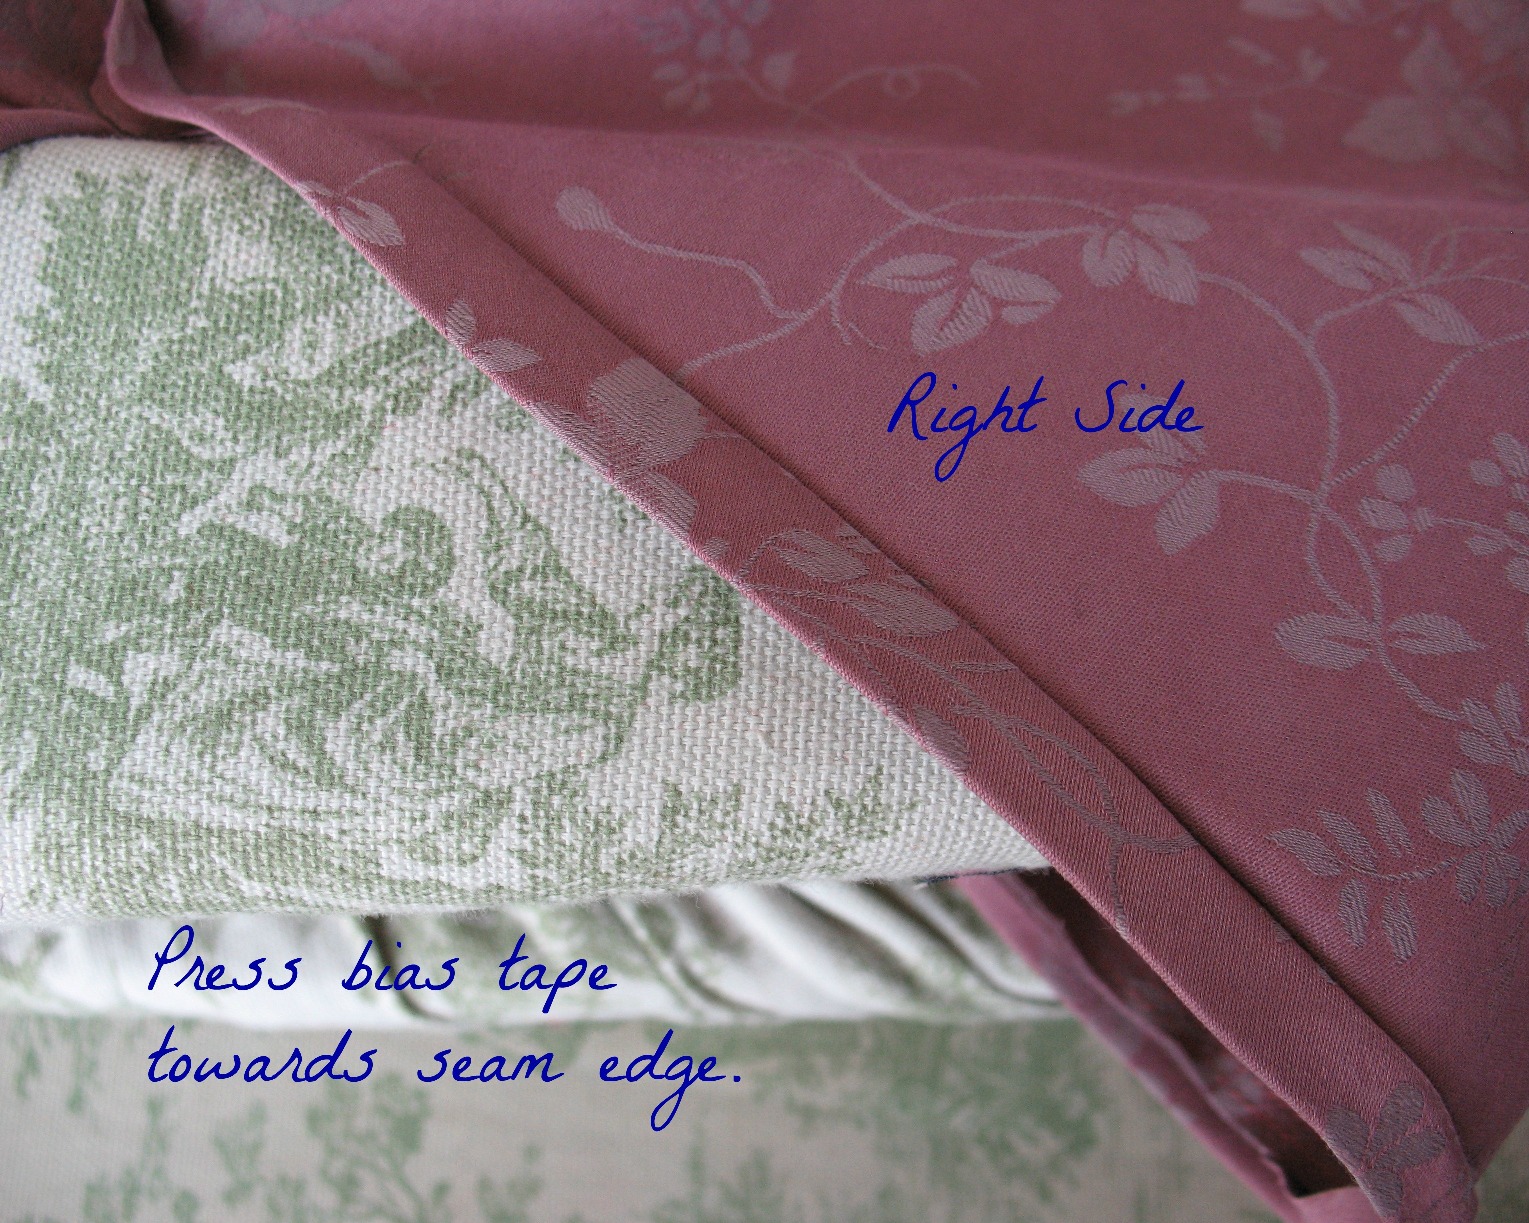
The bias strip is then pressed away from the garment to create a crisp edge.
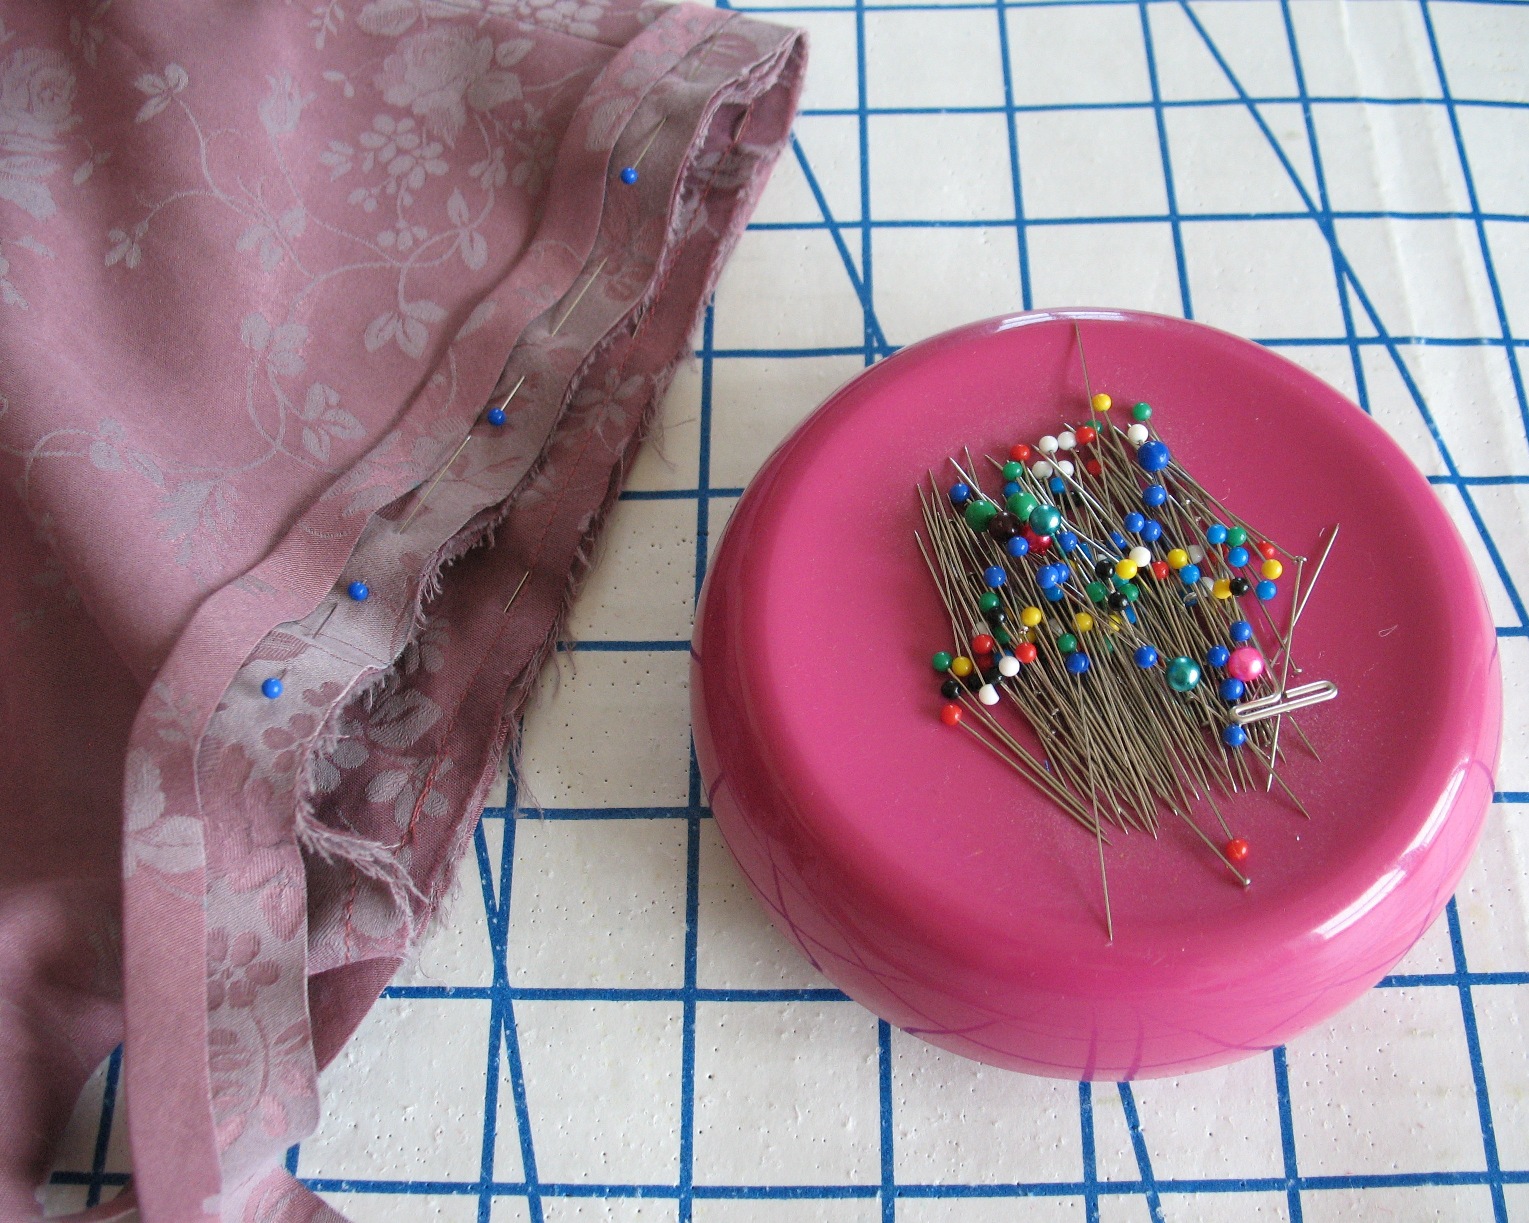
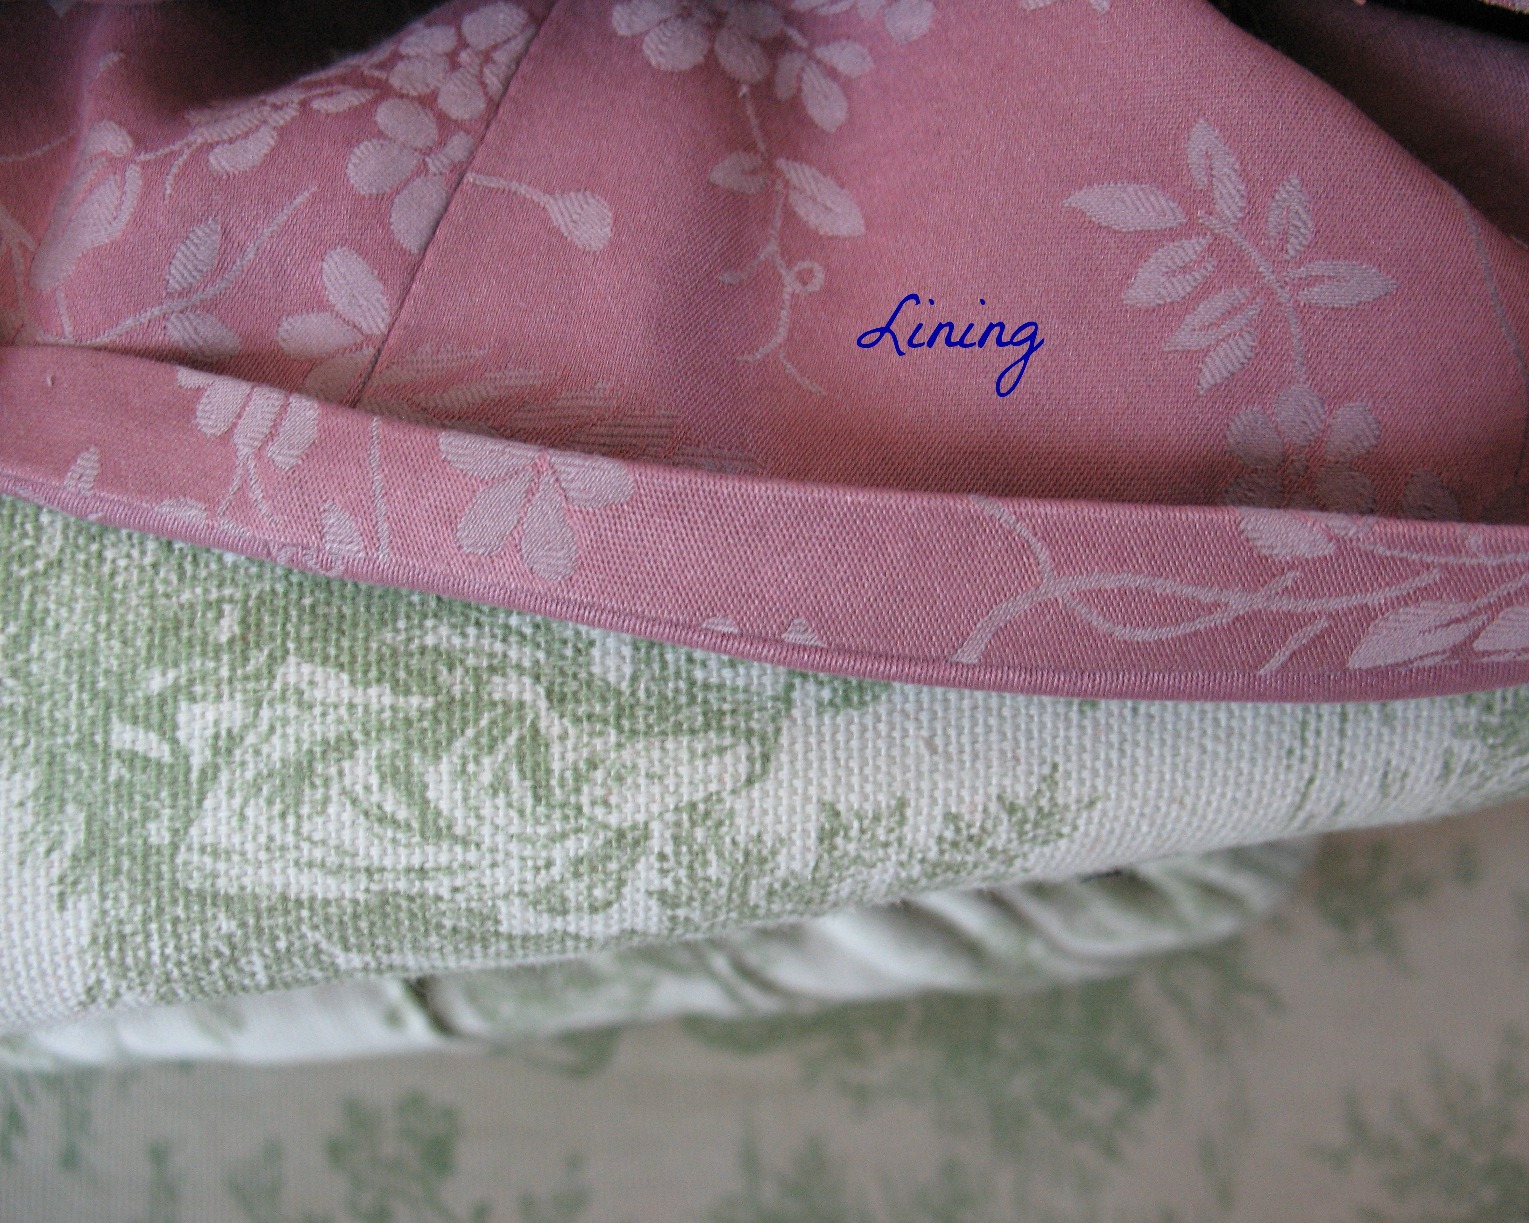
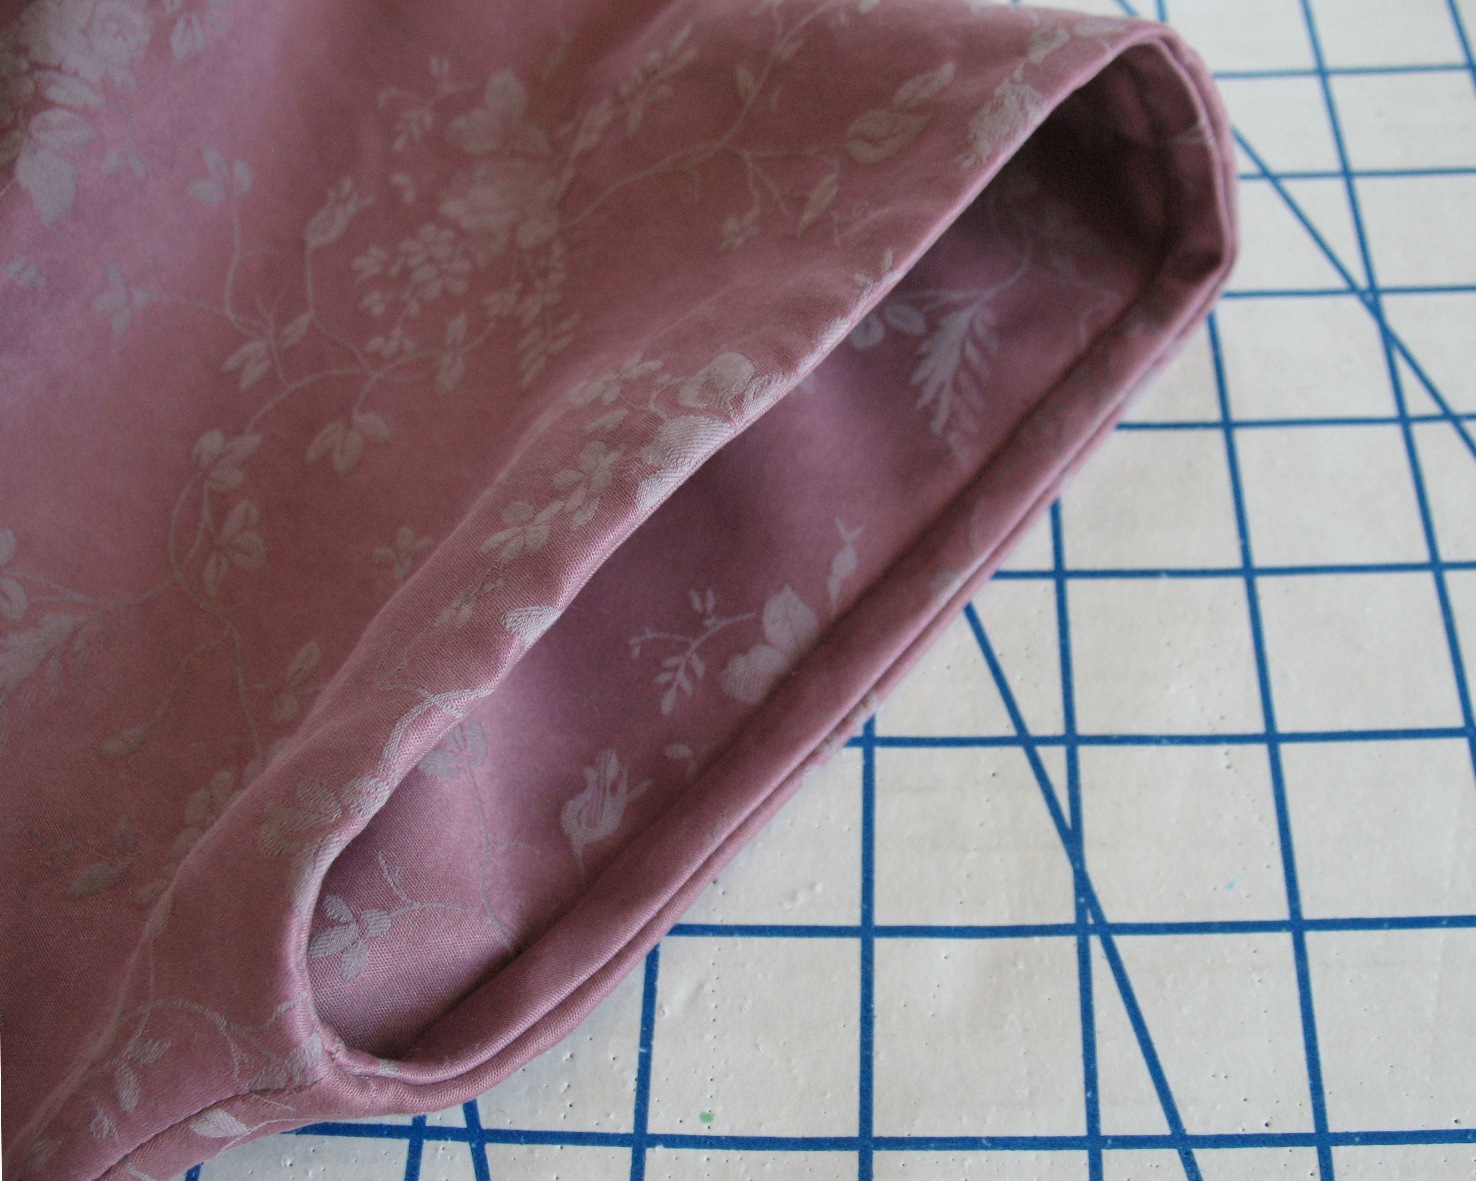
Next, the strip is folded and pressed to the wrong side of the garment. Make sure to fold beyond the seamline so the bias does not peek out from the right side of the garment.
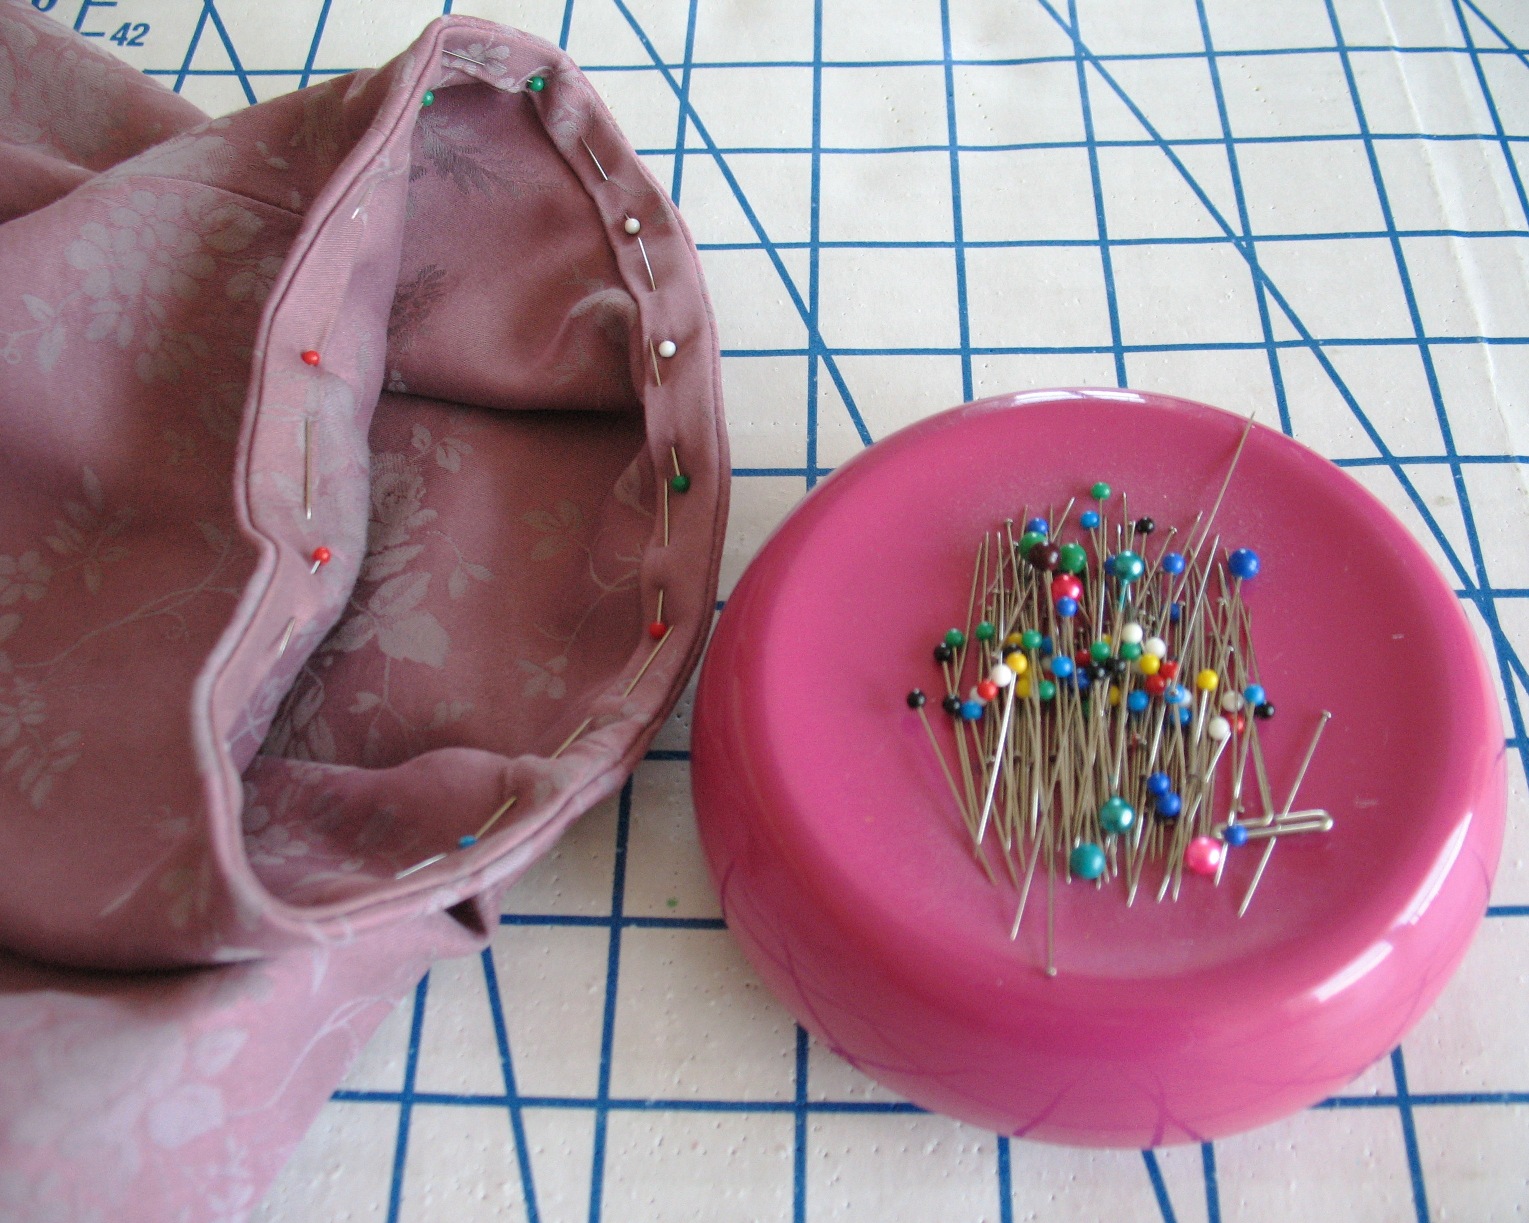
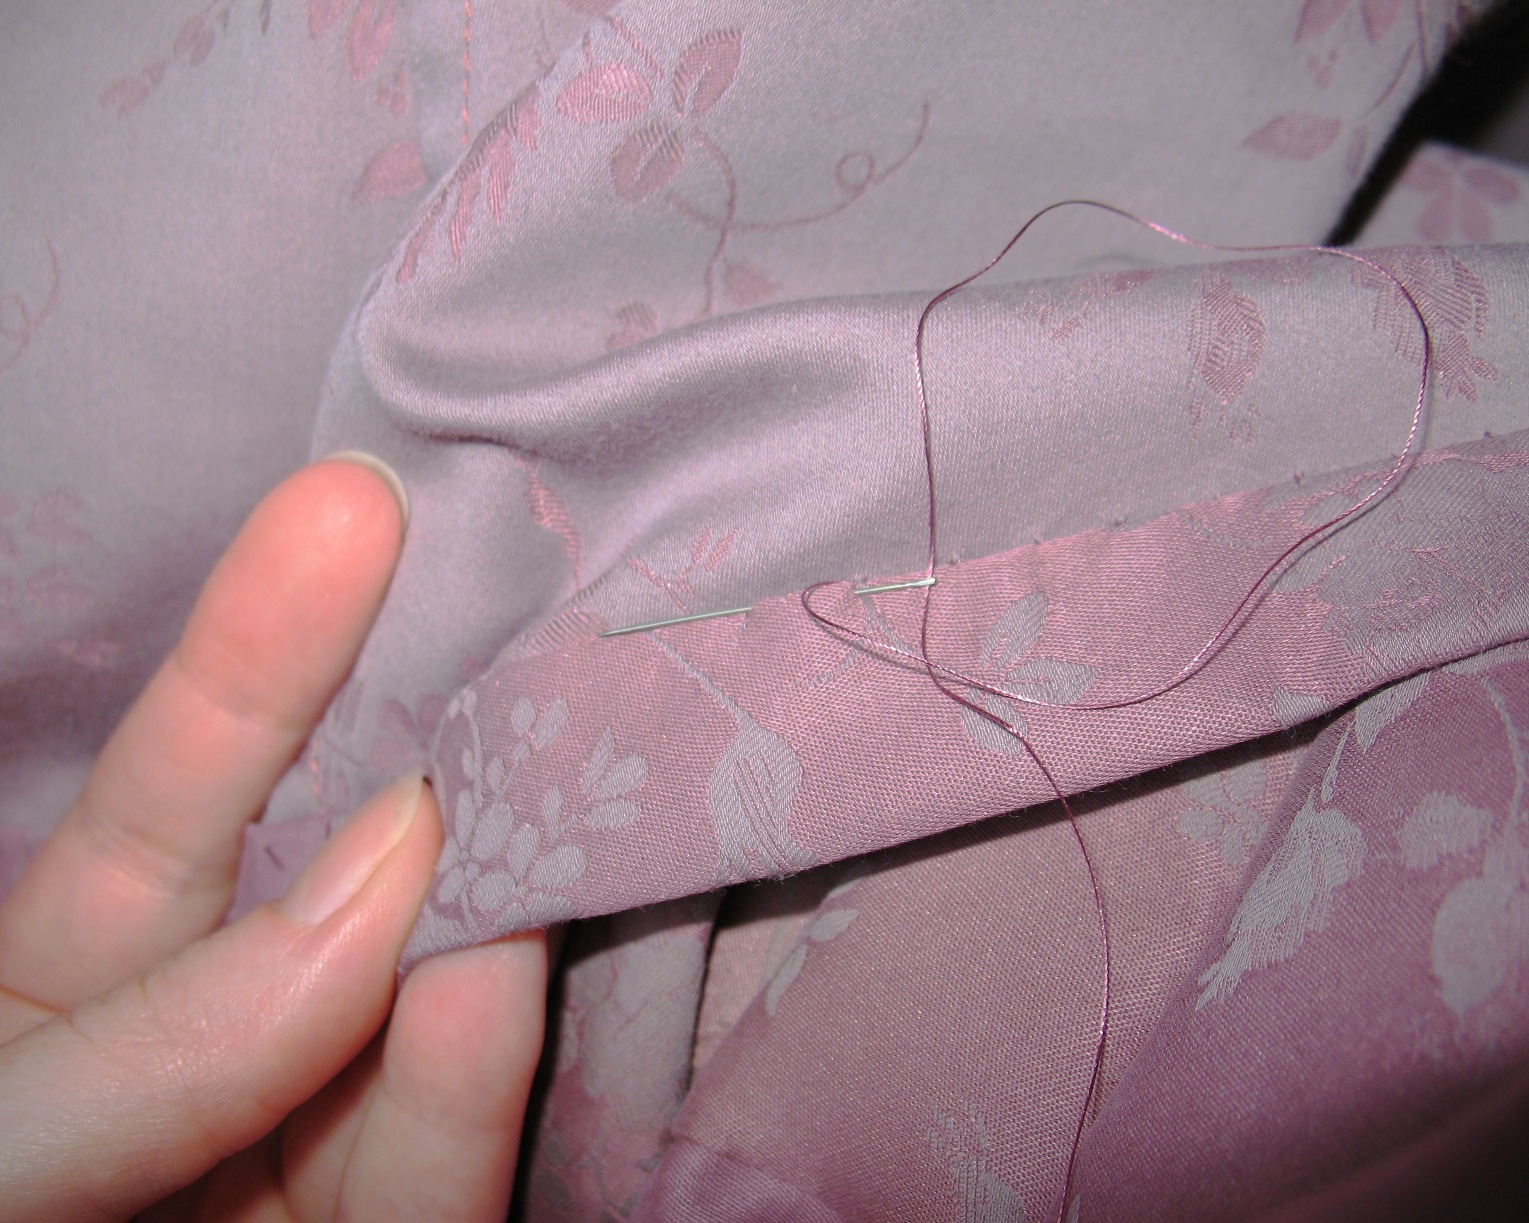
The folded bias is pinned in place so it can be hand stitched (although, you could certainly machine stitch this if you wish).
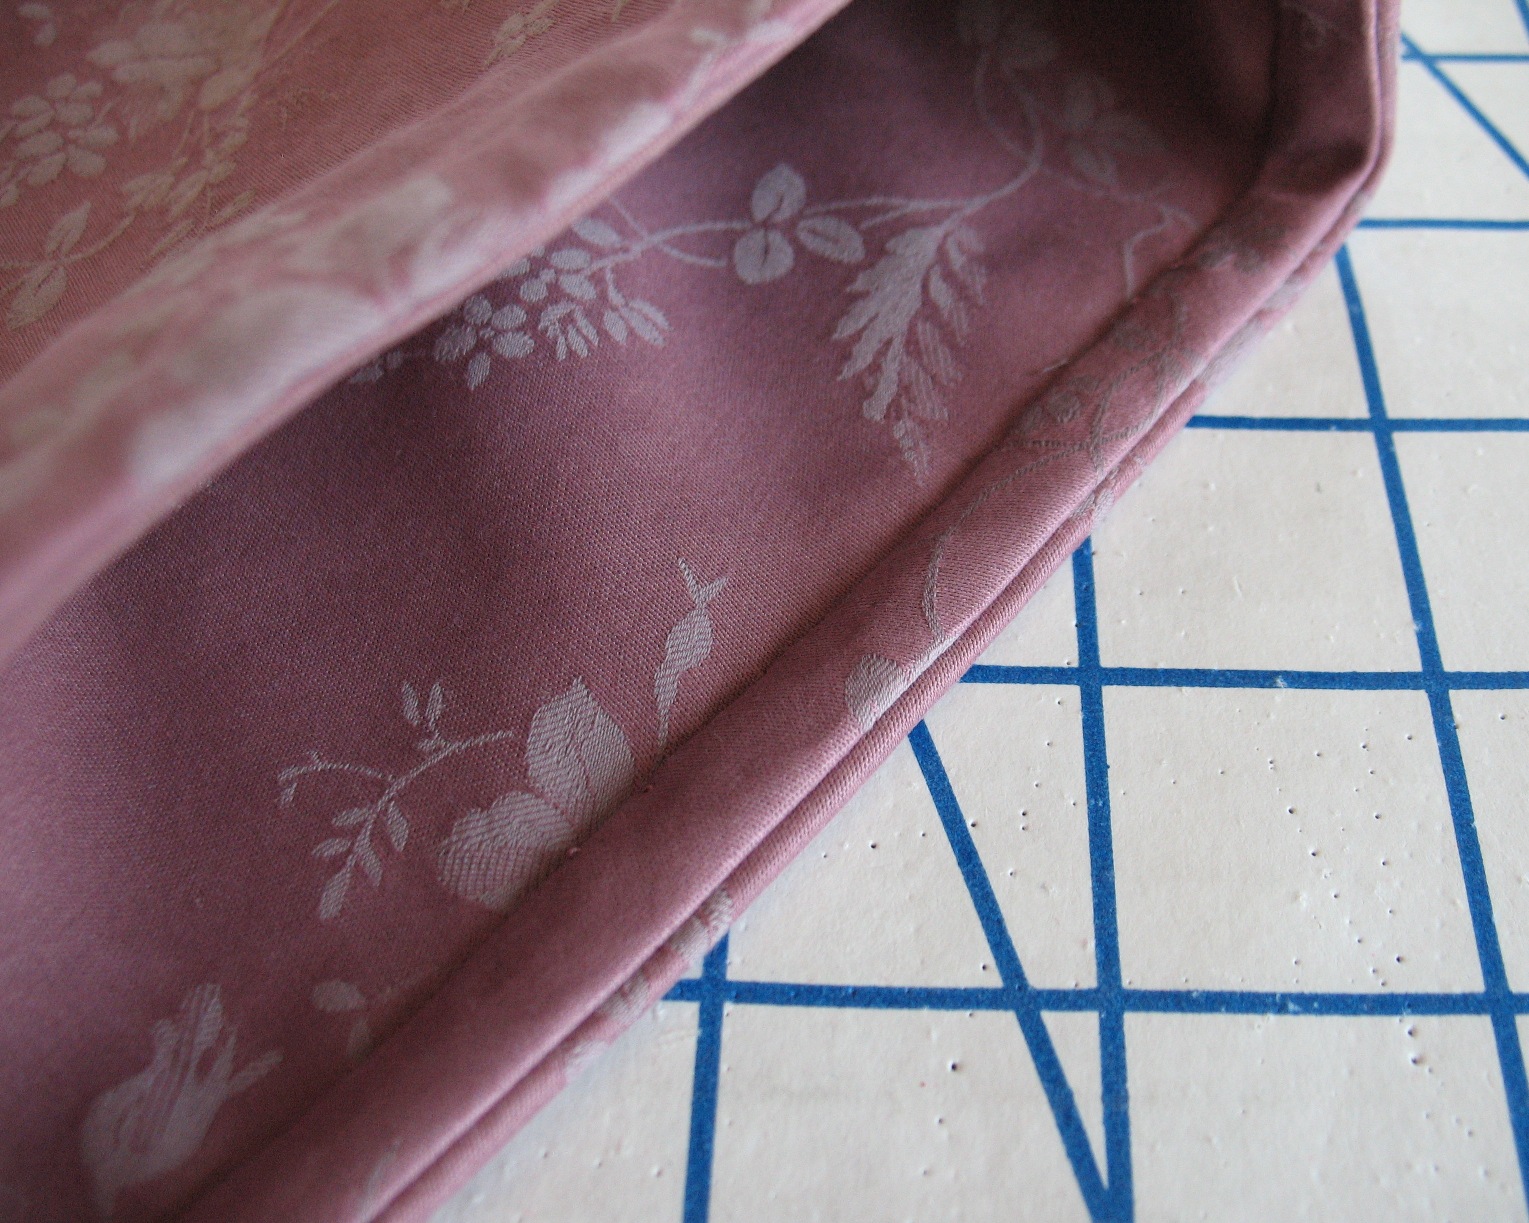
Because there are two layers (the bodice and lining), it it possible to keep the stitches invisible from the outside by only hand-stitching through the lining!
Finished! And not a stitch in sight!
The hem is now finished as well; the fabric is very lightweight, so I just turned up the edge twice and hand stitched in place. The only thing left to
do is stitch a hook & eye to the neck edge and the dress will be complete!
The collar, however, it not finished. I am happily beading away at the moment, and
do not want to rush the process, so there are no finished pictures just yet . . .




that beading is glorious - looking forward to seeing the finished whole!
ReplyDeleteI love your masterpieces. The beading is divine and all your beautiful handwork.
ReplyDeleteThanks for that very clear and helpful tutorial! I can't wait to see the finished outfit.
ReplyDeleteI love using bias tape for a sleeve hem, especially if there is any hint of a curve. Stitching the bias to the lining only is just brilliant! I'm looking forward to seeing this one!
ReplyDeleteWhat a great tutorial, you have such a way with making the inner seams just as grand as the inner seams. This is a very useful tutorial. Thank you!
ReplyDeleteWhat a fabulous idea especially for the sleeve hem. I even like it before you turned it in -- but once you did -- Wow! What a result! Great tutorial.
ReplyDeleteI can't express enough how much I admire your work! And thank you so much for the tutorials!
ReplyDeleteI often finish hems this way and I like the fell stitch you use better than the slip stitch I have been using. Your photo makes it more clear than any books I have on how to make this stitch. Thank you for a better way to make the inside of a garment look as good as the outside. I also make binding to finish seams because I do not own a serger and I think it looks better even if it takes time to do.
ReplyDeleteWOW, the beading! I can't wait to see it!!!
ReplyDeleteThe beading is absolutely beautiful. Also, thank you for such a clear tutorial. I'm really unhappy with my seams, especially after a few washes. I use pinking shears, but they still seem to fray. I'm going to try this next time. Also, I usually buy my bias binding but I think I'll have a go at making my own. Thanks! :)
ReplyDelete