Pages

Wednesday, April 30, 2014

Butterick and Bathing Suits

Butterick’s Summer pattern line has been released, which means more pattern distractions.

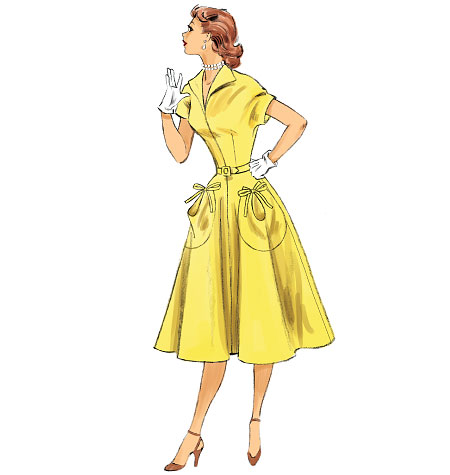
Butterick 6055

There is only one new vintage reproduction - not spectacular, but definitely cute - and it looks suspiciously like one from last season.  They have different style lines, but definitely the same flavor.  

Butterick 6055

Could be better, but certainly could be worse.  I imagine it would be challenging not to smile all day long while wearing a dress with pockets like those!

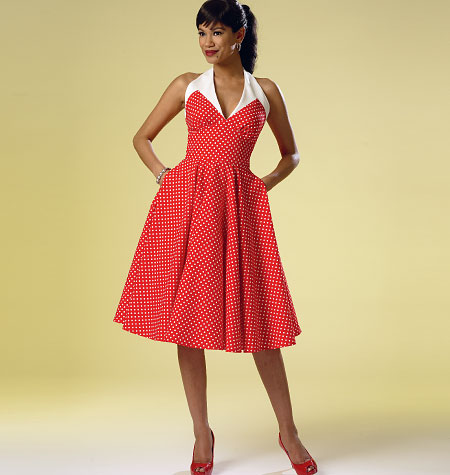
Butterick 6049

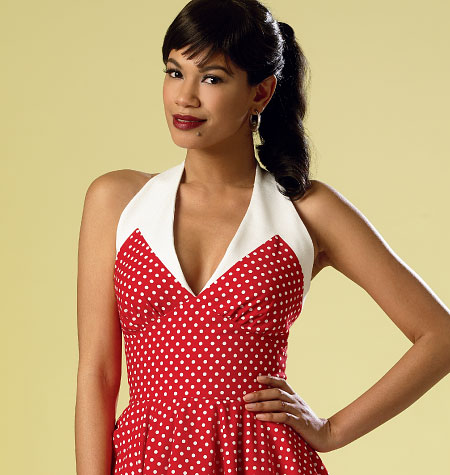
This design looks quite vintage-inspired, although I bet it will have the underarm gaping issue that often plagues halter styles.  But it just might be worth the extra work.  Or maybe that is the polka dots talking . . .

Butterick 6049

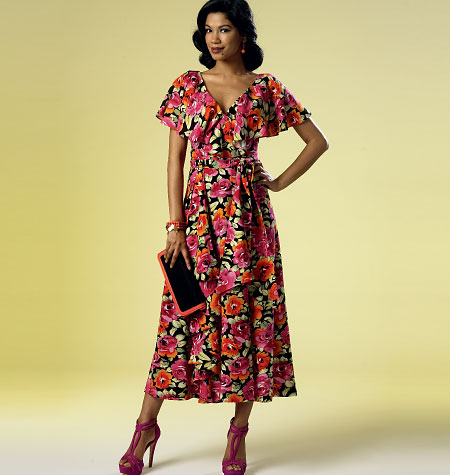
I will admit – if a dress has a capelet, a collar flounce, or ruffled sleeves, I probably will like it.  So I am sure I will be purchasing Butterick 6052!

Butterick 6052

And, of course, I would be remiss if I did not mention the adorable pin-up-perfect swimsuit design by Gertie.  

Butterick 6067

I have no reason to wear a bathing suit, and plan to avoid any such situation, but I will probably pick this one up, just because.  And who knows, if I ever decide to work with knits, this might make a cute top or perhaps a bodysuit.

Butterick 6067

I do wish there was another vintage offering and a second option from Patterns by Gertie, but these should keep me busy for a while (along with all of the others I have stashed away!).

Butterick 6067

What do you think?  Will you be adding any new patterns to your must-have list?

Sunday, April 27, 2014

Sew for Victory


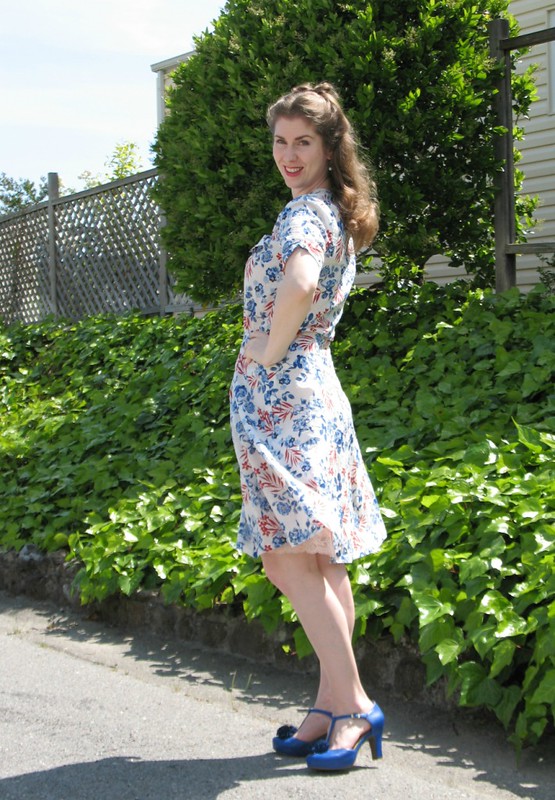
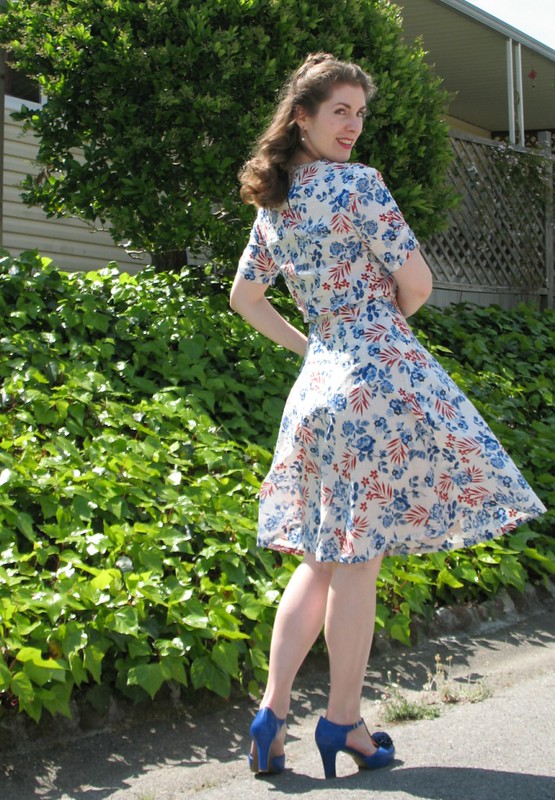
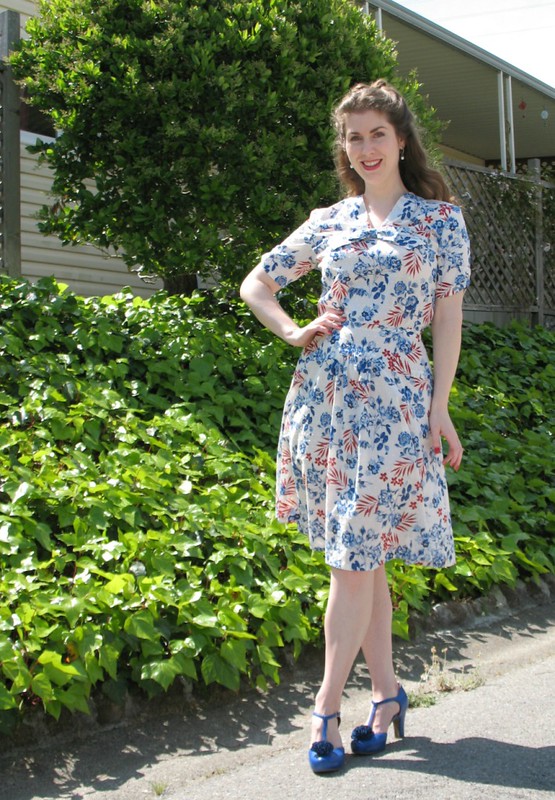
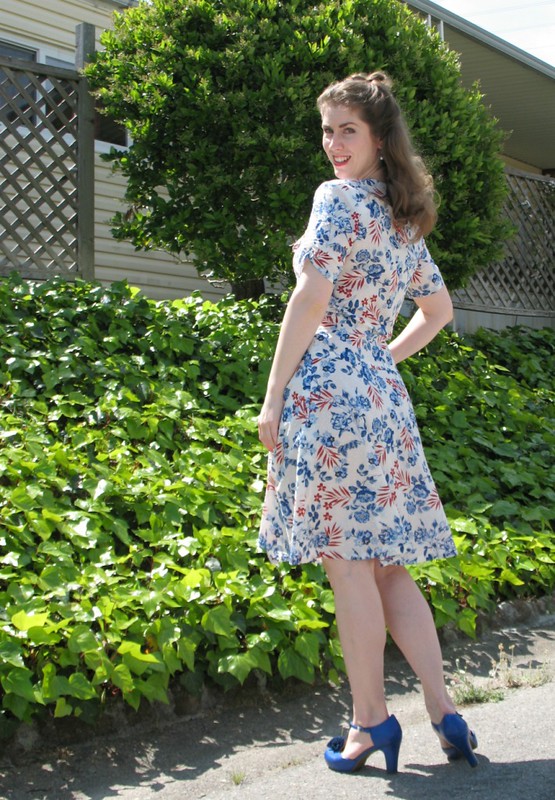
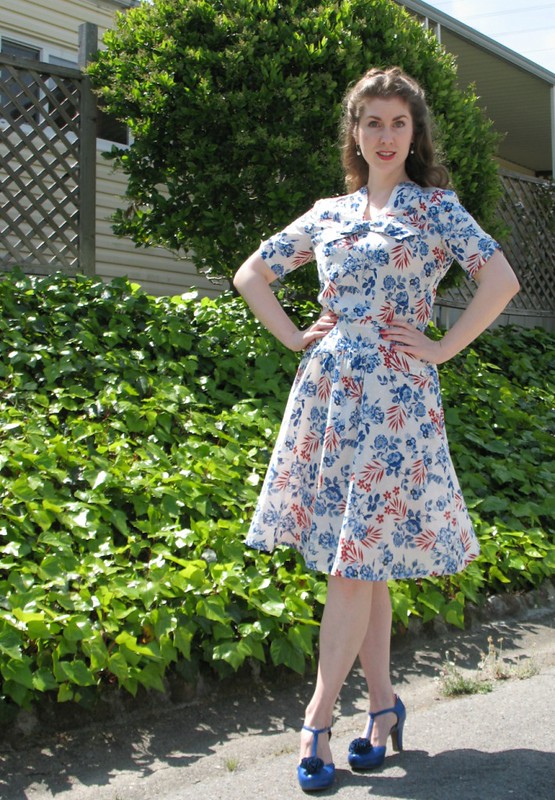
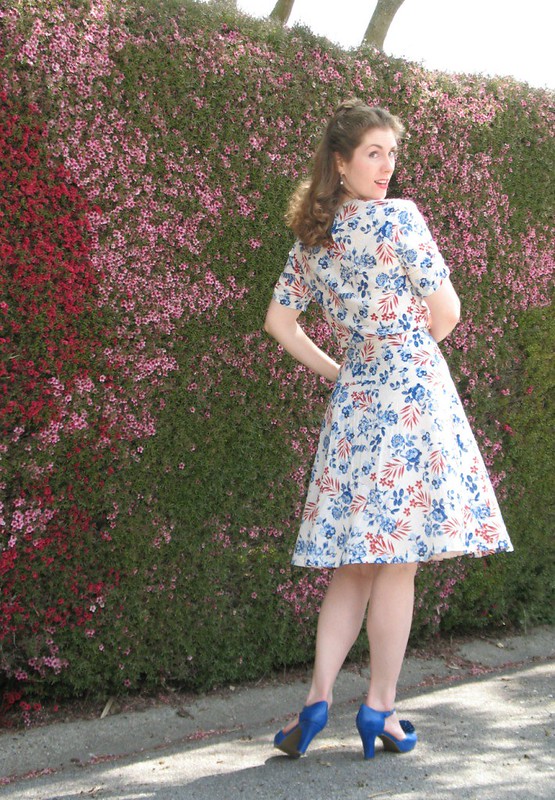
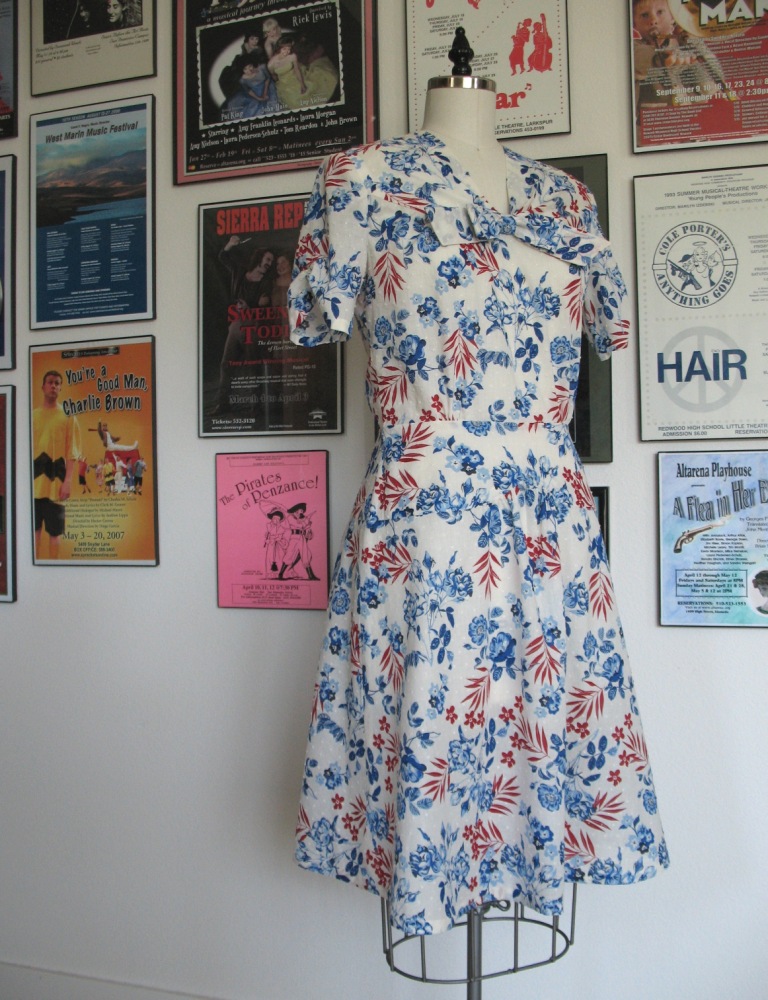
Here is my finished Sew for Victory project!  Initially, I was not planning on taking part, but the fabric, pattern, and my need for quick and easy project was perfectly timed.


And how could I resist any excuse for working with a 1940s pattern (reproduction or otherwise)?! 


Among the other vintage inaccuracies I have mentioned, this pattern calls for an invisible zipper.  Vintage invisible zippers do exist (I even have a few metal ones in my stash that I would guess are from the late 50s from the colors), but I find it highly unlikely that this particular design would have used one.  I am not even sure they existed in the 40s.  


So why did I end up using one?


Well, it turns out the only cream colored zipper I had on hand was an invisible zipper.  So despite my recent back luck with that particular sewing notion, I decided to follow the instructions and opt for an invisible zipper.


The sewing universe was perhaps trying to let me know that I should not give up on them completely.  The thin cotton, plus a strip of organza worked just fine this time around.


This dress, I suppose, was meant to restore my faith in the invisible zipper . . .


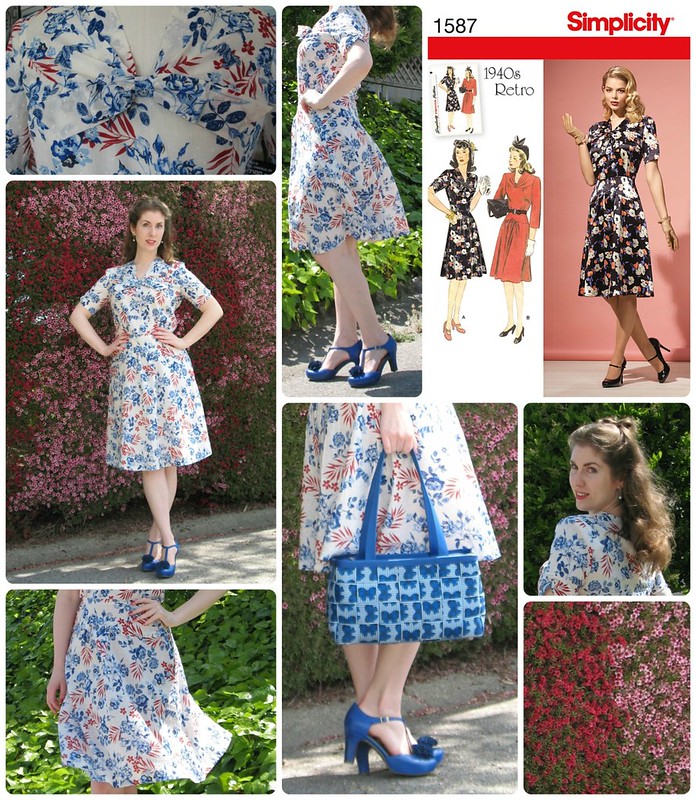
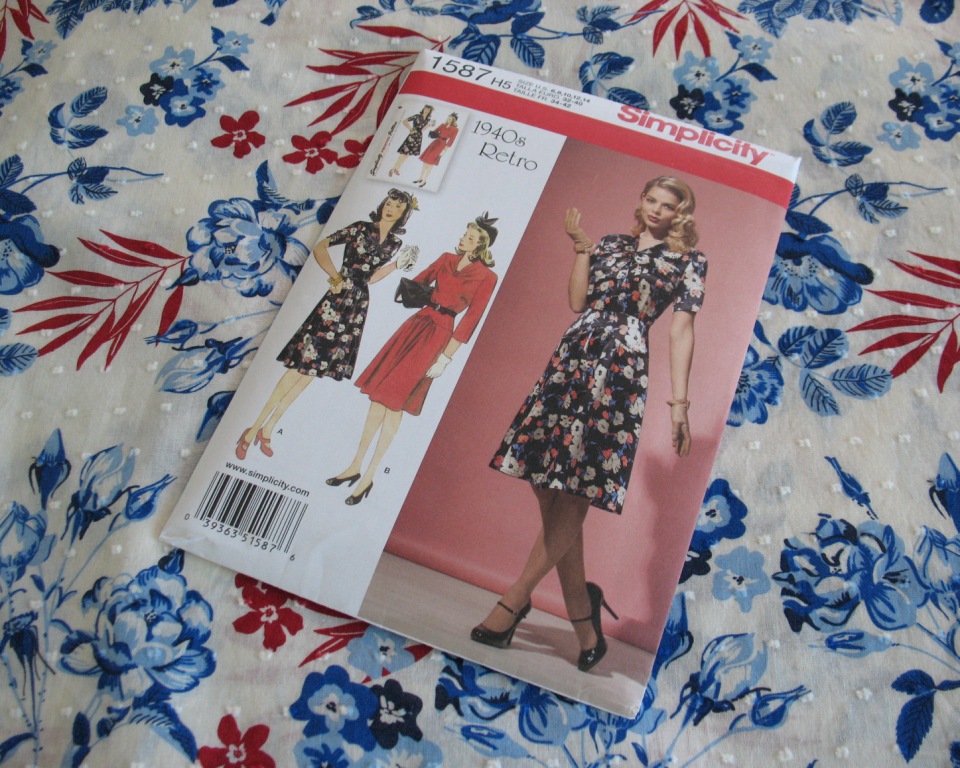
Dress:  Made by me, Simplicity 1587
Shoes:  Miz Mooz
Purse:  Harvey’s Seatbelt Bags

Thursday, April 24, 2014

Dotted Swiss


With the gorgeous weather we have been having, I was feeling the need for a quick project with a Spring/Summer appropriate fabric.  No fancy linings, underlinings, or massively involved patterns allowed – just something fun and easy to put together.


Cotton was just the ticket.  I stumbled across a dotted swiss print at JoAnn Fabrics a few months ago.  The bolt caught my eye while waiting in line for some bemberg lining to be cut, and since it was cotton and just about gone, I snapped it right up. 


It is so rare to find a natural fiber print that I like among all the poly fleece that it was not until I returned to a sewing room full of fabric that I realized the yardage had managed to follow me home.  Whoops!  So much for my resolution to refrain from new fabric purchases.  

But then along came the Sew for Victory challenge, and the red, white, and blue color scheme seemed perfect for a 1940s design.  Which somehow makes me feel a little less guilty about the fabric purchase!


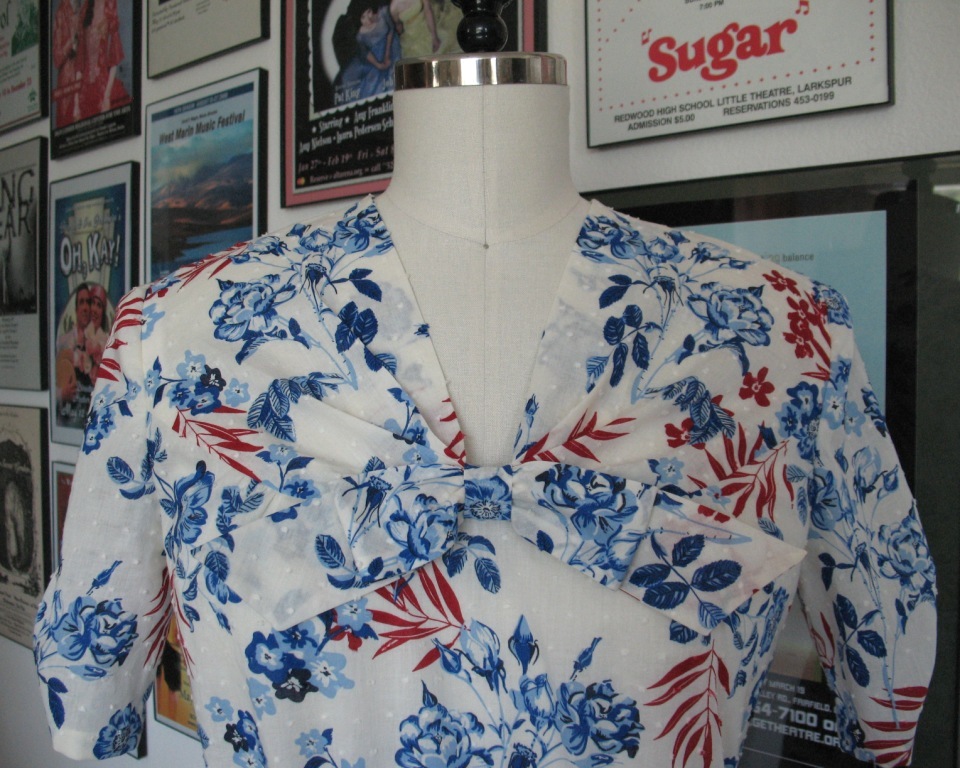
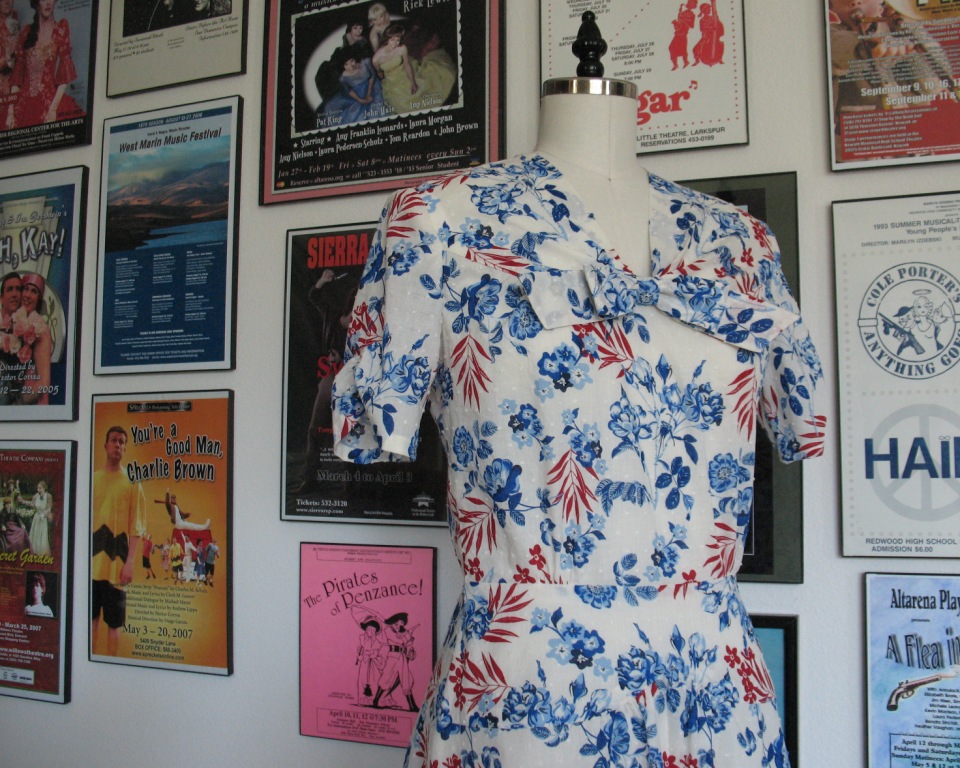
This dress is another vintage reproduction from Simplicity.  I love that they are reproducing these designs, I just wish they were more accurate. 


First, there is the length.  I am not sure where they got the model, but she must be rather short.  Granted, I used a more generous hem than the 5/8” given since I think that looks chintzy, but with my standard torso lengthening and the extra inch I added to the lower skirt edge, I added almost two inches and this still came out a bit too short.  Unless you are quite petite, the skirt is not going to cover the knee.


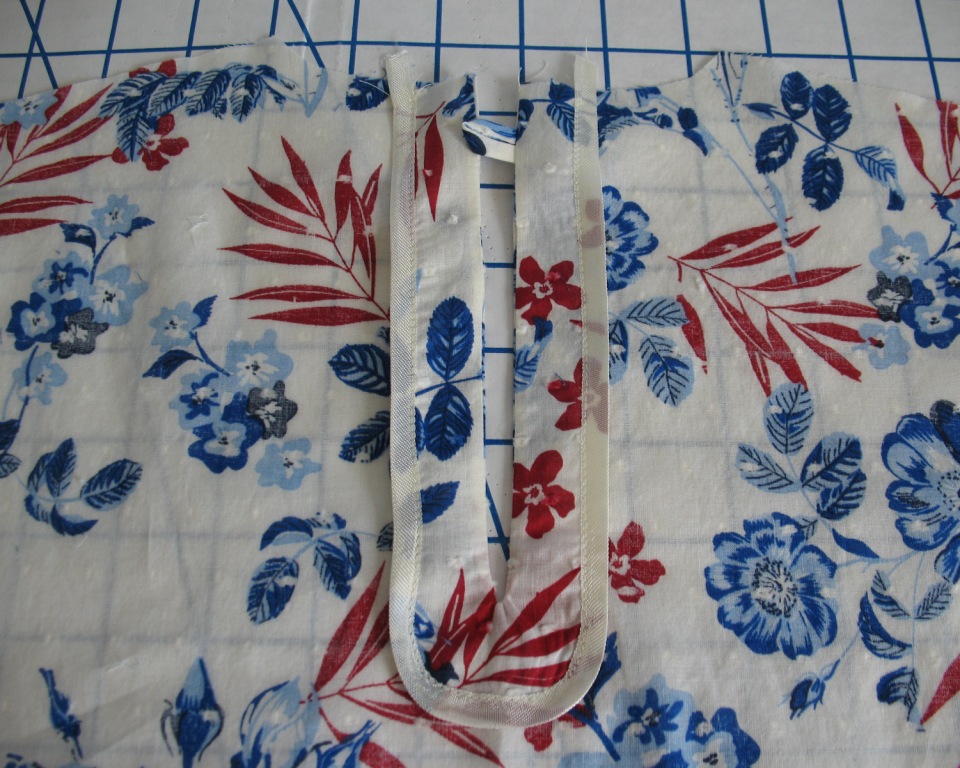
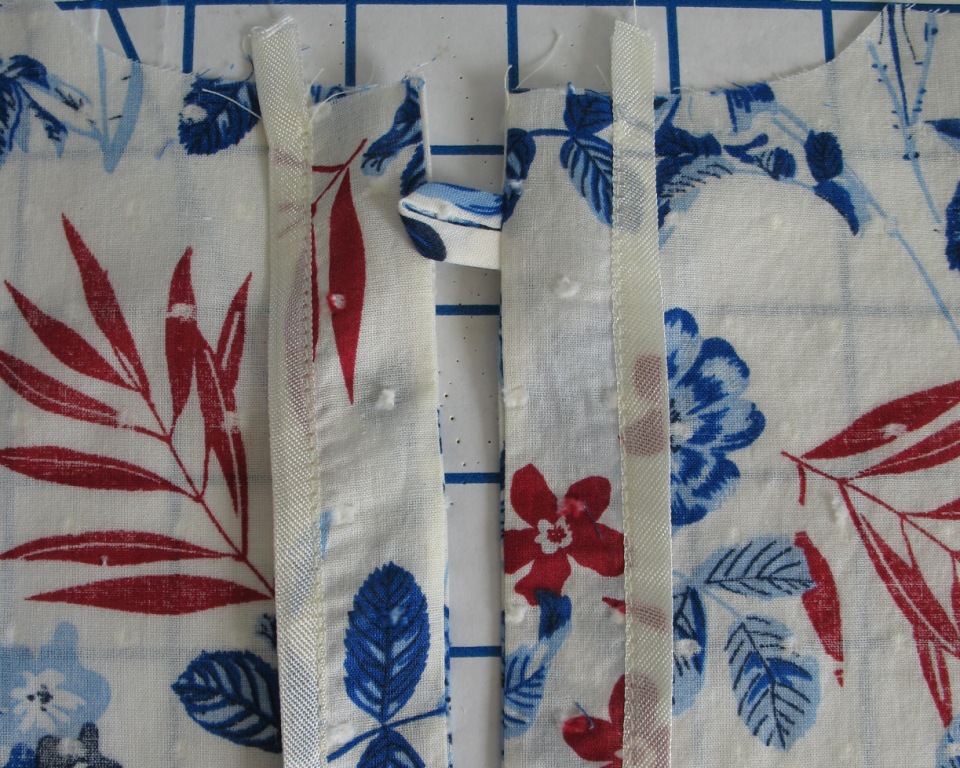
Also, the back facing is unlike any vintage pattern I have ever come across.  It is massive, so I ditched the whole thing and just made a narrow facing band for the center back slit; the back neck edge is finished with a strip of bias.


Another major complaint I have with the Simplicity reproductions is no mention of shoulder pads.  It looks to me like they threw a pair on the model before taking photographs so she looked more like the illustration, but there is no mention in the instructions or on the pattern envelope suggesting a pair.  I am fine with people eliminating the things if they so choose, but the vintage silhouette is really hard to duplicate without shoulder pads, and ignoring the fact is doing a disservice to the design.


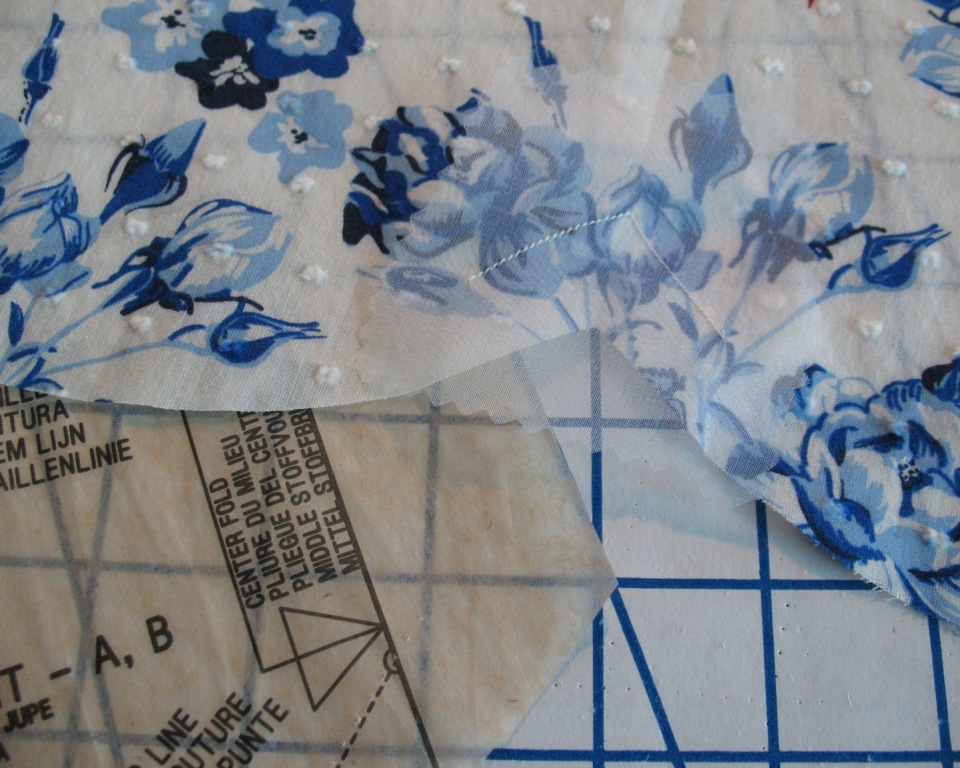
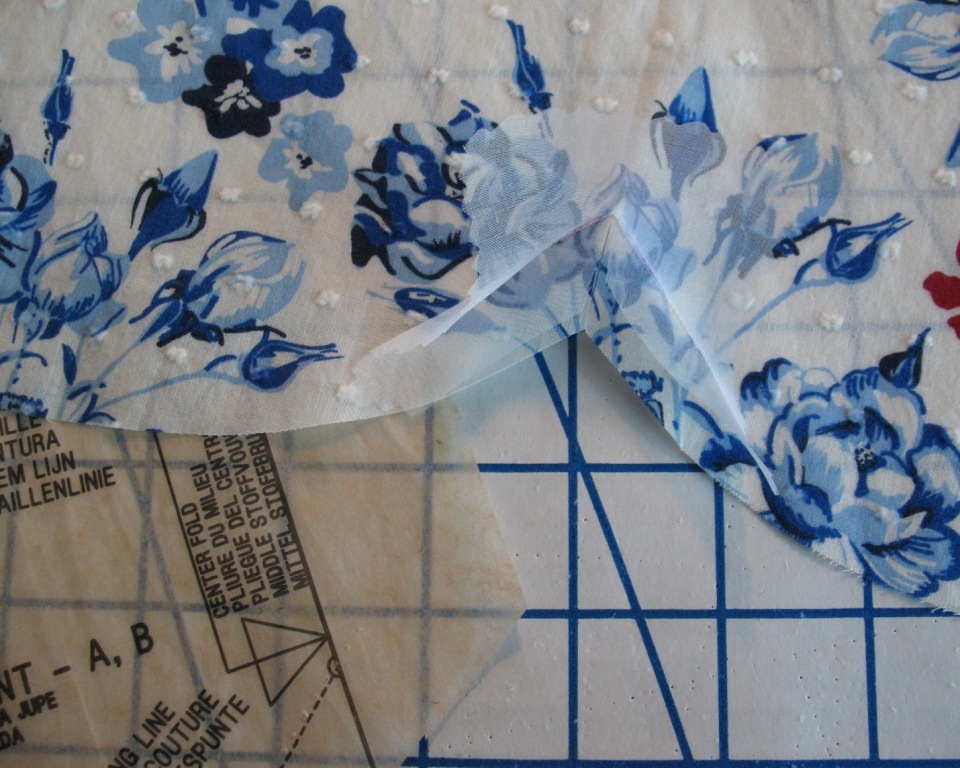
For a bit of added reinforcement on the center front yoke point, I used silk organza to stay the inner corner edge of the skirt (the same technique used to reinforce a gusset).


Even with all of my complaints, this really is a great design.  It actually has more going on than a lot of the recent Vintage Vogues!


Tuesday, April 22, 2014

Out of Season


Normally as soon as the beautiful weather appears, I like to banish the black and the wool from my wardrobe.  Even if I end up chilly by the time the sun goes down, I would rather wear something to suit the sunny skies.  Not to mention the fact that the winter-appropriate side of the closet gets tiresome after a few months, no matter how much I may love certain items contained therein!


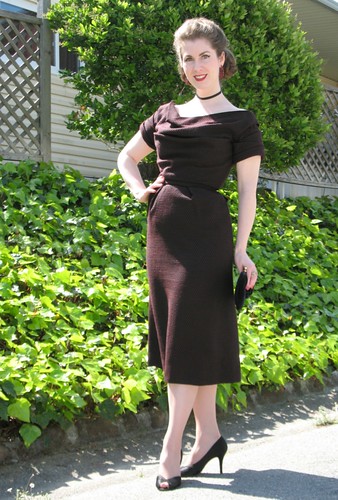
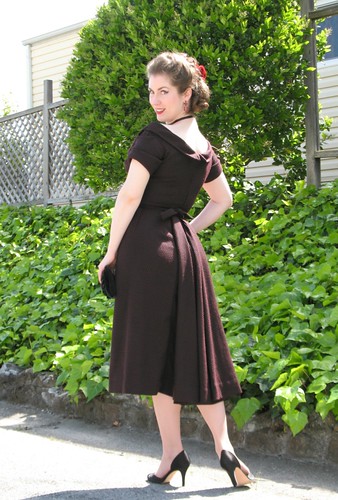
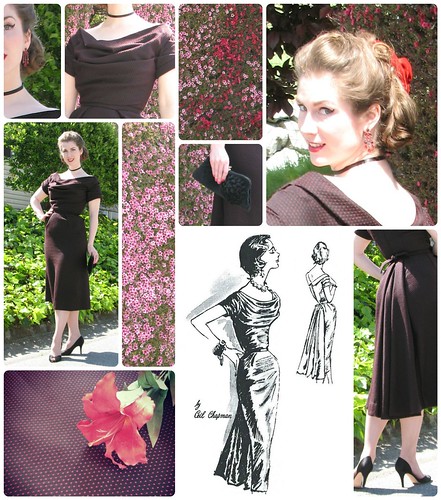
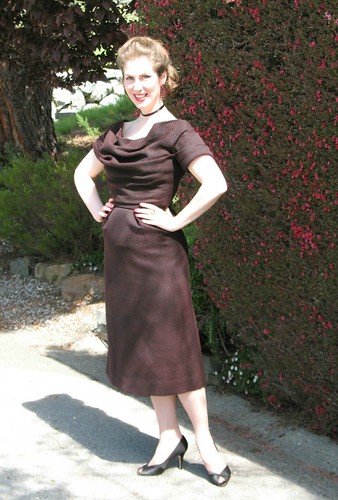
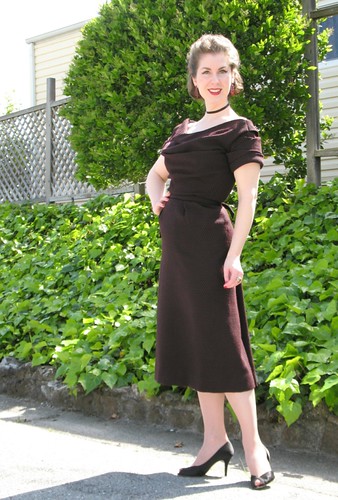
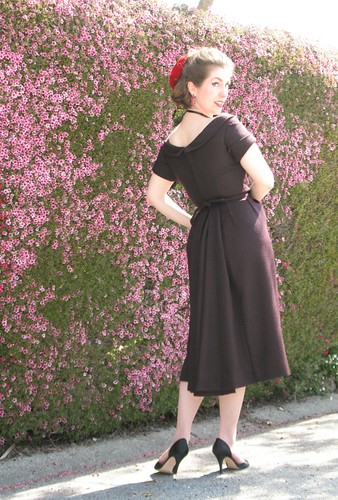
So even though I am going to do my best to wear Spring things from here on out, I managed to finish my Ceil Chapman dress in time for Marin Symphony’s latest concert, and I really wanted to take her out for a spin before the heat made it impossible to wear a black wool dress.  It actually turned out to be quite comfortable for April weather with the short sleeves.  


The concert was magnificent, by the way!  And an evening of Carmina Burana and Chichester Psalms somehow seemed like the proper event to debut this dress.  


The issues with the invisible zipper on my latest Britex project gave me the courage to fix the zipper on this dress.  And as a few of you mentioned, the problem was actually solved with minimal fuss.  The most irritating part was picking out black thread on black wool.  Thank goodness for that organza strip I used to stabilize the zipper, or else I might still be going at it with a seam ripper.


It really feels good to have finished this dress.  I am not a complete failure!  Whoo-hoo!


Not only can I now zip the dress up, I can do so all by myself!  All it needed was a sturdy standard zipper!


Dress & Belt: Made by me, Spadea 1251 c/o Vintage Pattern Lending Library
Shoes:  Nina
Earrings:  Givenchy
Ring:  Grandfather’s school ring
Hair Flower:  Made by me
Clutch:  Banana Republic

Wednesday, April 16, 2014

How to Insert an Invisible Zipper: A Tutorial

Here are a few tips to help you tackle invisible zippers! 


There seems to be an infinite variety of zippers out there – the exposed zipper is getting a lot of attention these days on the fashion front, but I generally prefer that the closure on a garment does not scream so loud.  An invisible zipper is an inconspicuous option – it hides in the seam of the fabric so that all that remains visible is the elegant pull tab.


If you need to shorten your zipper, now is the time.  [Something to keep in mind is that because the invisible zipper turns inward, it is difficult to stitch in that fold the closer you get to the zipping mechanism.  If I have an extra inch to work with and I am not fighting against the metal pull, I like to use it.]    
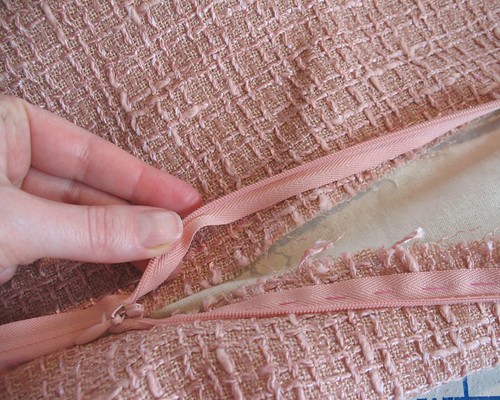

To make it easier to access the zipper stitching line and keep the folded invisible coils out of the way, you can iron the zipper open using a low/synthetic setting on your iron with no steam.  I usually take a quick pass at my invisible zippers with an iron, but do not attempt to flatten them since it can affect the integrity of the zipper.  Also, too much heat can melt the teeth together, ruining the zipper (please don't ask me how I know that!).


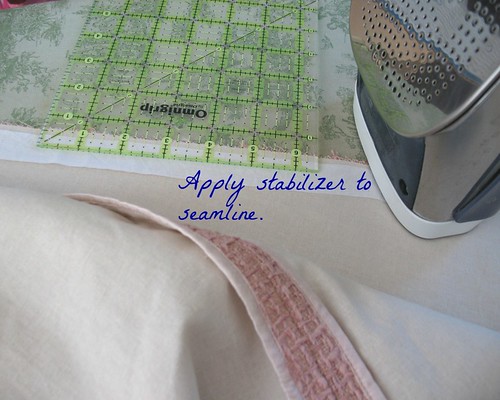
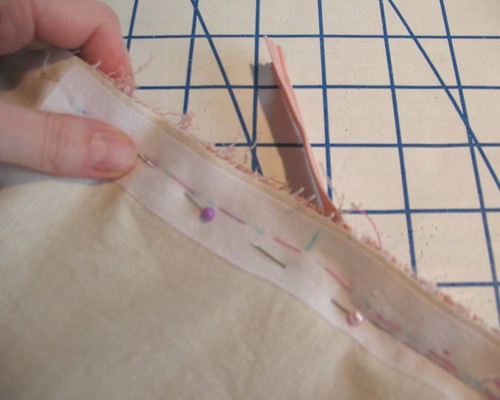
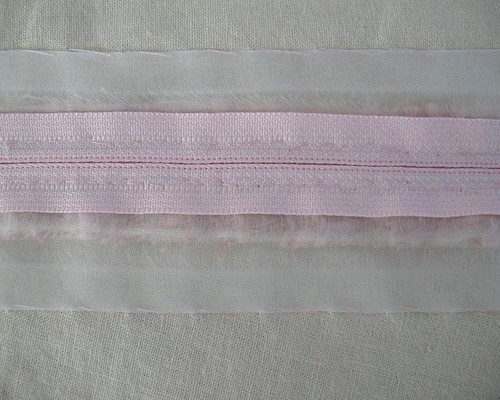
The trick I find most helpful for installing (any) zipper is to reinforce the opening edges of the garment.  Invisible zippers, especially, have a tendency to pooch out at odd angles in lighter weight fabrics that have not been stabilized.  

A strip of silk organza is an excellent option, as is a strip of fusible interfacing (make sure to choose an appropriate weight for your garment fabric).  The strip needs to be wide enough to extend beyond either side of the seam fold so that the stitching line will catch your chosen stabilizer.  For an invisible zipper, one inch is plenty.  Also make sure that the interfacing is longer than the zipper opening.  The point where the fabric seam meets the zipper opening is likely to get a lot of stress and the interfacing will help to reinforce that spot.


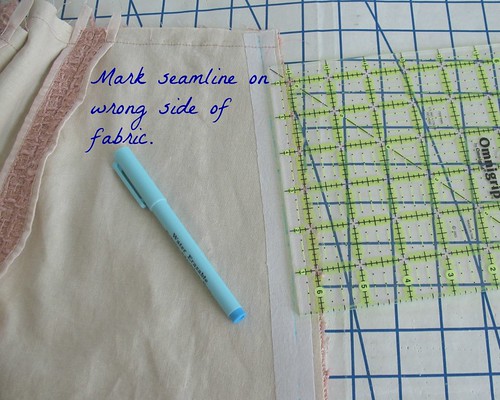
Mark just inside the seamline (depending on your fabric, a fabric pen, chalk, or even a pencil will do the trick).  For an invisible zipper, this line will need to be visible on the right side of the fabric.  


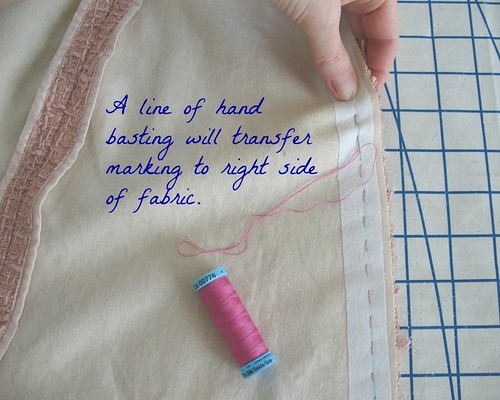
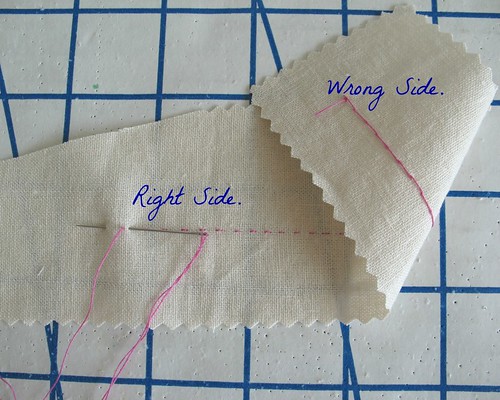
This particular fabric is not easily marked, so I drew my mark on the wrong side and basted that line with thread.  This makes the line visible on the right side of a highly textured fabric.


If there are horizontal seams that cross your zipper opening,  trim your fabric layers, and baste those horizontal seams in place.


I find the easiest way to figure out which way to insert the zipper itself is, with the right side facing and the zipper next to the opening seam, right side up.  When I begin to fold the seam allowance away from me (to the wrong side where it belongs) the zipper should disappear, leaving the pull tab visible.  In other words, the tape edge should be close to the raw edge of the fabric, and the zipper coil should be just hanging over the marked seamline.


The second most important part of zipper installation is basting, which saves a massive amount of time in the long run – so don’t skip this step!  I like to use a contrasting silk thread so it is easy to remove later on.


Once one side of the zipper is basted in place, it is time to stitch it down.  Many machines come with an invisible zipper foot.  If you do not have one, a regular zipper foot can do the trick, depending on how mobile your needle is.  The stitching line needs to get as close as possible to the plastic teeth without grabbing them.  I do not recommend the plastic invisible zipper kits that only cost a few dollars – the plastic slide can move around while you sew which is extremely frustrating.


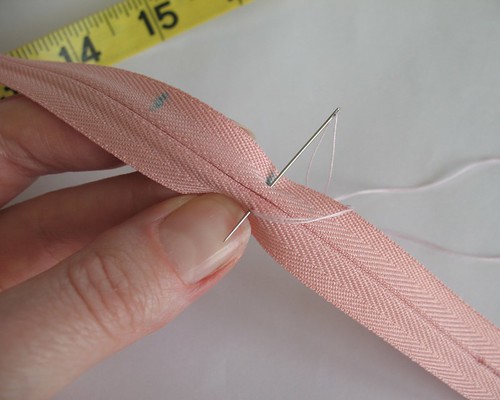
Another option is hand stitching.  I know the first time I heard of someone hand stitching a zipper I thought they were crazy.  But a tiny backstitch/pick-stitch/prick-stitch is incredible sturdy and works beautifully.  It also gives you the most control.


One thing that will help to ensure a beautiful application is to stitch both sides of the zipper in the same direction.  If you start from the top and work your way down on the right hand side, work from the top down on the left side as well.  This will help to keep your fabric from shifting in opposite directions.  If you have trouble matching seamlines, this may solve your problem!


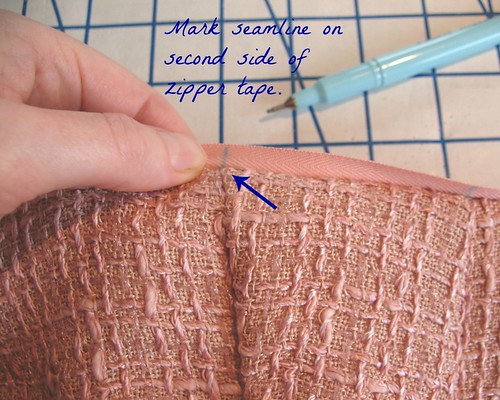
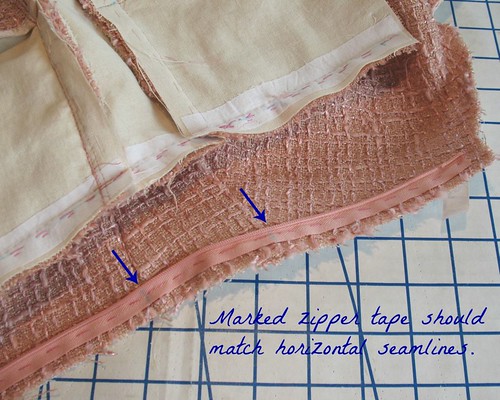
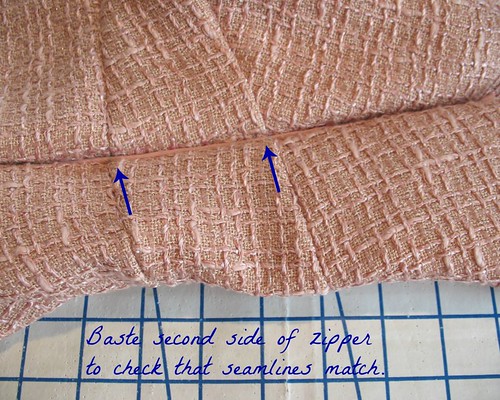
Speaking of seamlines . . . if you have any horizontal seamlines to match, you will want to mark those after one side of the zipper is stitched into place.  Close the zipper, and mark the seamline point on the zipper tape with a fabric pen or chalk (I prefer a fine point pen – the thinner the mark, the more accurate the placement).


Matching any seamlines necessary, baste the second tape into place.  


Now make sure to zip everything closed to check that those seamlines are matching up!  If not, remove the basting and try again.  


Once you are happy with the zipper placement, stitch it into place, remembering to stitch this seam in the same direction as the last.


Next you will need a standard zipper foot to close up the seam below/above the zipper.  Remove the basting stitches, and push the end of the zipper out of the way.  


Pin the seam closed below your newly installed invisible zipper.  The end of this seam should overlap the zipper stitching slightly.


As a final note, I will say that I prefer to install invisible zippers in an open seam.  I find it much easier than fighting with the twisting coil against a closed seam.  If possible, I will insert a zipper before adding other pattern pieces to the mix.  This is not always possible, but the less fabric you have to flip around, the easier it will be!

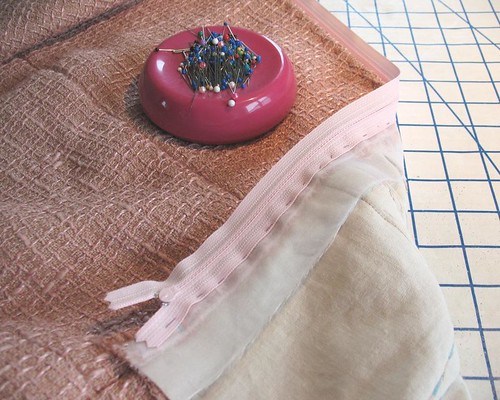
Things do not always go according to plan, as evidenced by this project.  As much as I love the look of an invisible zipper, they are far from sturdy.  I had a feeling that this fabric was too bulky for an invisible zipper, but my stubborn streak thought I could make it work – the dress had different ideas.  Instead of fighting to get it open and closed every time I wear the dress, I decided a lapped zipper would be a much safer bet.


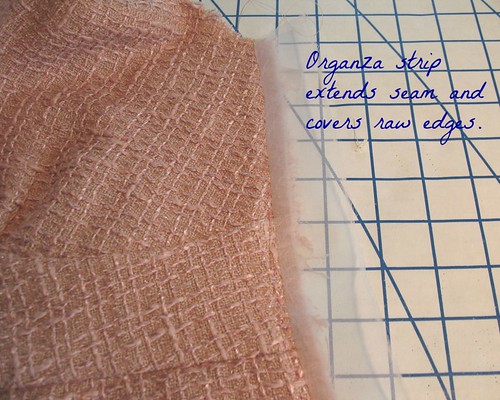
The problem was that the loose weave of the fabric was coming apart and a lapped zipper needs plenty of seam allowance to work properly.  So out came the silk organza.  I ripped a two inch strip and applied it to the raw edges.  When turn under, it covered the raw edges


Crisis averted!


Invisible zippers are brilliant tools, when used with a suitable project; when installed properly, they are virtually undetectable.  But they are best used with light to mid weight fabrics.  


Close fitting garments may require an extra pair of hands to zip them up or the help of a hooked waist-stay.  I have a number of vintage invisible zippers with metal teeth which are a bit stronger, but they still have to twist inward in order to close which is not nearly as stable as a standard zipper. 


And should your invisible zipper application go completely awry, step away from the project for a chunk of time and then have at it with a seam ripper.  The invisible zipper is a fickle mistress – worth the effort in certain circumstances, but she definitely has a mind of her own!

Do you have any invisible zipper stories of your own?


[The fabric for this project was received in exchange for my contributions as a Britex Guest Blogger.]