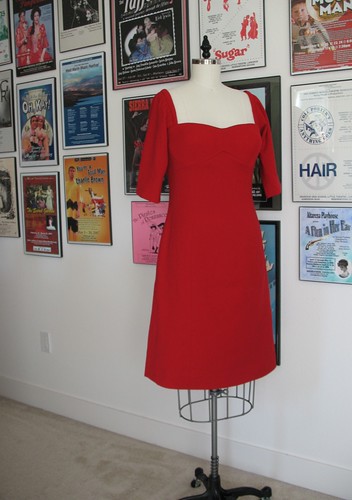
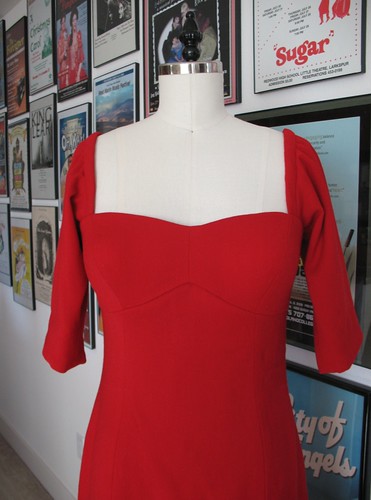
This is my first time working with a By Hand London design. I love their design ethic, this dress especially,
so it was exciting to try out a new pattern company!
There is always a bit of a learning curve with a new brand –
each one has a different way of communicating through diagrams and
instructions. Like many independent
pattern companies, the layout is clear and pretty to look at, as is the
envelope design. There were, however, a
couple of unexpected surprises. I missed
seeing notches on the diagrams – many of the pieces of the dress look similar
to one another, or when turned upside down.
I like the ability to glance at an image quickly to make sure everything
matches what is happening on my sewing table, and missing those handy
identifiers slowed me down (but maybe that’s a good thing!).
I also wish that more information about construction was
included. There is a detailed sew-along
on their blog, but I miss having everything in hand - and there seems to be plenty of extra space
in the instruction pamphlet to include more specifics.
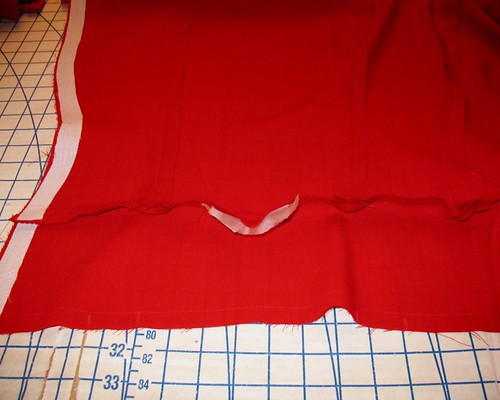
One missing piece of information is the clipping that is
necessary to join the center back point of the skirt to the bodice. This is an essential point of construction,
but it is not found in the written instructions. There is also no corresponding mark on the
pattern piece itself to hint that the interior angle should be reinforced and
clipped. If this was my first time
trying to match two seams with a point and an angle, I would be very frustrated. To be fair, the clipping is mentioned in the
Georgia Sew Along, Step No. 7, but I still wish it was included with the
pattern.
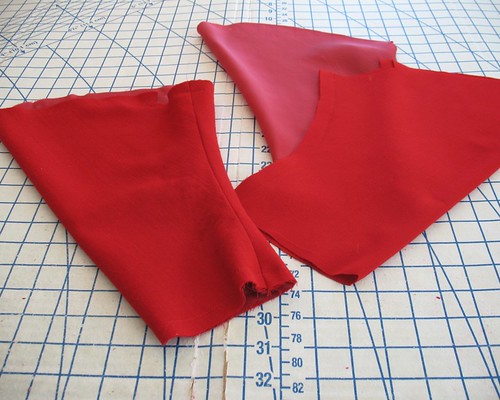
My wool (like many wool fabrics) has a tendency to fray. Because the bodice needed to be clipped, I grabbed
a scrap of organza and used the same technique I use to reinforce gussets. I would hate for that point to wear out long
before the rest of the garment does!
The upper edge of the bodice seemed like it would be prone
to stretching so I used seam binding to reinforce my stay-stitching.
Although not entirely clear, I believe the given hem
allowance is 1 inch according to the instructions. I prefer to have a deeper hem on a dress that
has a straight skirt – I think it looks much nicer. I ended up adding one inch to the torso length
and another inch to the hem, and then folding up those two extra inches. Looking at the pattern sketches, I was expecting a bit more length.
Even though this wool is not itchy, I knew I wanted to add a
full lining – I love pretty insides! I
did love how clear it was that the opening edge of the lining must be opposite
to the fabric if wrong sides are to be placed together – it is the most clear
explanation I have seen yet (a couple of McCall company patterns I have come
across have diagram typos in similar situations).
All of that being said, this is a lovely design that
I am sure I will make it up again – I would love a cotton version for summer,
perhaps lengthened to mid-calf . . . and that is just the beginning!


Laura - thanks for the thorough review as well as the helpful hints that you've included. The dress is so beautiful! I can't wait to see you wearing this beauty!
ReplyDeleteLove that red, your dress is looking stunning. I have a few BH London patterns but have yet to try them out. I want to make the Anna dress and Victoria blazer.
ReplyDeleteBeautiful dress! I love that you made 3/4 length sleeves and lined it. I very much appreciate your honest review as well!!
ReplyDeleteBeautiful, timelessly lovely dress. At the risk of sounding clique, it instantly made me think of the classic song "Lady in Red".
ReplyDelete♥ Jessica
Wow, this looks absolutely stunning! Red is my favorite colour and paired with this beautiful pattern it is completely fabolous! Also thanks for the detailed description of the make, it helps avoiding making mistakes! Now I need to buy this pattern, because your version triggered my fantasy. Thanks for sharing :-)
ReplyDeleteMilan
Beautiful dress, and lots of good tips in this post!
ReplyDelete