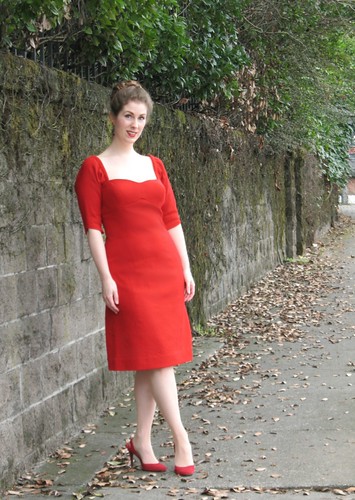
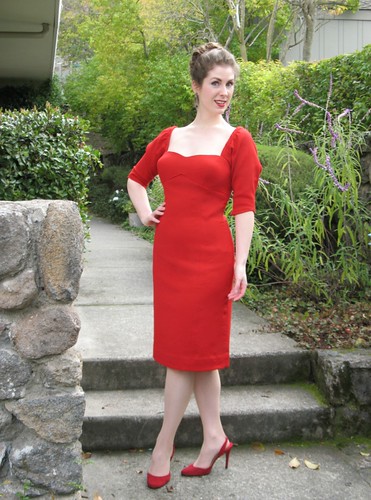
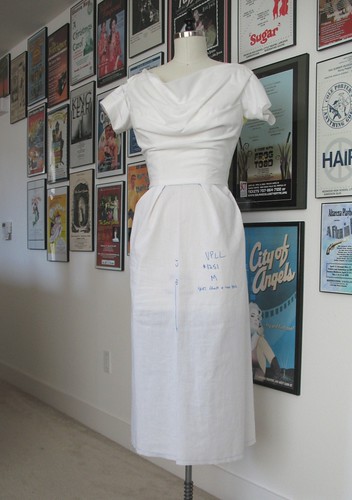
I thought I would share a few more bits of the construction of my latest Britex project – thank you for all the lovely feedback on the dress, by the way!
Many patterns include multiple views that whet the creative appetite
by showing one or two variations on a theme.
But there are so many more possibilities! Add or substitute a piece from another
existing pattern or draft your own, and things get even more interesting.
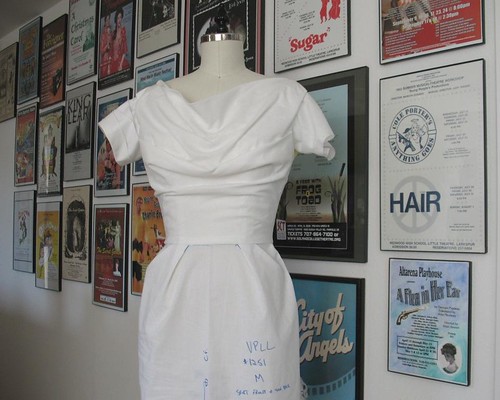
This gorgeous red wool was initially intended for a
different dress, but when I had the opportunity to work with By Hand London’s new pattern, I jumped at the chance. The
only problem was that I knew a sleeveless wool dress was going to get buried
under cardigans and sweaters in most situations – my fix was to add sleeves.
However, there is no armscye to work with.
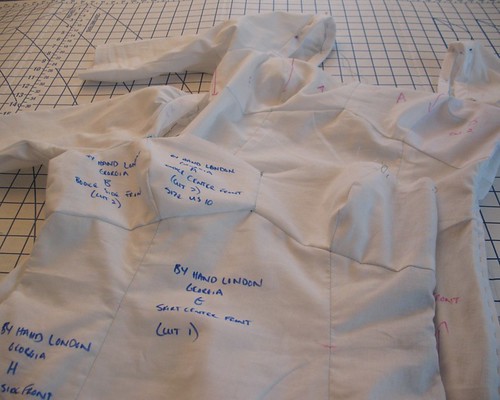
With any substantive change to a pattern I like to test
things out in muslin. I rarely make more
than one muslin because it is not the most interesting process in the world,
but I will admit to stitching and ripping four different sleeve options before
I was pleased with the end result (which is so much better to do with cheap and
replaceable fabric). I will often leave
off one of the sleeves to speed up this process, but in this case, the fit of
the sleeve cap was extra important and I wanted to make sure it would be
possible to get in and out of the dress with the side zipper.
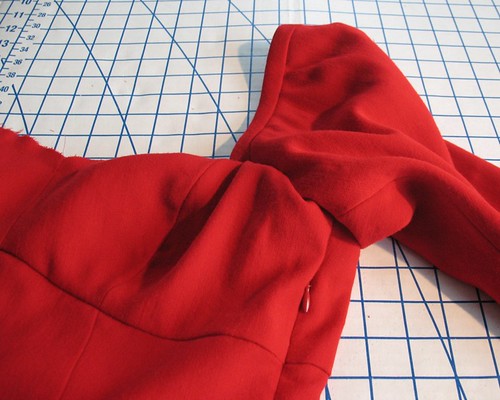
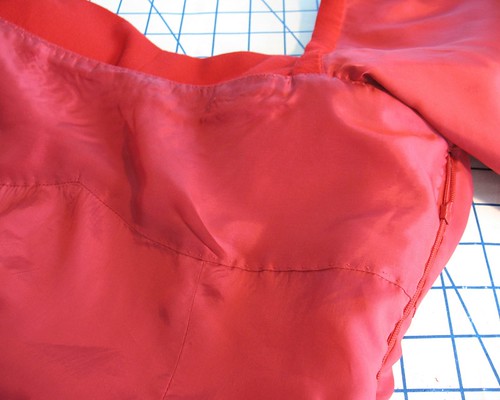
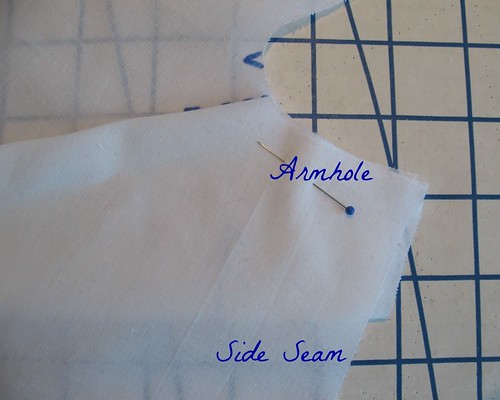
To attach the left sleeve, it was necessary to stitch the
left side opening closed at the top edge for one inch. I thought about moving the zipper opening to
the center back, but that would have changed the lines of the dress and I
wanted to avoid that. Thankfully, getting
in and out of the dress was not an issue.
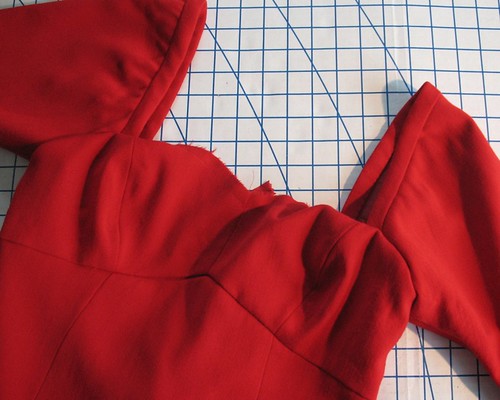
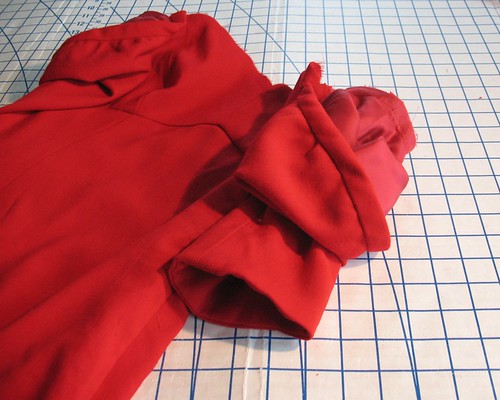
The top of the sleeve was finished with a bias strip of wool with a piece of elastic inserted along the head of the sleeve to help keep them in place. The lower underarm portion of the sleeve was then stitched to the upper edge of the side bodice.
The fact that I had removed the straps created a problem. In
essence, the bodice and skirt pieces needed to stay up on their own with my
sleeve choice. My first thought was to
add boning channels to a lining, as I would do with a strapless dress. But after working with the wool fabric, I
changed my mind. I even ended up
foregoing seam binding as a finish for the raw edges and instead went with a
pinked seam because everything shows through this fabric and I did not want any
added bulk or lines of stitching to be obvious.
So the boning was out.
But I still did want to add a full lining to the dress,
partly because of my chosen seam finish and because it would make a wool dress
more comfortable to wear (a lining also adds years to the life of a garment). There are
multiple ways to insert a dress lining, but my choice was to make a duplicate
version in bemberg rayon.
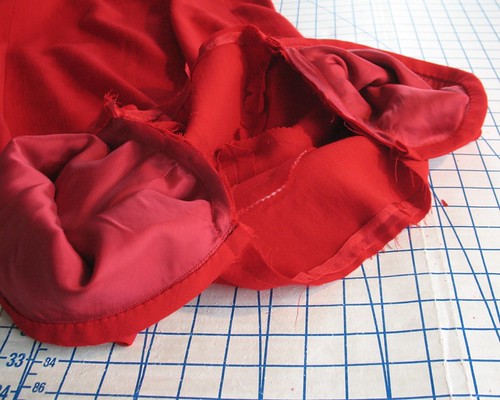
Once the sleeves were basted in place, the sleeves were pushed down and away from the upper bodice edge.
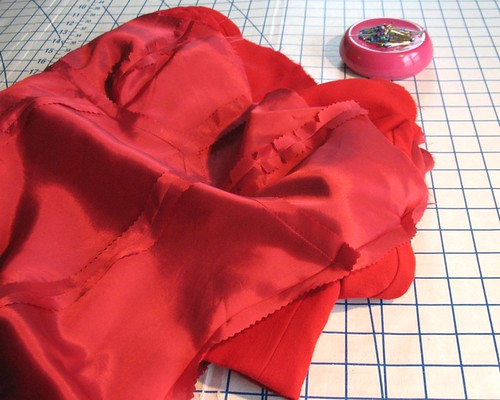
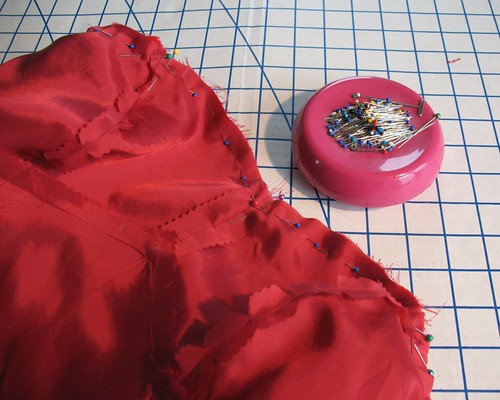
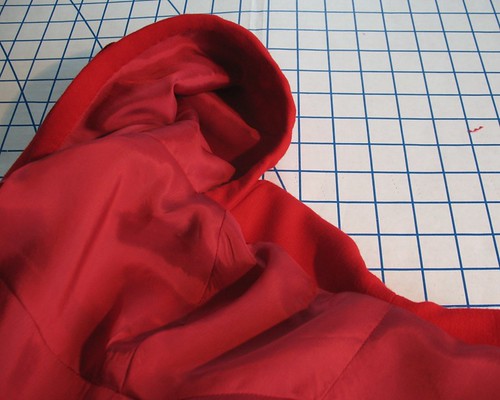
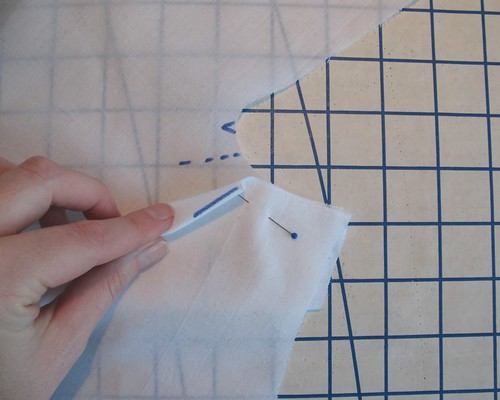
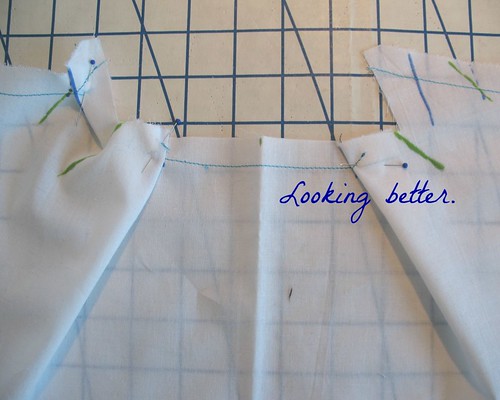
The lining was then dropped over the wool dress, right sides together, and stitched along the top edge (the wool edge was previously stay-stitched and reinforced with a piece of seam binding - that step is shown here).
The lining was then pulled to the inside
and under-stitched, leaving a clean edge with all of the raw bits concealed. No facing required!
Using a small back-stitch, I tacked the lining to the dress along the underbust seam to keep it in place.
With far set sleeves, wearing a standard bra was going to be
an issue, so I decided to solve two problems.
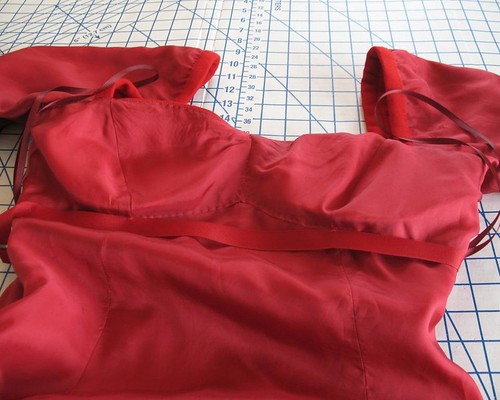
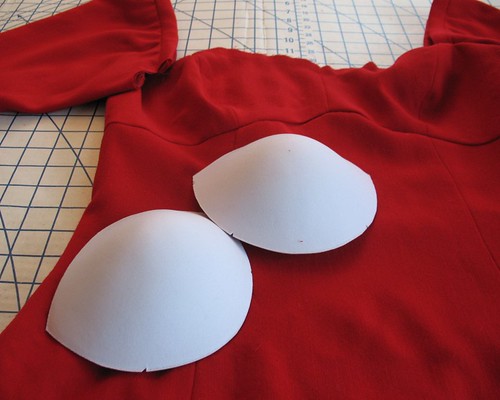
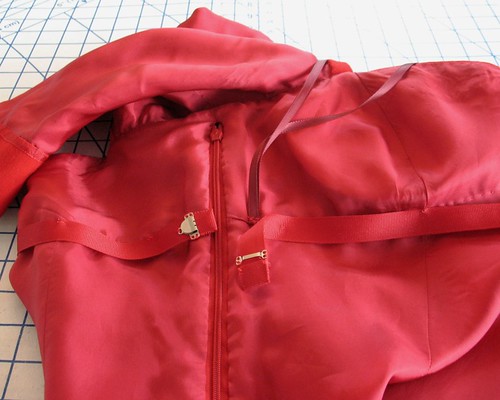
Instead of boning, I added a pair of bra cups which I basted between the
fabric and lining layers.
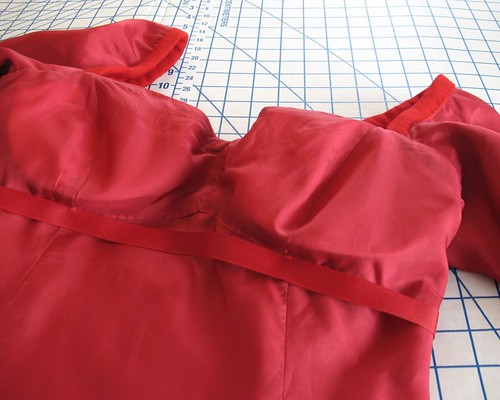
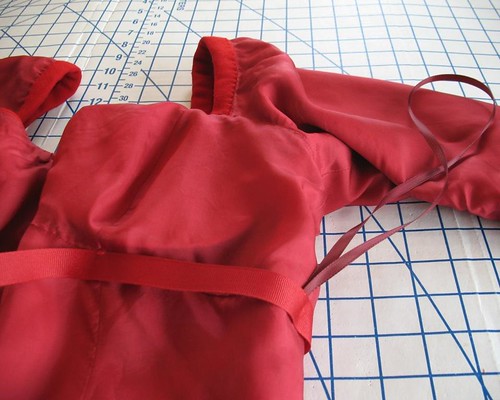
To add even more stability, a grosgrain stay was added under
the bust.
This also relieves pressure on the invisible zipper – since they are not always the sturdiest of notions, I like to give them any extra help I can! (More kvetching on that subject will come later . . . my Ceil Chapman dress project has hit an unfortunate snag.)
And to keep the sleeves from stretching out of shape, two ribbon
hangers were added to take the weight off the shoulders while the dress is stored
in the closet.
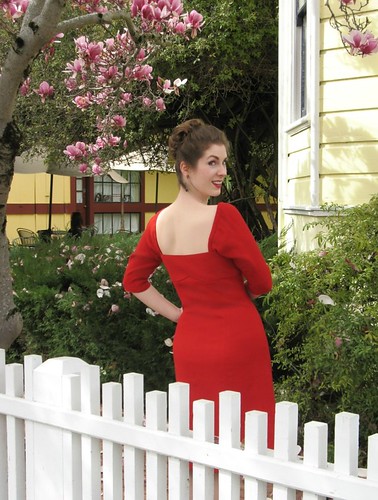
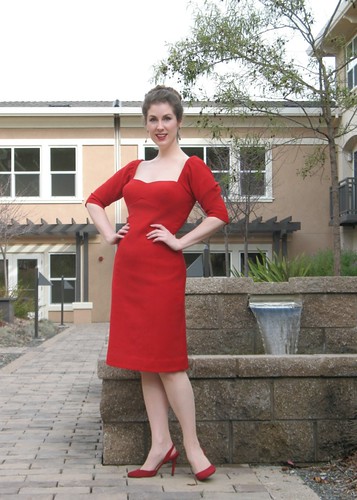
A classic silhouette in a beautiful red wool - thank you Britex and By Hand London!

