Pages

Wednesday, October 30, 2013

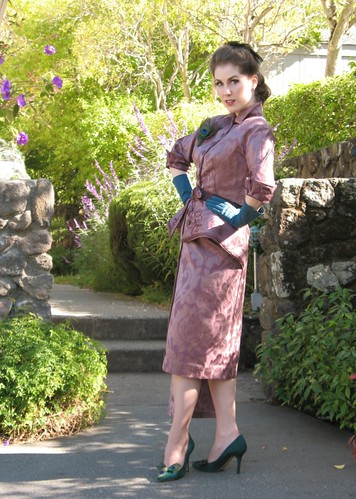
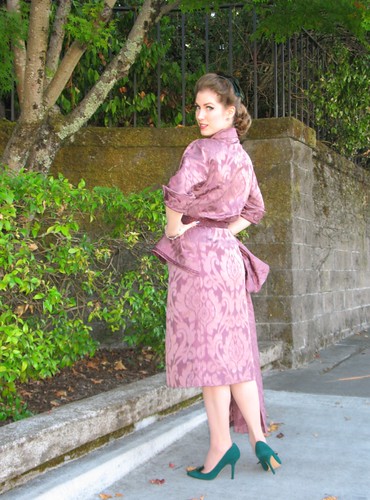
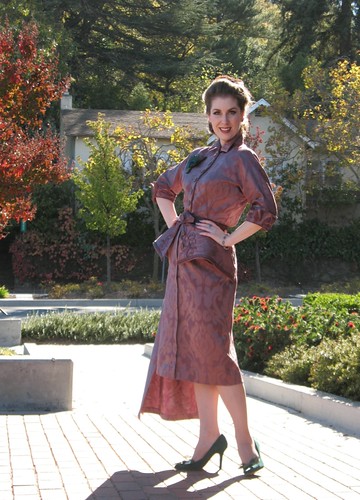
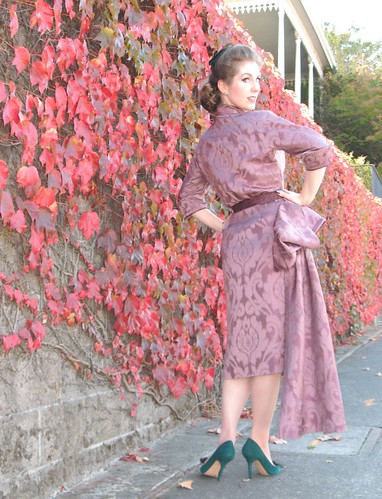
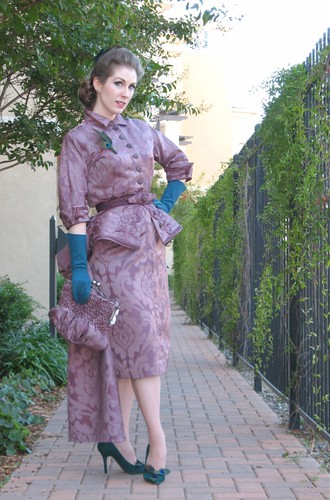
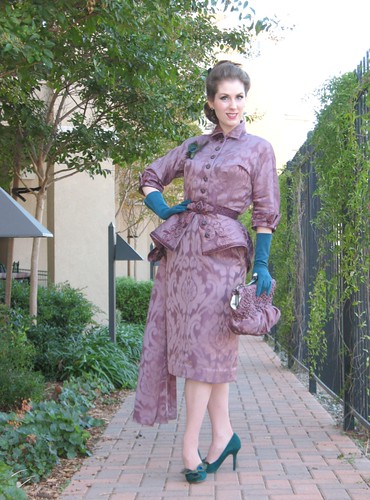
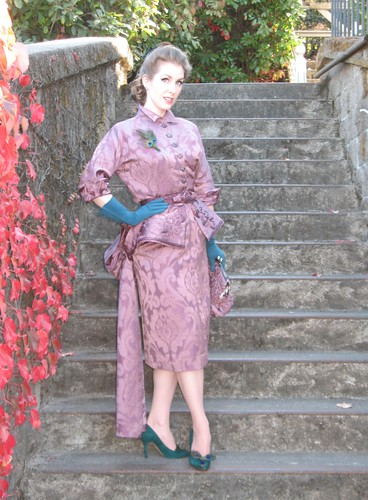
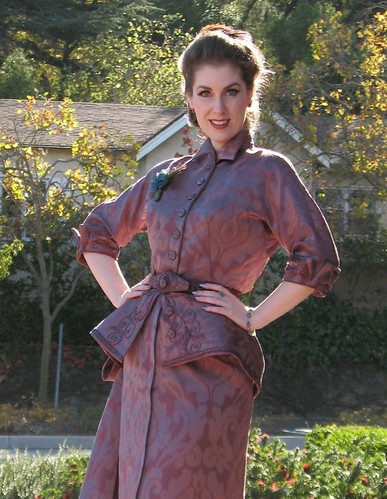
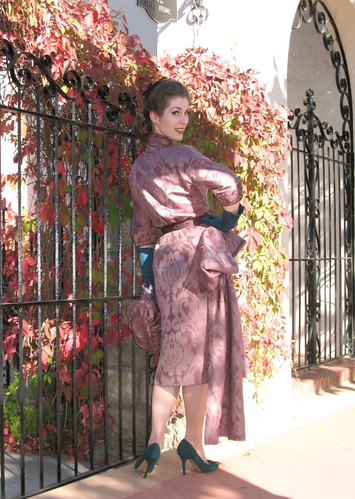
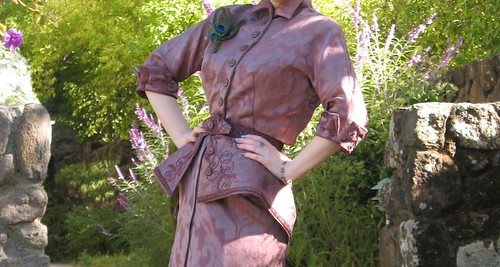
Gala 2013: The Reveal


This project has been quite the adventure!  There were days when I was convinced it would never end.  And while everything did not go exactly according to plan, I am so, so pleased with the final result!


The gala was fabulous.  


And the concert (which I attended on Sunday) was magnificent.  Rachmaninoff’s Piano Concerto No. 2 is one of my favorite symphonic pieces, and hearing it in person again was so very special.  Bravo, Marin Symphony!


The sewing room and living room have not quite recovered, but things are slowly getting put away, and happily, my fingertips are on the mend.  But I am sure that I will be finding amethyst colored beads here and there for months to come!


 Thank you for sharing this journey with me, and for all of your incredibly supportive comments!


I did attempt to keep track of my hours on this project, so I will have to add everything up – but that is for another day . . .


And a huge thank you to Britex for supplying the fabric - because my vision of this dress certainly would not have been possible without it!  Fabulous fabric is oh so important for a successful project!


Dress:  Made by me, Advance Import Reproduction
Belt:  Made by me
Hat:  Made by me
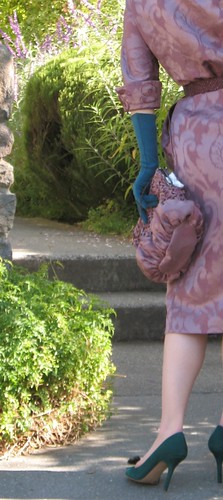
Purse:  Made by me
Gloves:  Thrifted, dyed by me
Brooch:  Made by me
Ring:  Thrifted
Earrings & Bracelet:  Macys
Shoes:  Vince Camuto
Shoe Clips:  Made by me


[Britex has generously provided the fabric and sewing supplies for a dress I will be wearing to a formal event in October. I will be sharing some of the steps and construction techniques with you as I work on this project over the next couple of months.]


Tuesday, October 29, 2013

A Sneak Peek

There are just too many pictures to get through this evening, but I thought I would leave you with a little sneak peek of the finished dress!


(I suppose having a plethora of pictures is preferable to having nothing decent to post, right!?)


Monday, October 28, 2013

Finishing Touches


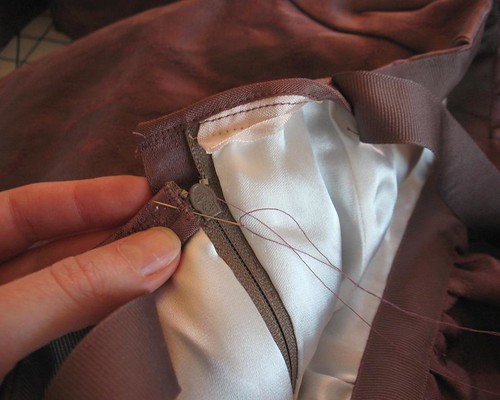
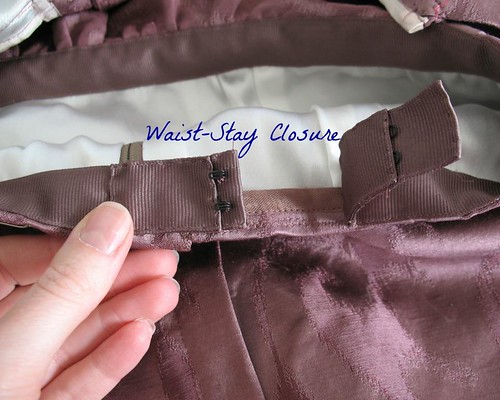
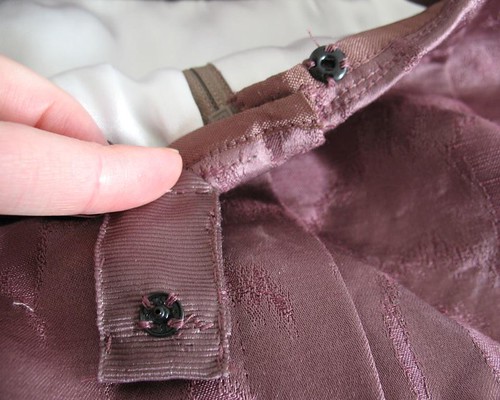
True to form, I was stitching hook & eyes on just hours before the event!  Why is it never possible to finish things like this ahead of schedule?


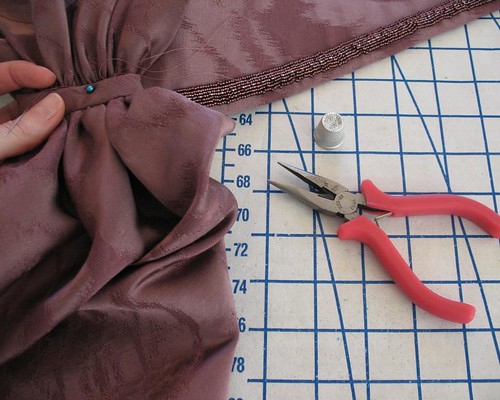
I managed to get through most of the hand sewing on this piece (which was rather extensive) without doing too much damage to my finger tips.  But this past week, I got myself good.  The eye end of a needle punched through the pad of one of my fingers, and the spot was really hard to avoid re-puncturing.  (I really must learn how to use a thimble.) A pair of beading pliers really came in handy to avoid aggravating the injury.


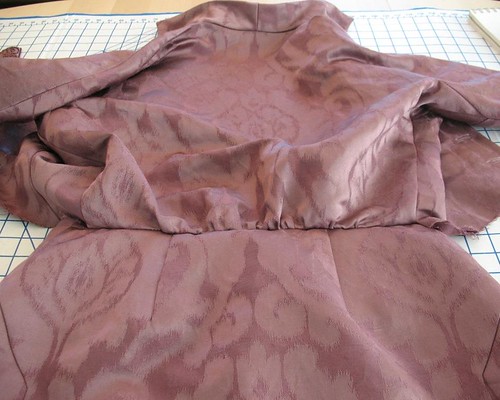
The skirt zips up the front, and obviously, the bodice buttons up the front.  What I did not initially realize from looking at the cover illustration is that the garment is one-piece.


The back bodice and skirt are attached at the waist seam. 


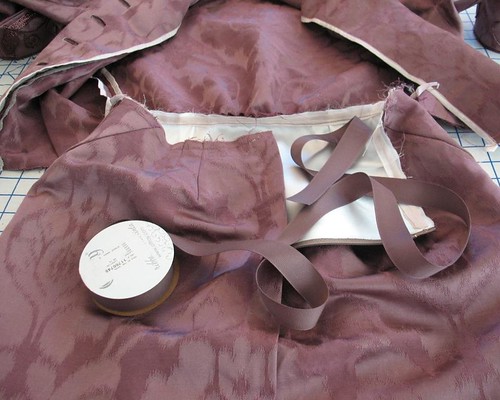
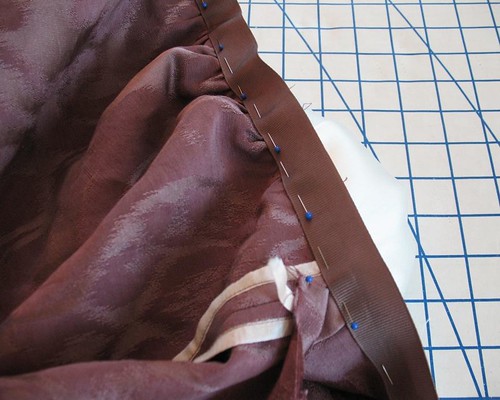
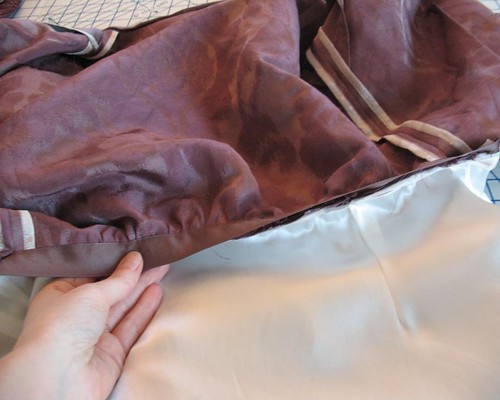
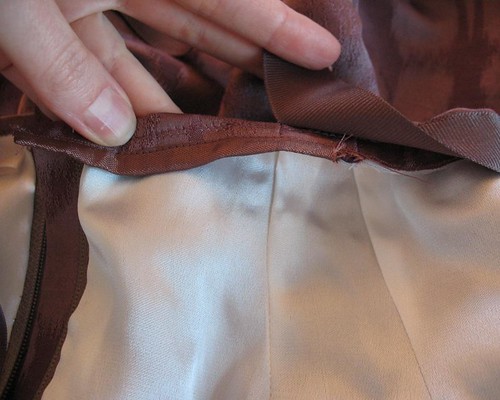
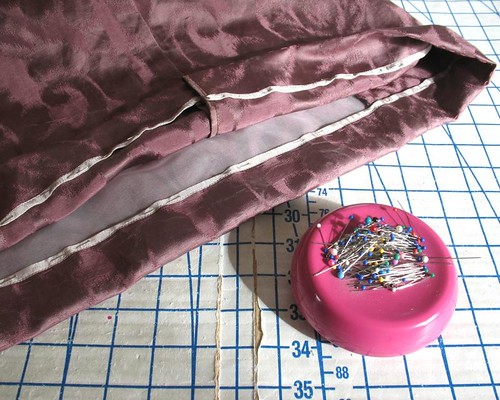
The skirt edges are finished with a length of grosgrain ribbon.


The ribbon is stitched to the seam allowance and after pressing it down, hand-stitched to the skirt lining.


The ribbon is left free for a few inches at the center front


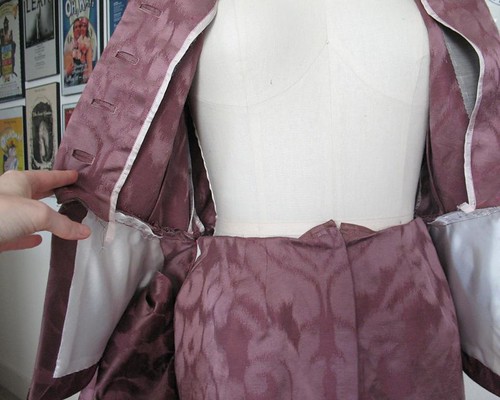
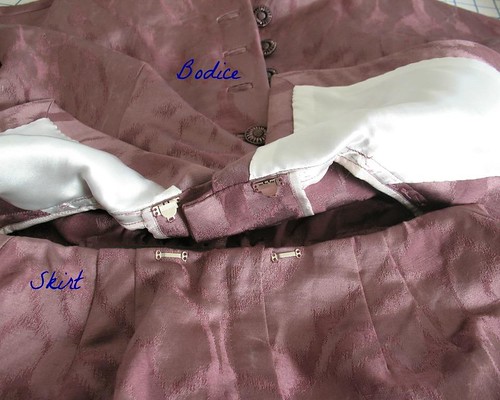
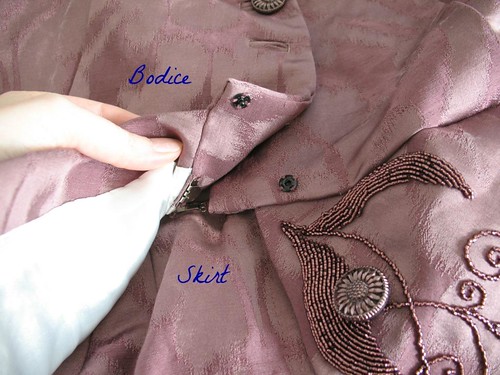
The peplums are attached to the bodice pieces, which are are finished, top and bottom, and get zipped and buttoned after hook and eyes secure the skirt at the waist.


Actually, the directions are rather iffy on this part.  I was lucky enough to wear a fantastic Victorian ball gown costume in high school that was two pieces - large hook & eyes were used to secure bodice to skirt, so my memory of that piece is where I started.


After that I just kept adding snaps and hook & eyes to keep everything in place.  (In the end, the closures are probably more Edwardian than mid-century/1950s with all of that folding and hooking and snapping, but it works!)


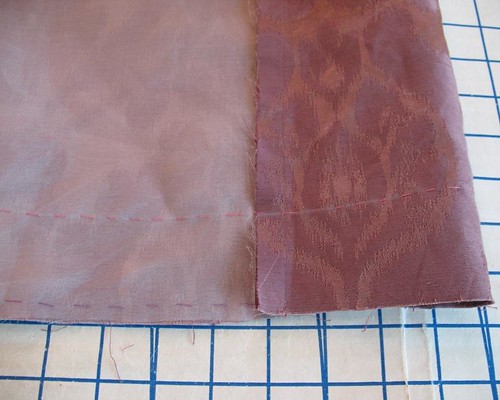
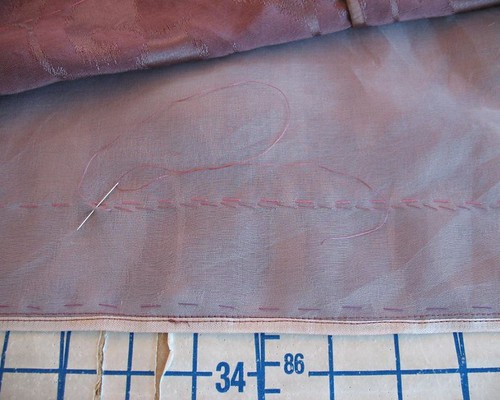
The hem was marked with a contrasting thread, and to ensure that the silk organza underlining did not shift, I stitched just inside the fold (those stitches stay in permanently).


One of my favorite things about this garment is how easy it is to get on and off.  I can also step into it, which means hair and makeup can be done prior to getting dressed.

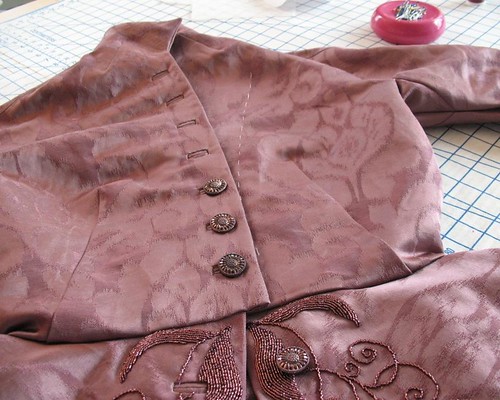
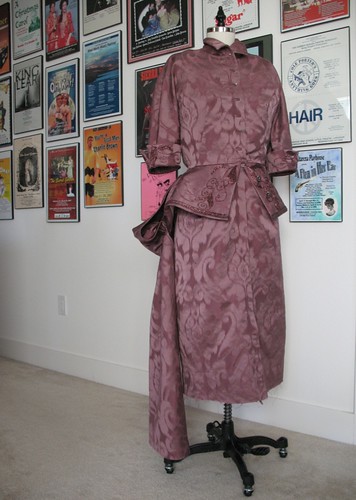
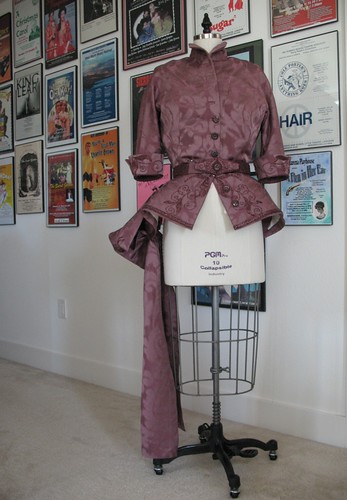
I have a ton of pictures to go through, but I promise that I will have a finished dress to show you very soon!  Here is what it looks like without buttons, hip pads, shoulder pads, the belt, or a hem. 


[Britex has generously provided the fabric and sewing supplies for a dress I will be wearing to a formal event in October. I will be sharing some of the steps and construction techniques with you as I work on this project over the next couple of months.]

Sunday, October 27, 2013

You want to add padding where?!


Like the Dior Bar Suit, this design has a very exaggerated peplum, and that kind of false silhouette requires a foundation.


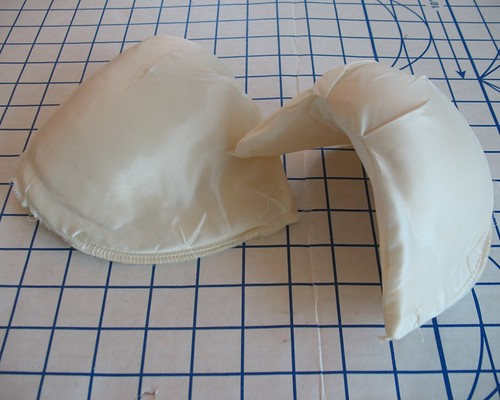
Even though the suit has a soft shoulder line, I did make myself a pair of shoulder pads.  Without them, the bodice looked a bit sad and deflated.  Anything with a tailored look is going to need a pair.


I have a very prominent posterior and hips to match, so the idea of padding out that area might seem ridiculous.  But think of it like this . . . the waist looks smaller and smaller the larger the hips get. 


I was not quite sure how I was going to do the hip pads, though.  After studying this video, I went to some original source material.  Hip pads!


And let’s be honest – you could probably slice your skin open on the hip bones of some runway models, so a bit of padding is probably a good idea.

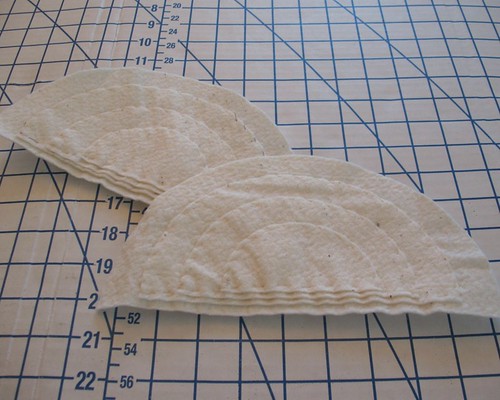
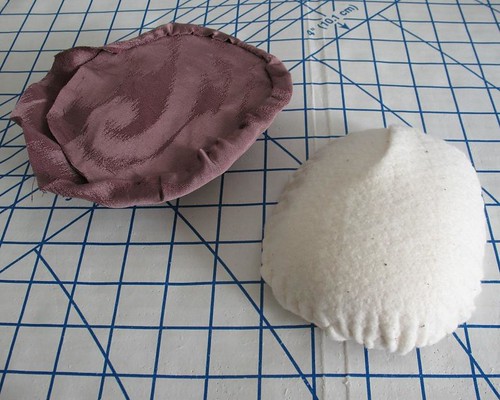
I started with some cotton batting, and the idea that I was looking for something between a shoulder pad and a bust pad.


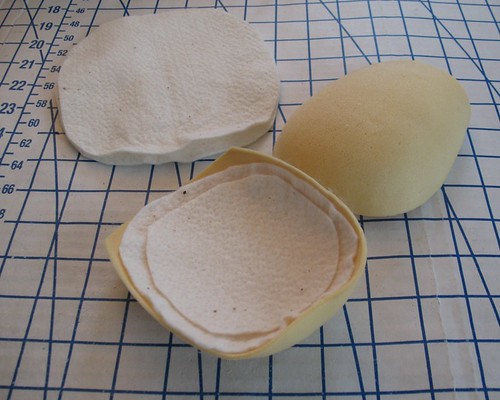
And while rummaging through a drawer with salvaged shoulder pads, I came across a pair that could be used on a linebacker's uniform.  I could feel that there were two separate pads under the cover, so I cut them open and found the perfect foundation for my hip pads!  Time saver!


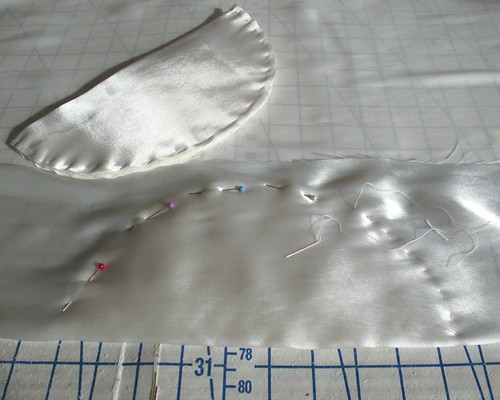
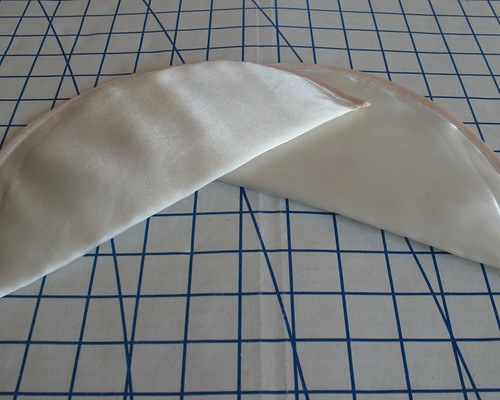
I added a bit of quilting batting and covered with my fashion fabric.  This is probably the least elegant sewing of the entire project, but I was in a hurry, and they work, so no harm done, right?


The instructions suggest placing them directly over the hip bones, which seemed like it might be too far out to the side, but in the end, that was exactly where they needed to be.


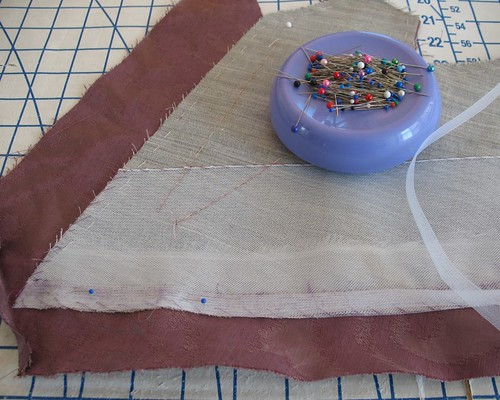
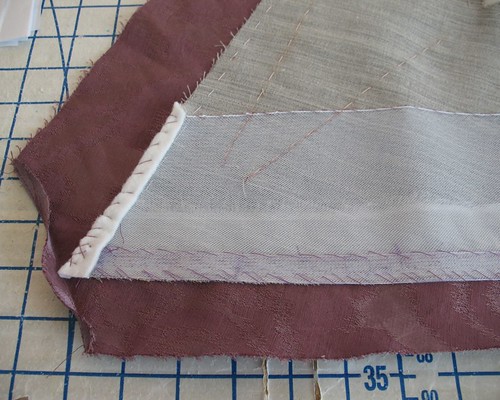
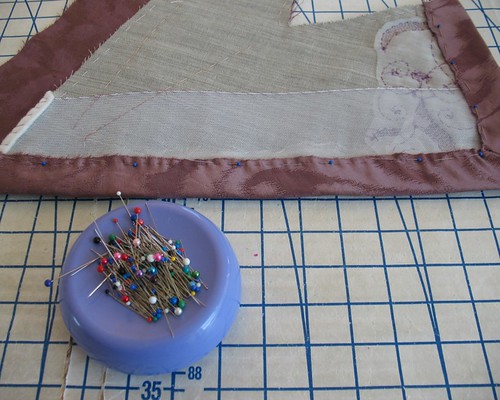
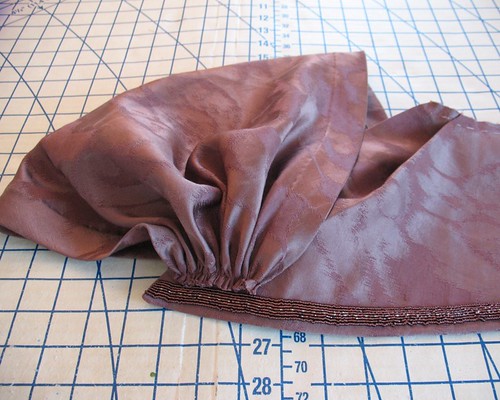
The peplum is also reinforced along the edge.  The pattern suggests using millinery wire, but I wanted to help hold up all of the extra weight of the added beads, so I used a wide horsehair braid layered with a thinner version at the hem edge.


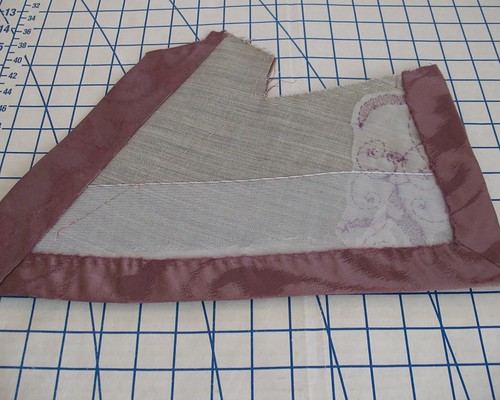
The edges were folded over and hand stitched into place.


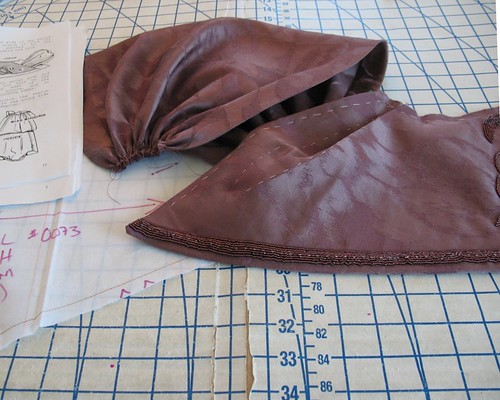
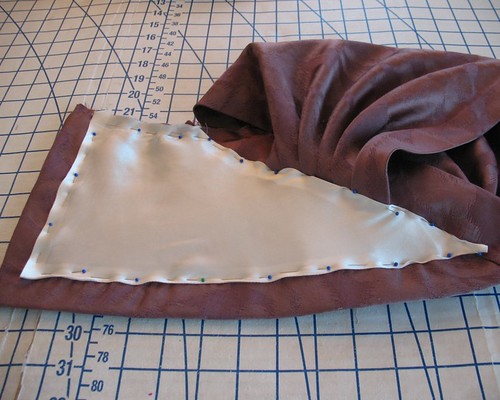
And then I pulled out my previously hemmed drape pieces.


And finally, a lining covers all of the raw edges.


Friday, October 25, 2013

Transferring a Beading Pattern to Fabric: A Tutorial

Embellishments can really add to a garment.  I knew I wanted to add beads on the peplum portion of this dress, and I assumed that I would be happy with a straight border.  But that just looked blah to me after perusing Pinterest for inspiration. 


The first step was coming up with a motif that would work with the fabric and overall garment design.  I am always drawn to florals, but they did not seem quite right for this.  If there were 48 hours in a day, and I could bead at super human speed, I would have encrusted the entire peplum, à la this Dior creation (but would probably skip the eye makeup!).


But that would take years!!  


After doing a search for vintage beaded garments, I came across this dress.  The leaf motif was beautiful, sophisticated, and also had curlicues that match back to the damask pattern.  Perfect!


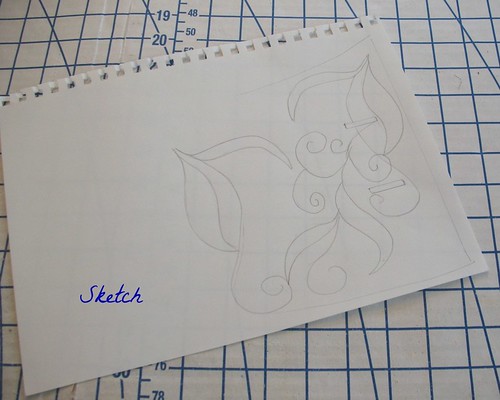
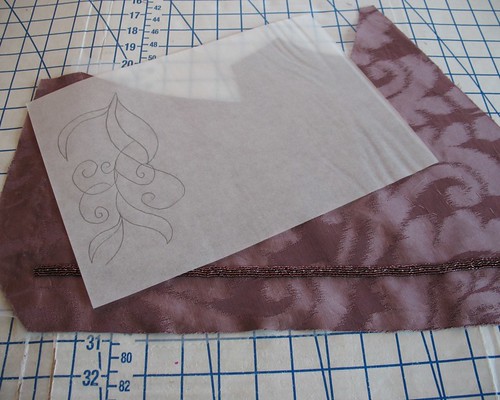
Using all of the above as a starting point, I sketched out a few ideas that would fit on the front peplums.


The issue of how to transfer the sketch to fabric was my first challenge (on top of that, a mirror image was needed for the opposite side).


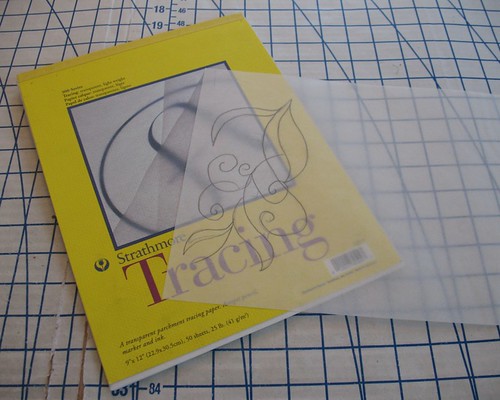
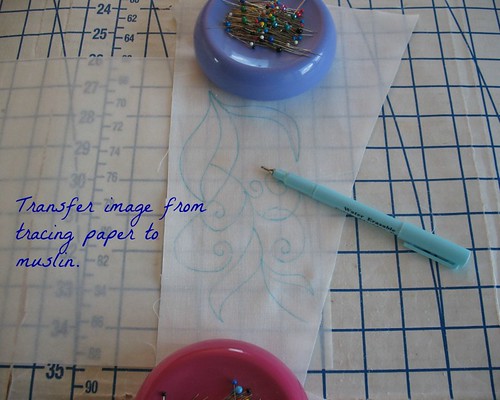
And that was when I remembered my tracing paper.


After finalizing the design with paper and pencil, it was transferred to the tracing paper, and then to a scrap of sheer muslin with a fabric pen.  But then what?


My first inclination was to stitch directly through that muslin.


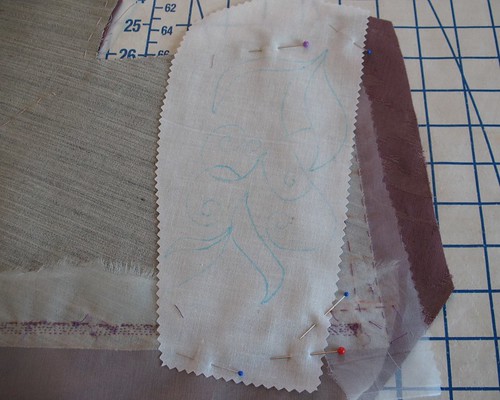
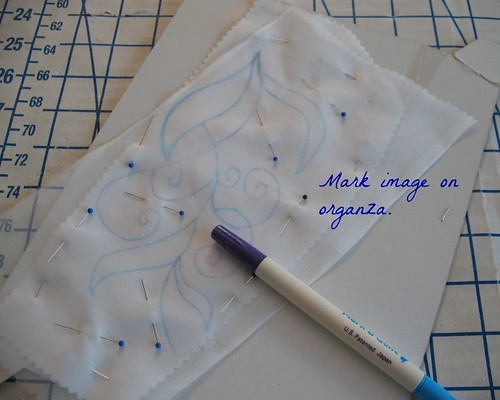
Since I was going to add a layer of silk organza to stabilize the extra weight created by all those beads, I decided to place the design directly onto the silk.  Because it is so sheer, tracing the image was easy. 


Curves are a bit of a bother to transfer onto woven fabric because the pen is dragging through the bias.  To keep things from sliding around, I used quite a few pins!


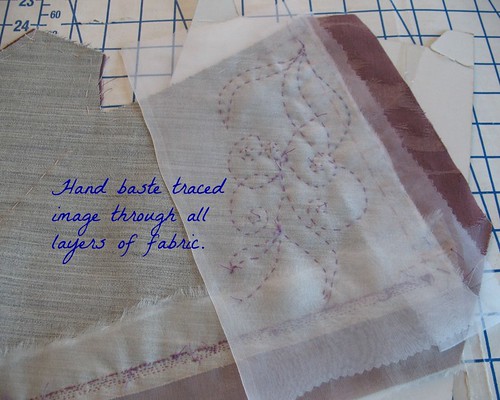
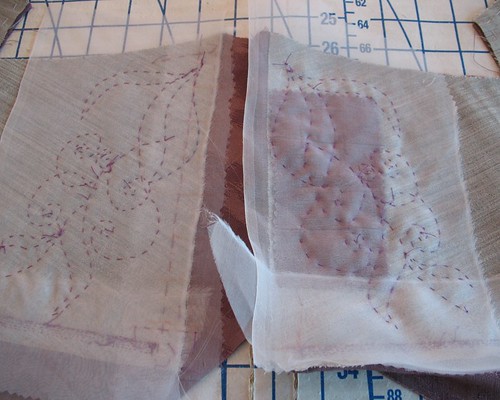
After pinning the design into place, I hand basted through all the layers (organza, hair canvas, & fabric) which allowed me to see the design from the right side without worrying that chalk or pen marks might not permanently disappear after the beading was finished.


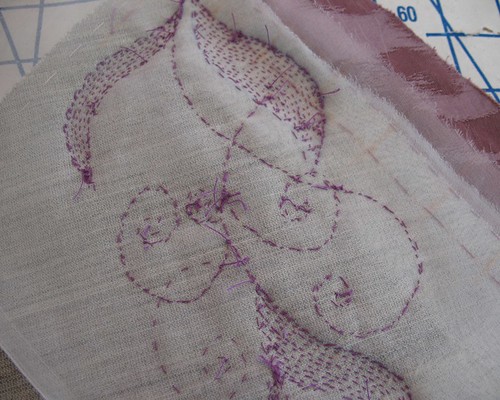
I chose a thread color for basting that was different enough to be visible, but not so jarring that I would have to remove every last bit of it.


When the lighting was not so great, I could turn the piece over to check for the original basted design lines.


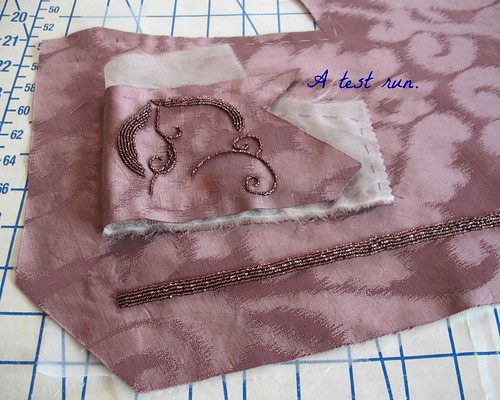
I should also mention that before beading the actual peplum, I tested the design out on a scrap of material.  If it turned out to be a big mess, I did not want to have a ton of pin pricks marring my peplum pieces.


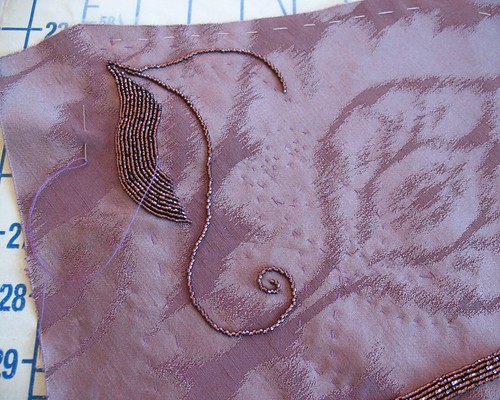
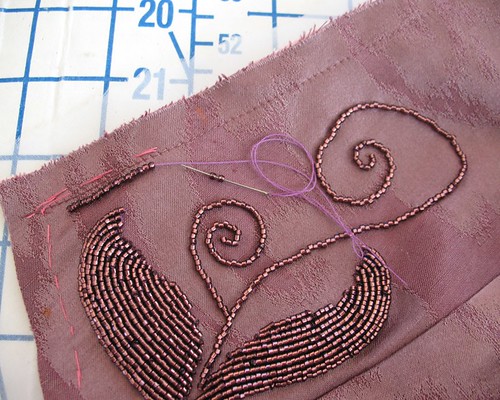
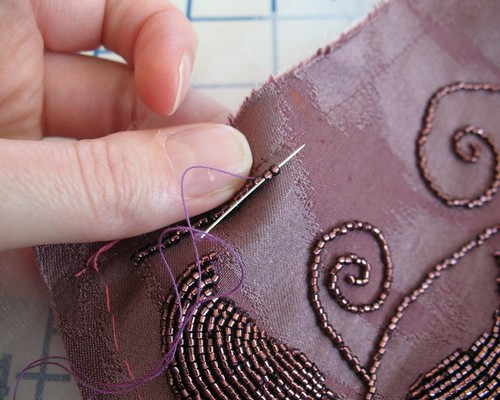
For the actual beading, I used a single strand of silk thread.  Beading needles are super long and they would have been awkward for this project, so I found a tiny sharp that fit through the beads.


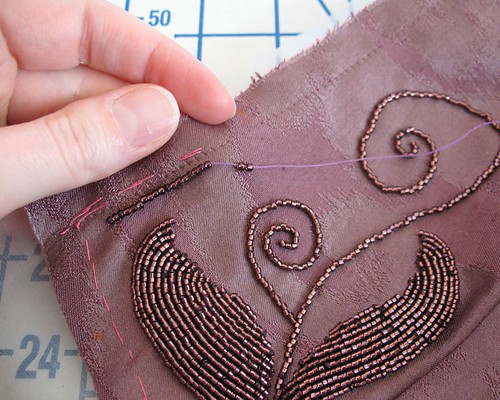
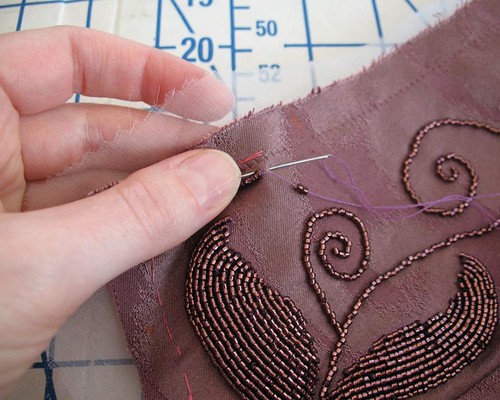
The beads are applied with a basic back-stitch.  With the needle and thread on the right side of the fabric, I pick up two beads and let them drop the length of the thread to towards the fabric.  


The needle is pushed through the fabric, right to left, and pulled through to the previous bead on that row.  


Next the needle is pushed through the two beads, left to right, and the thread is pulled taught.  That repeats, following the line of basting stitches.


It was a lot of work, but the end is almost in sight!

[Britex has generously provided the fabric and sewing supplies for a dress I will be wearing to a formal event in October. I will be sharing some of the steps and construction techniques with you as I work on this project over the next couple of months.]