In fact, they are often there for a reason! Shoulder pads are an easy way to balance out
a silhouette. And there is no need to
look like a character from Dynasty. The
idea is to extend the shoulder line, which, by the way, will make the hips
appear narrower!
There are certainly body types that do not require much in
the way of padding at the shoulder line – and you probably know who you
are! But if your bra straps are forever
sliding off, then a bit of batting can make a world of difference. And it would be hard to find a tailored
jacket that does not include some kind of shoulder pad or structure through the
shoulder area.
SUPPLIES:
Paper (to draft your preferred shoulder pad shape)
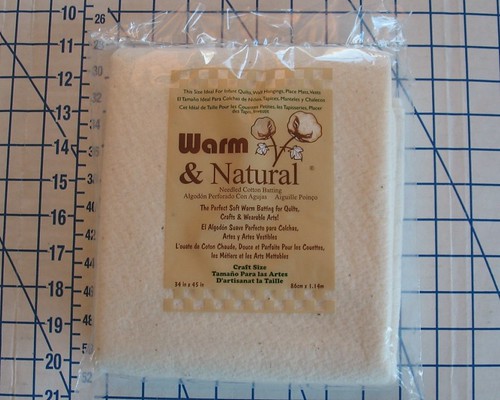
Cotton Quilting Batting
Thread
Chalk or Fabric Pen
Lining Material (to cover finished pad)
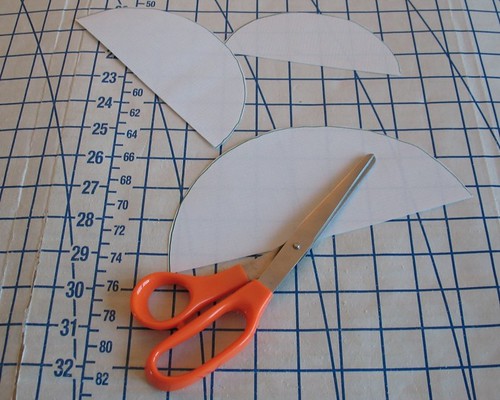
Many shoulder pads are shaped as half of an ellipse. I have seen quite a few triangular shaped
pads in vintage patterns, but the pointed edges can create a problem with
lighter-weight fabrics. And, of course,
dolman sleeves require another shape entirely.
Next time you are in the notions aisle, take a look at the variety of
shoulder pads. Finding what works for
you and for your particular project is a matter of trial and error.
I use cotton quilting batting to make my shoulder pads. You can certainly purchase them, but I find
that they are often oversized and poofy and made of synthetics that do not
shape properly.
The diameter can vary, but I like to use pads that are
anywhere from 8.5 to 10 inches. It
should be wide enough so that the edges fall over the shoulder enough so they
do not jut out at the edges.
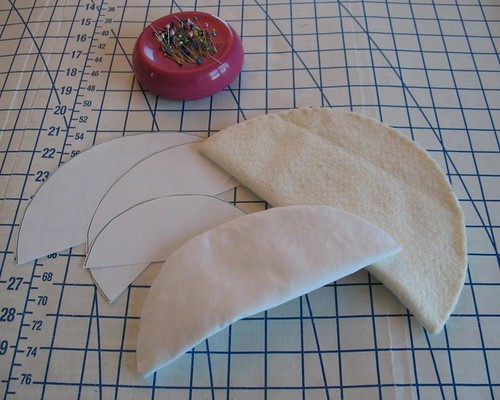
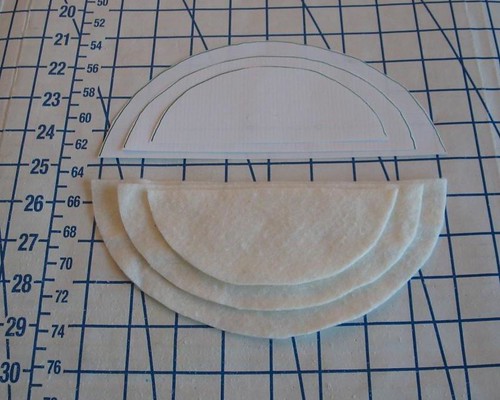
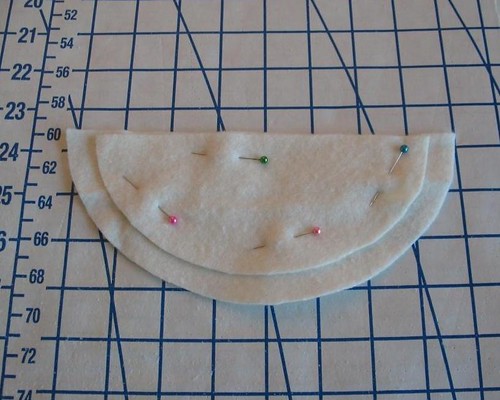
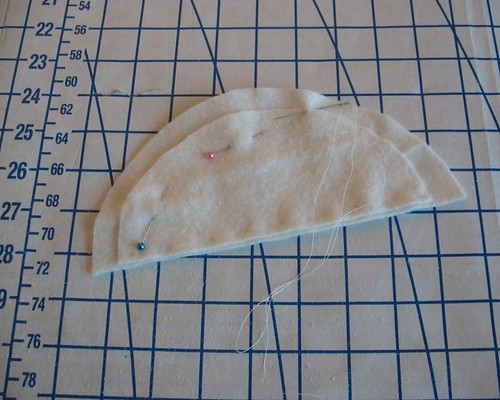
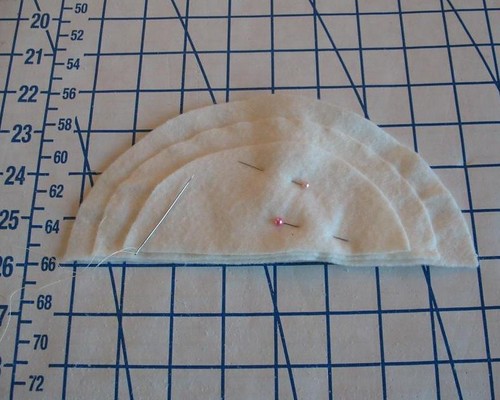
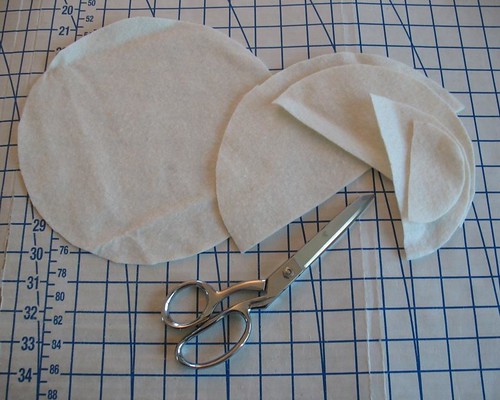
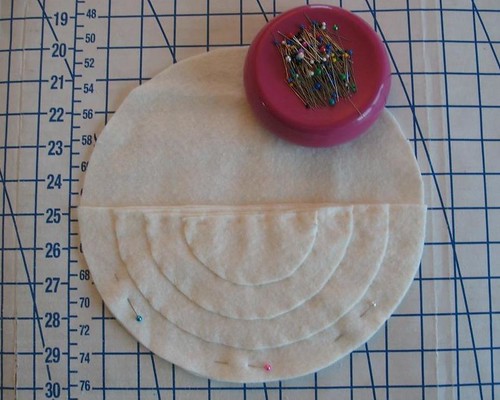
To build thickness, concentric arcs are layered one on top
of the next.
My personal preference is a
single half circle/ellipse. But if you
want to add a bit more oomph, you can cut a full circle/ellipse and fold it in
half after any interior layers are sewn into place.
Of course, the pad needs a covering. Generally, I use my lining fabric, but any
light-weight fabric will do.
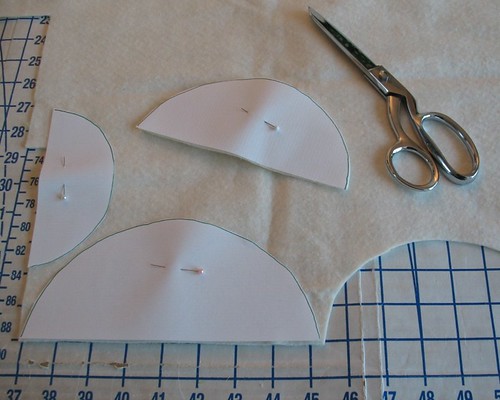
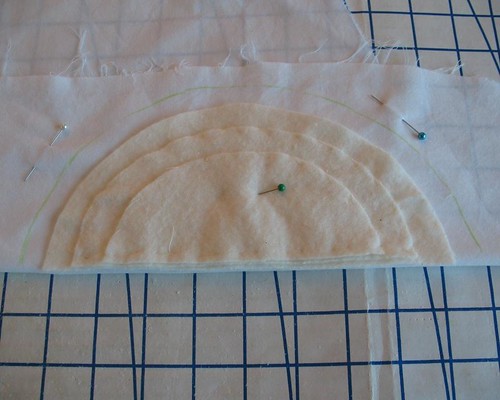
Lay the cotton batting on a folded piece of lining fabric,
and, adding seam allowance, draw in the cutting line.
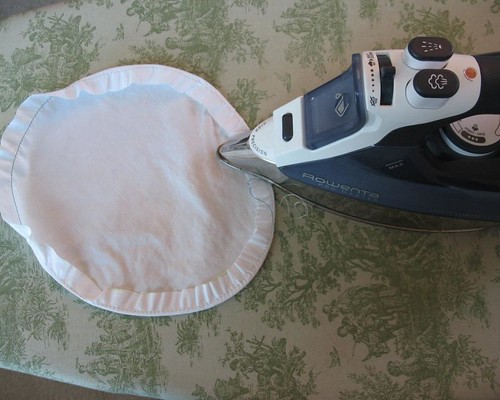
I like to run a line of basting at the seam allowance and
pull up the threads to make it easier to press the raw edges under.
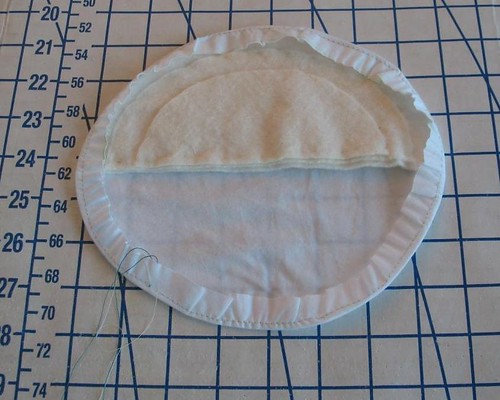
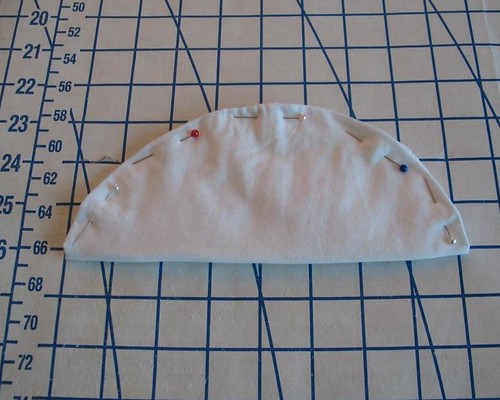
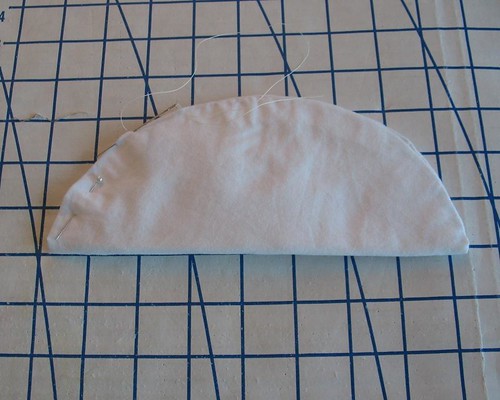
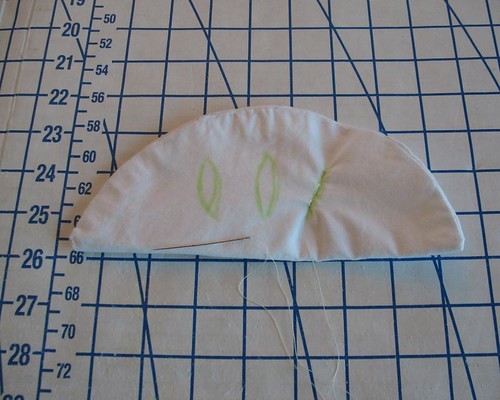
Next, the batting is place inside the lining, folded in
half, and stitched along the outer edges.
For even more shaping, take up a few darts on the underside
of the should pad (this step is optional).
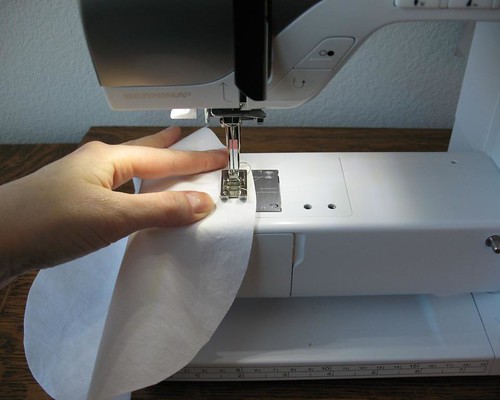
If your shoulder pads turn out to be too thick for the garment,
run multiple rows of stitching through the pad following the arc. This will compress the loft a bit.
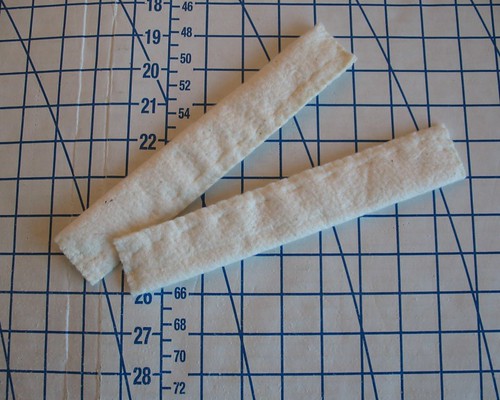
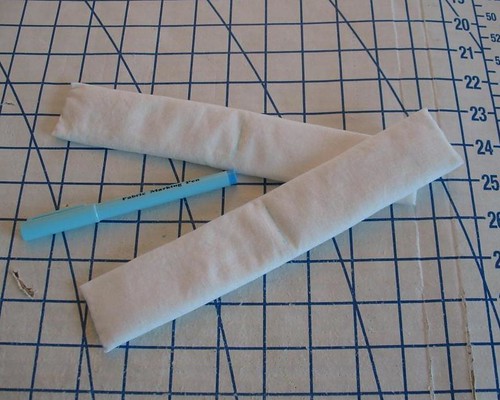
If you are concerned that adding shoulder pads will make you
look like a linebacker, a rectangular sleeve head made of batting can be
substituted. This extends the shoulder
line, but will not add thickness. This
works particularly well with lighter weight fabrics.
Whatever shape you choose, the finished shoulder pad is hand
stitched to the armscye seam after pinning to the garment to check placement. I like to draw a line in chalk or with a
fabric pen at the center of the pad to match back to the shoulder seam.
This may or may not end up being the final placement – make sure to pin
it in place and try on your finished garment to find the best placement.
I hope you try adding a pair of shoulder pads to your next
garment! They really can change the
silhouette, often for the better!
[This post is sponsored by Britex Fabrics.]

Thanks for this! I remember shoulder pads from the 80s and am always reluctant to try them, but my 40s dress I am making now calls for them so I will give them a go again. Besides, if I don't like them I can just take them out!
ReplyDeleteThis is great! I have narrow shoulders so I really need shoulder pads for 40s looks but I hate the store bought kind.
ReplyDeleteThank you for this Laura Mae. Why do I find myself craving blintzes...?
ReplyDeletethanks so much for this tutorial!!! I think growing up in the 80s and 90s has left us with an organic and irrational hatred of shoulder pads ;-) yet they are a must for some projects to get the proper fit and the shape. Thanks to your tutorial I'm so encouraged to try some of the patterns in my stash that have intimidated. Happy wekend to you and your sweet puppy!
ReplyDeleteGreat tutorial--thanks! I am egregiously narrow-shouldered, so shoulder pads are a must.
ReplyDeleteWhat a fantastic little tutorial - I shall have to bookmark it. Great being able to make the size that fits as well. Thank you!
ReplyDeleteThanks for the tutorial!
ReplyDeleteI have a question, I love the idea of the sleeve heads but I don't know how to add them to a lightweight sleeve! (I always do this with jackets but now with dresses and blouses!) What is the easiest way to do this?