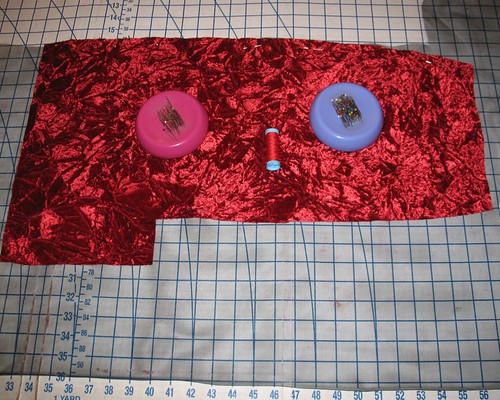
As I previously mentioned, my yardage for this project was
extremely limited.
That old adage, measure twice, cut once was something I took
to heart!
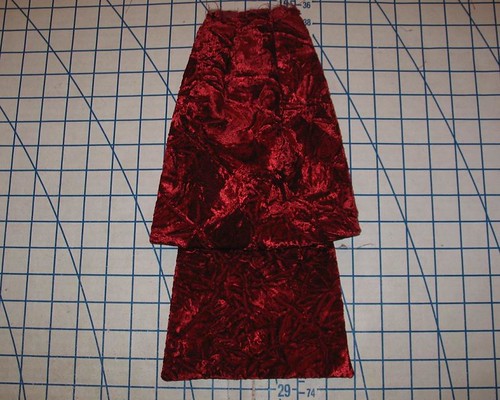
In fact, I laid out the pattern pieces multiple times, took
pictures, went to bed, and tried again the next day. But no matter what I did, those bias sleeve pieces were not going to fit – darn it! I ended up shortening them by 2” to squeeze
them in.
Once I was sure that it was possible to make the dress with this fabric, I drew out a very
rough sketch of my chosen layout. As I cut each piece, I crossed my fingers that I had not
forgotten some important piece of the puzzle.
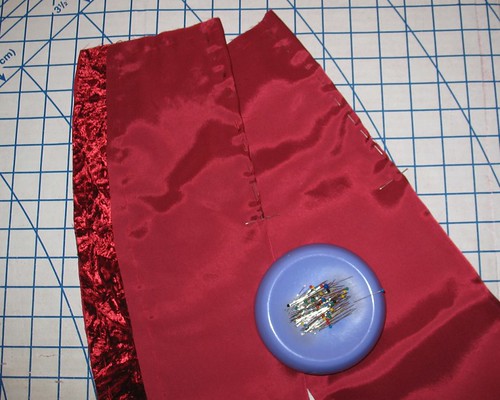
The instructions use an underlining instead of a
lining. I decided to follow them, just
for fun. I often have an issue with
straight skirt linings showing when I sit down, and the underlining takes care
of the problem. And change is fun! Also, this made it possible to mark my lining instead of the
velvet which is so much easier!
For the back skirt pieces, I added an extra layer of silk
organza (between the velvet and bemberg lining) as an experiment. I am hoping that the crisp fabric will keep
the skirt from bagging out. I will let
you know how that goes.
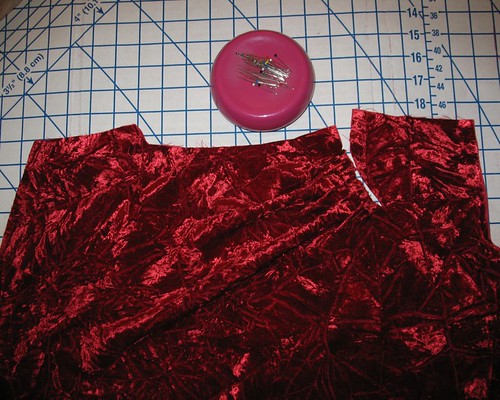
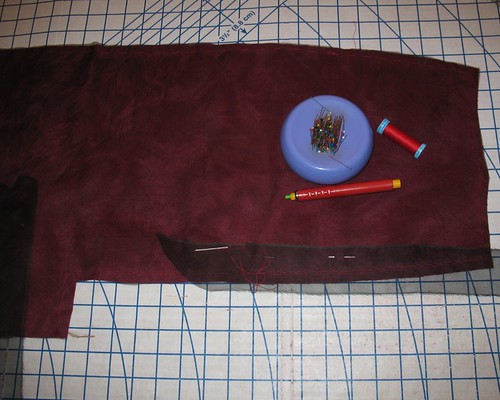
Because the upper skirt back is not cut on the grain, I
added another strip of organza to stabilize the opening.
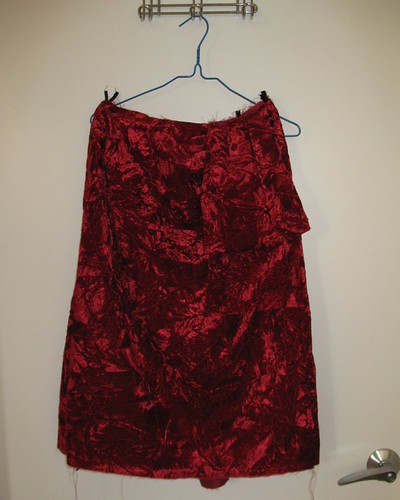
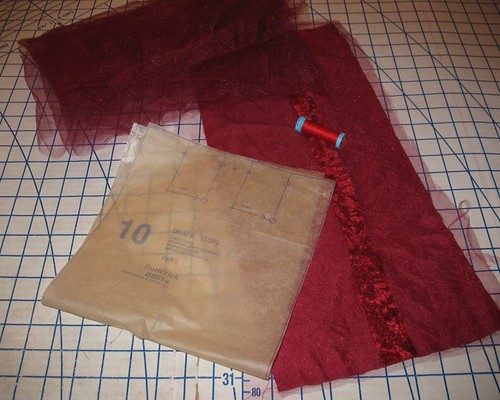
I did have to piece the second cut of the drape. Thankfully, this does not show on the final
dress! Because the velvet has a whole
lot of drape to it, I underlined the upper drape with two layers of tulle from
the stash. I probably should have used
netting (the coarser stuff) but I did not want to make a special trip to the
fabric store.

Your fabric reminds me of red velvet cake. Yum!
ReplyDelete-Emily
I really admire your dedication to reusing this fabric. What a great saga, and I can't wait to see the dress!
ReplyDeleteThe look and feel of the fabric itself is making it look rich and specially red color can be favored in any occasion.
ReplyDelete